 Views and opinions of the author are independent of employers past or present. Duh...
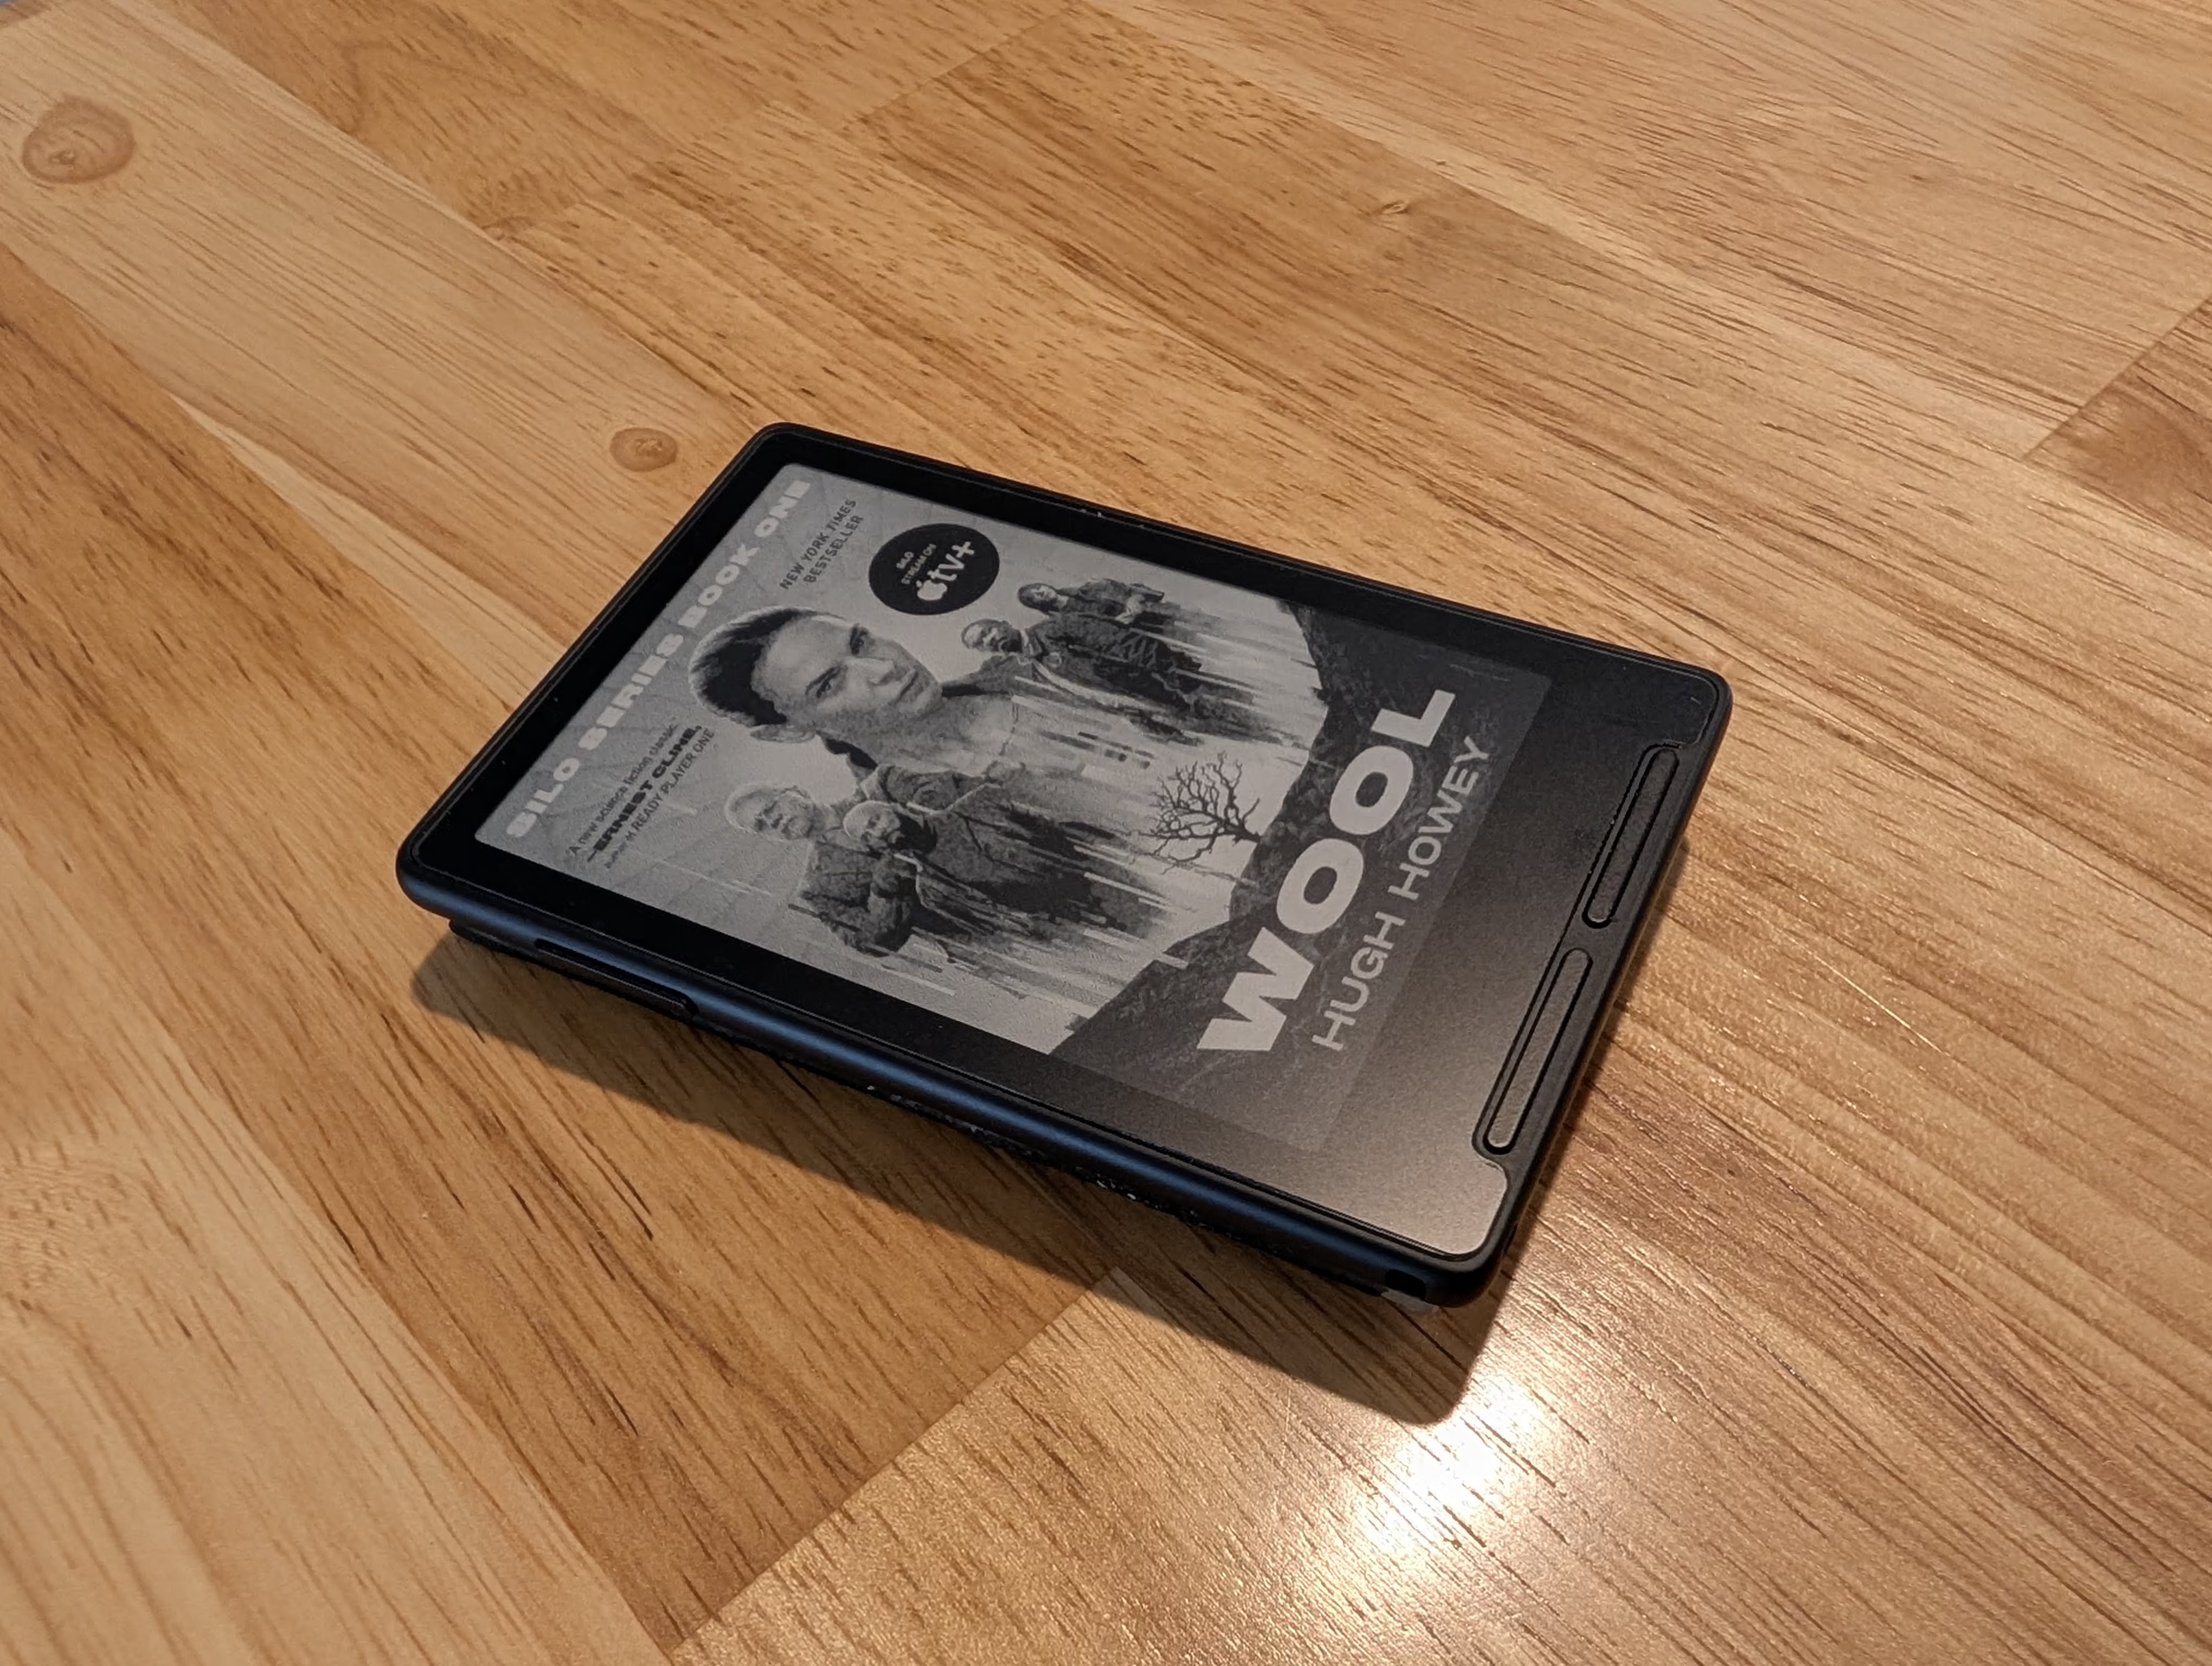
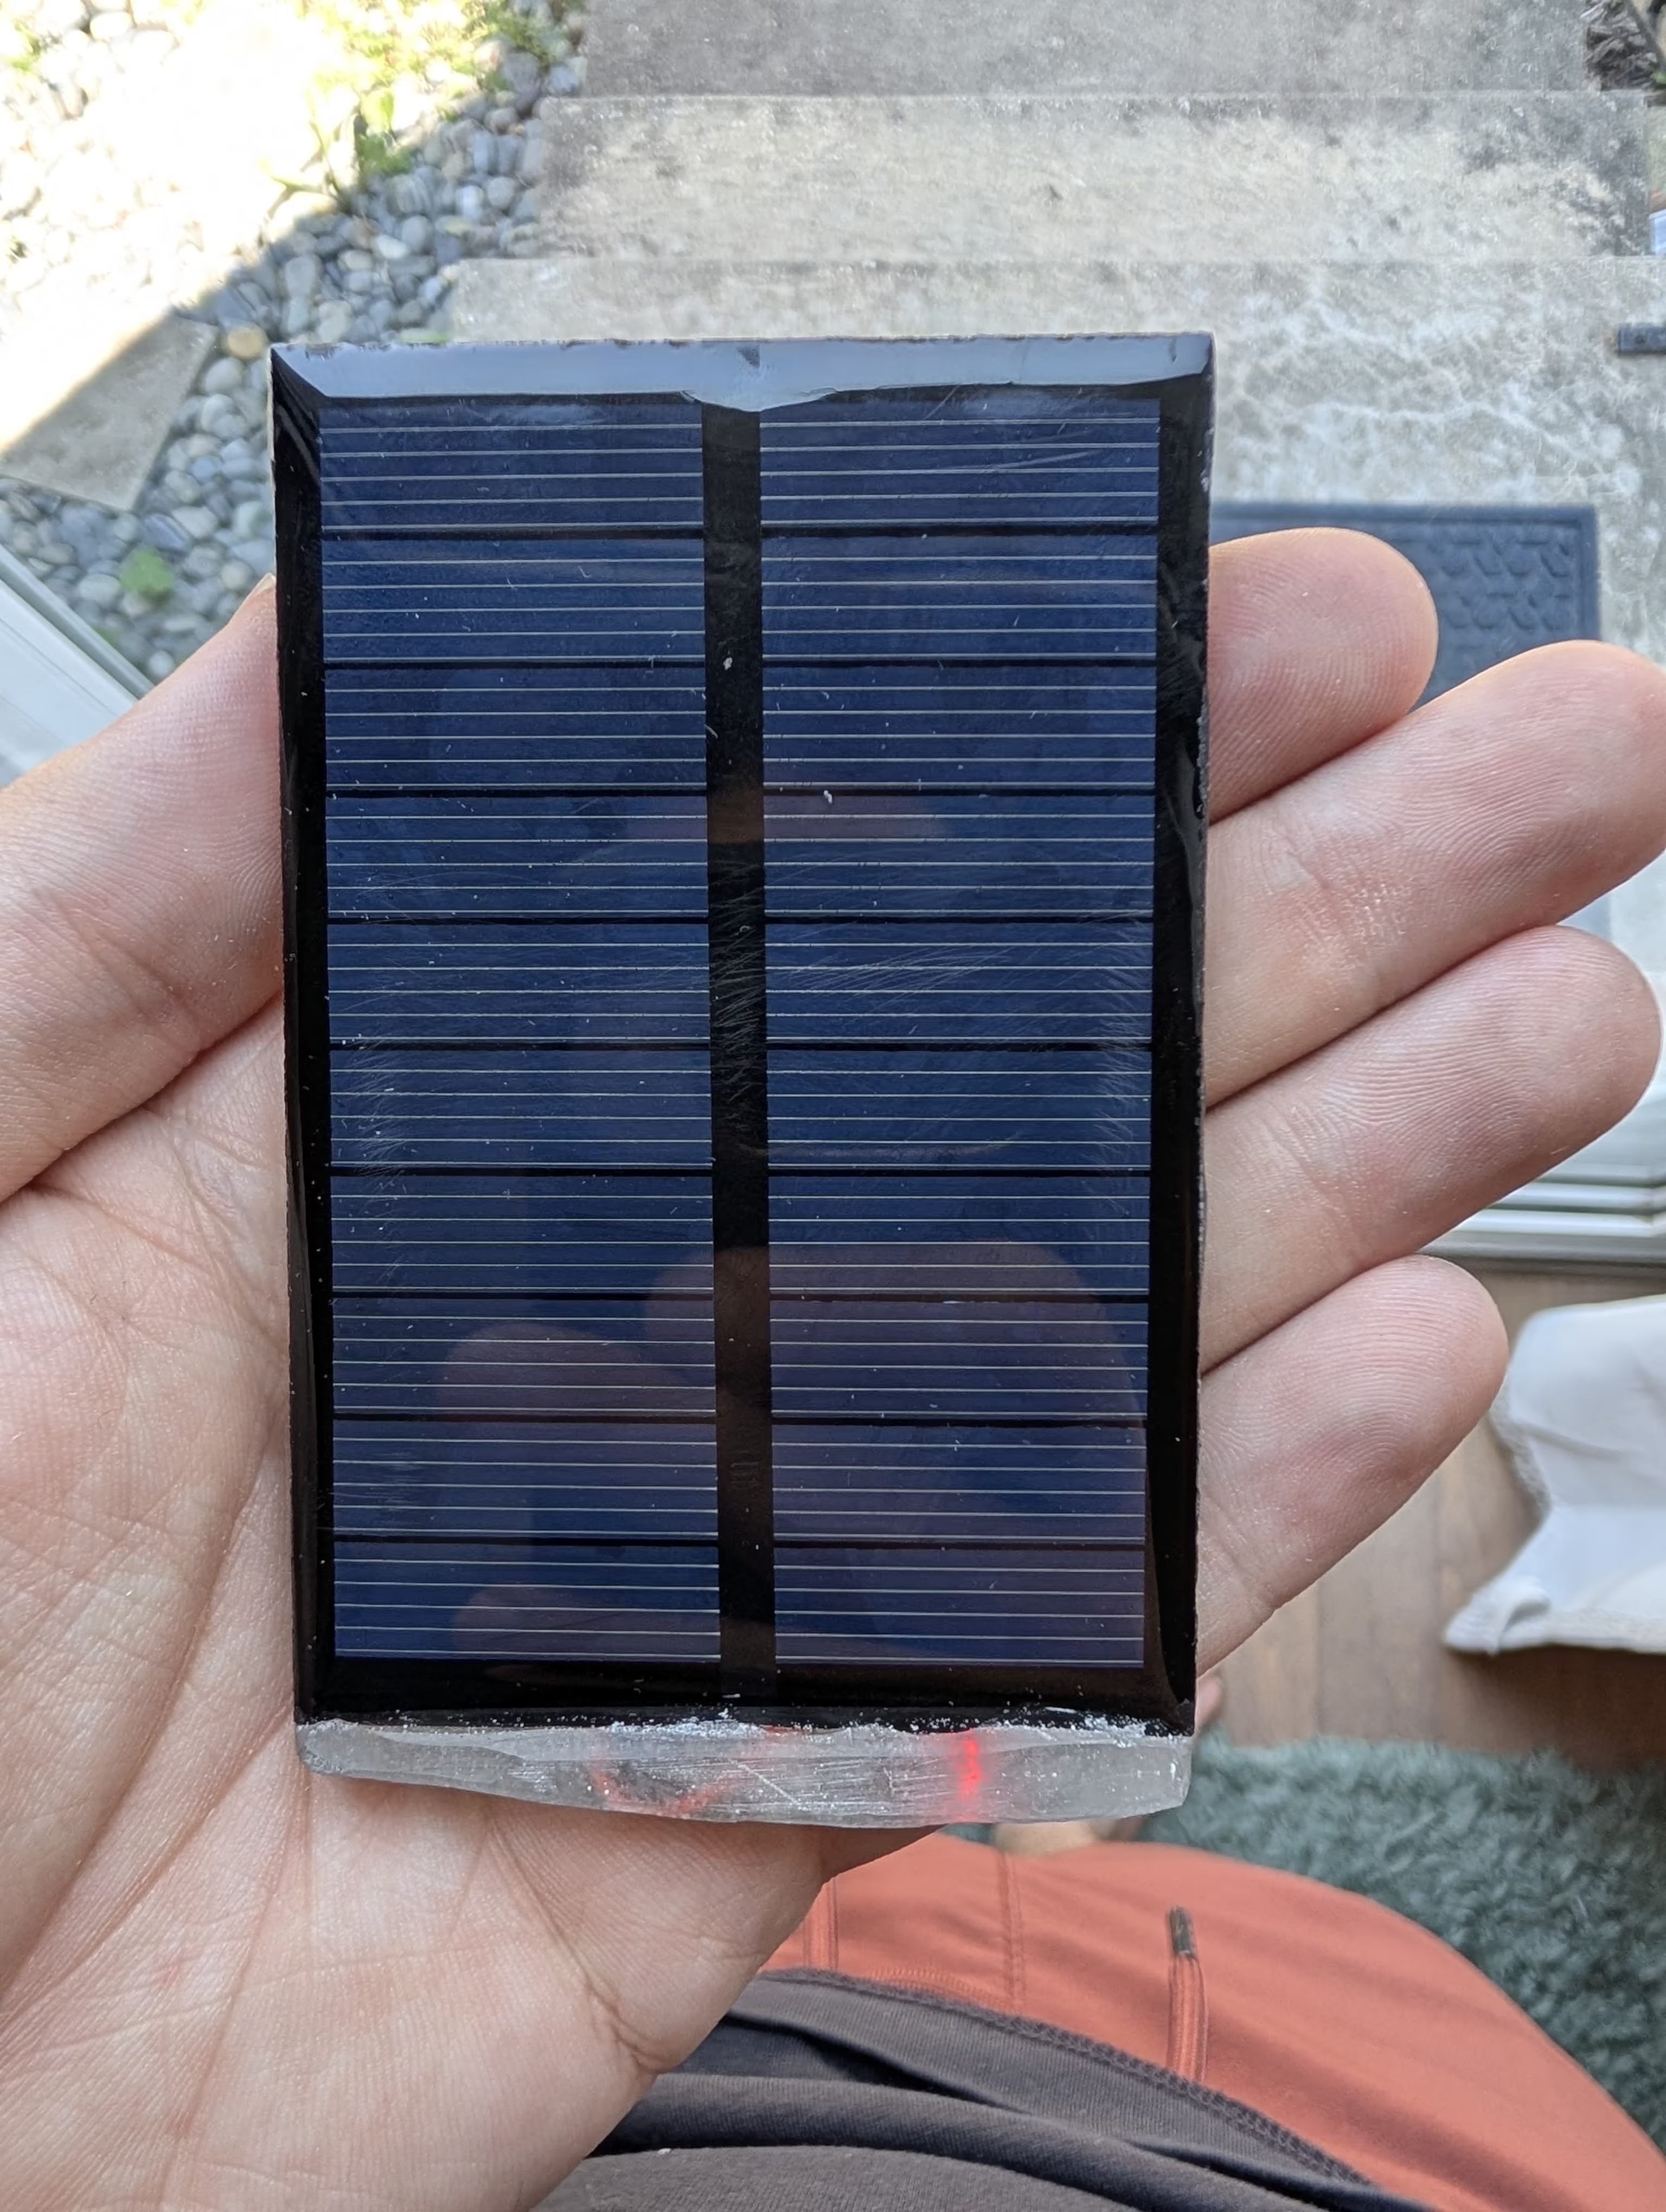
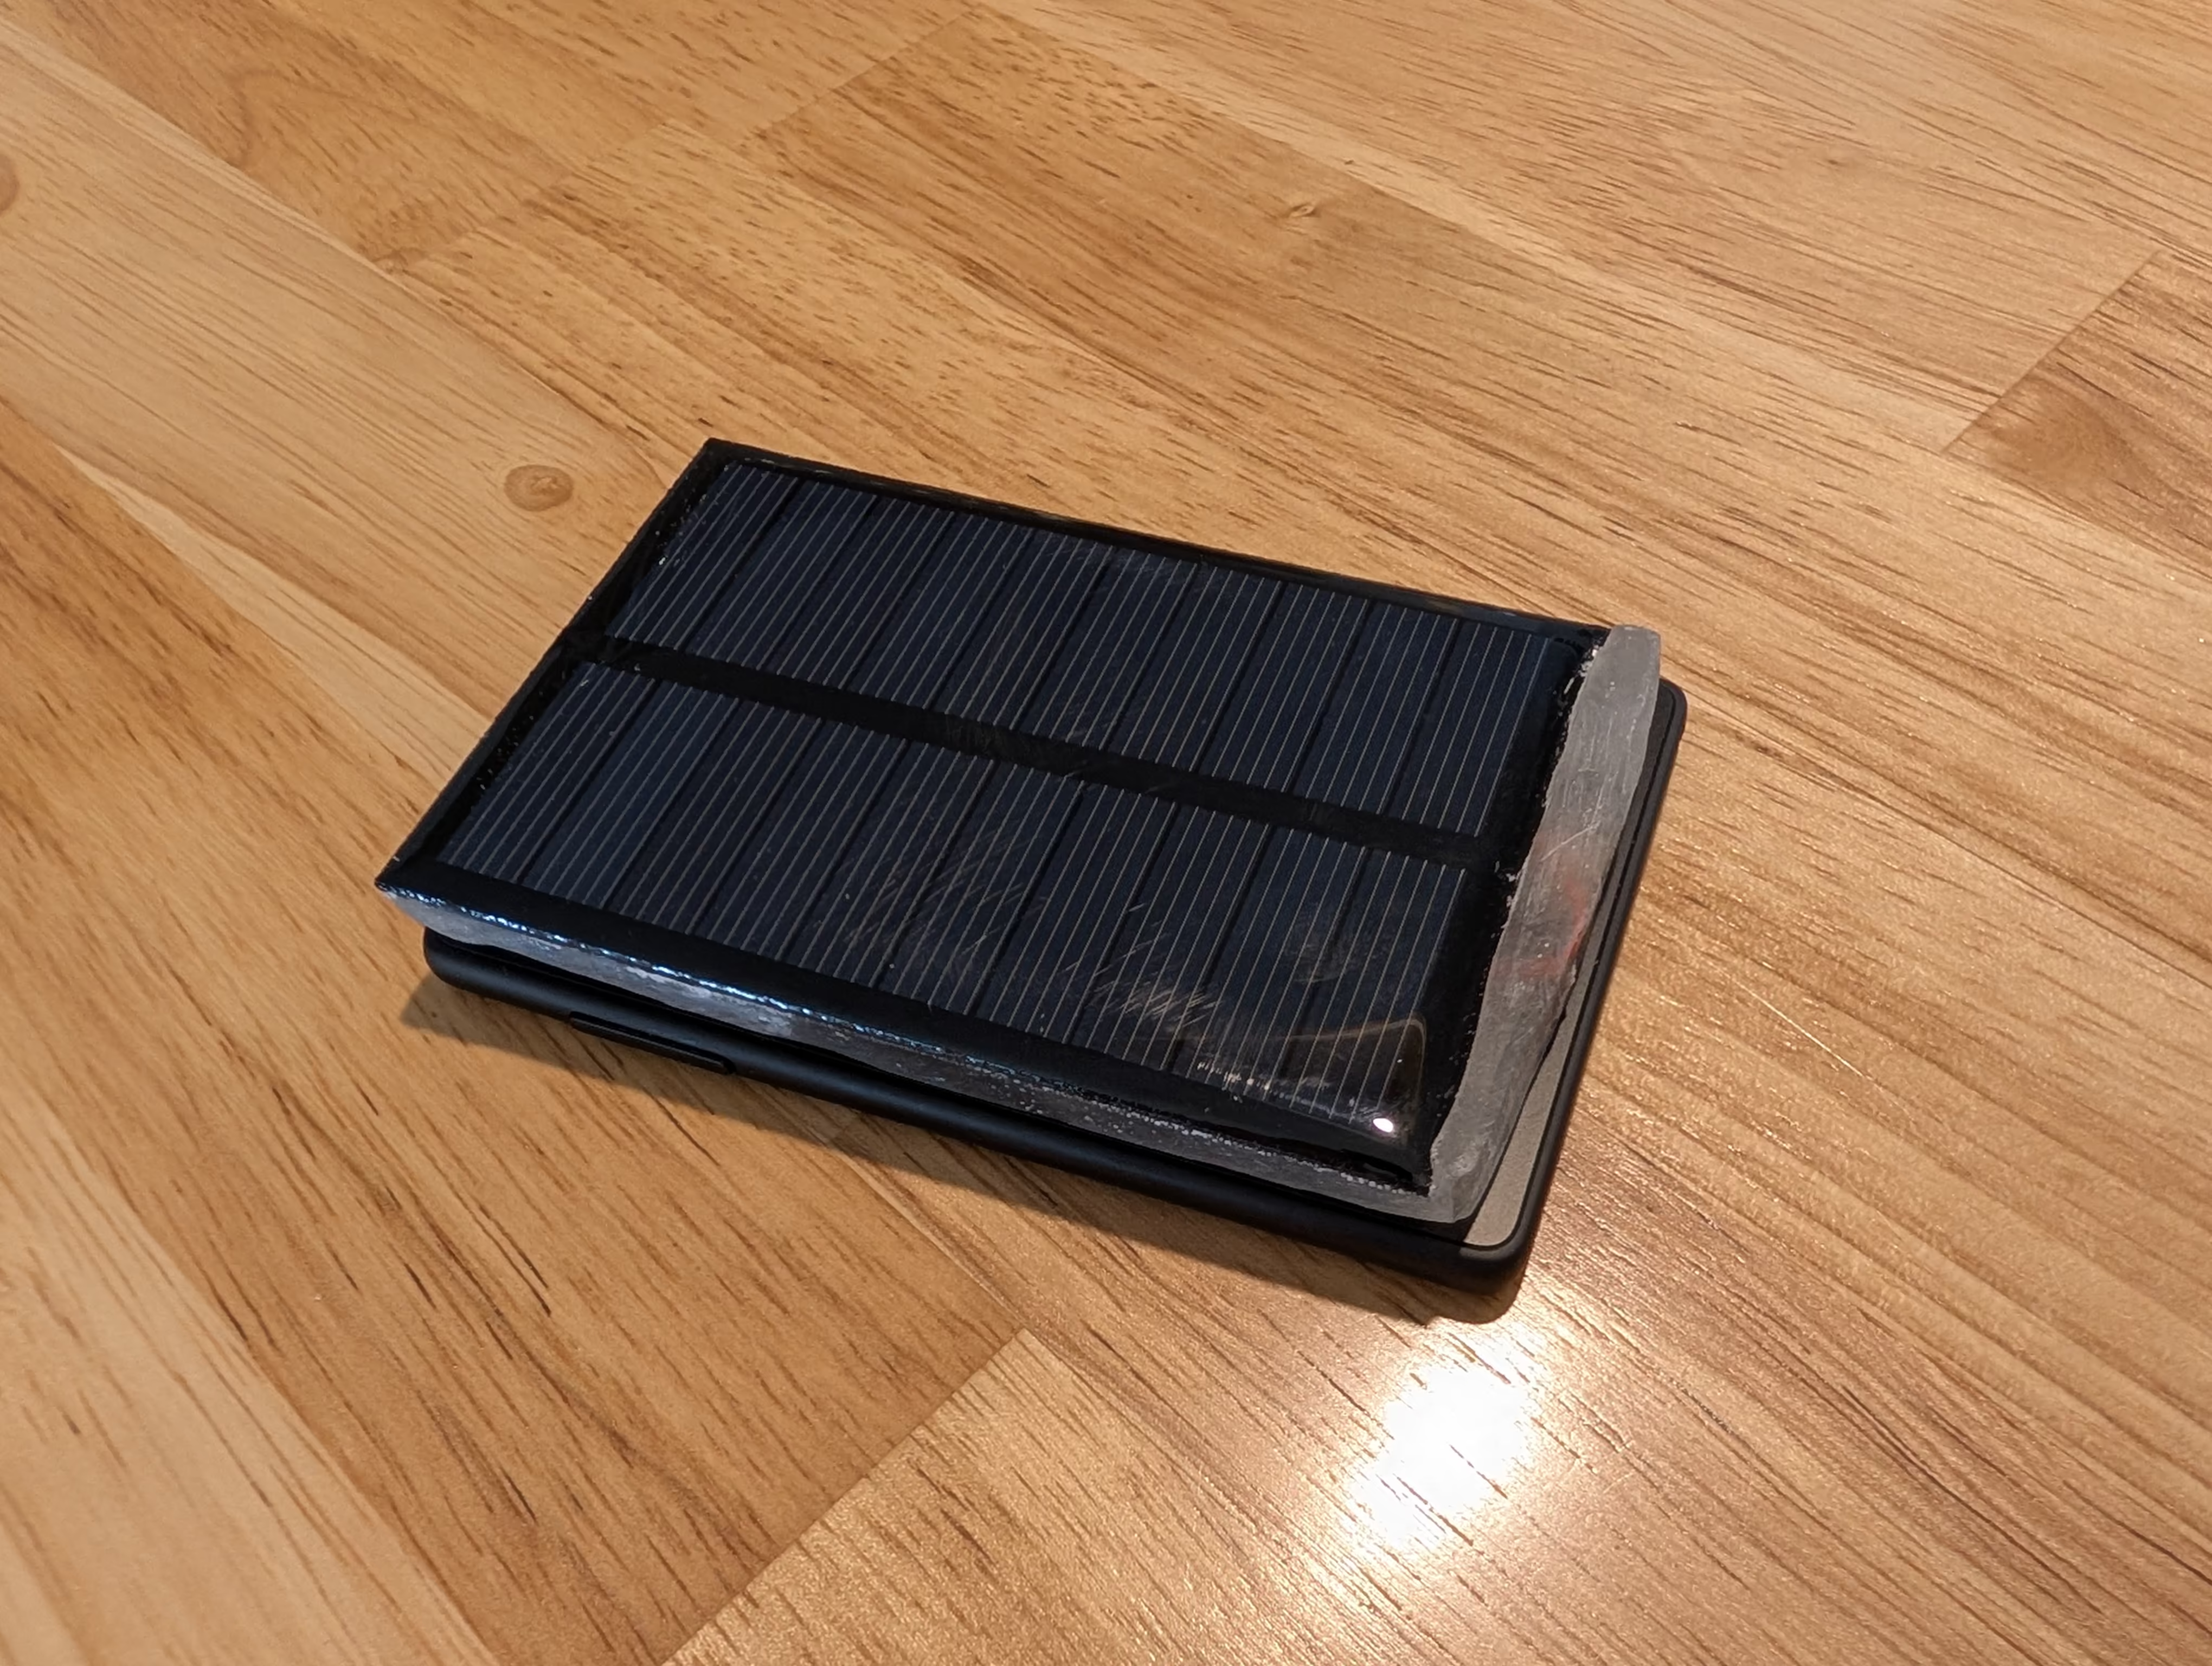
I love my XTEINK X3 (running Crosspoint), and wondered if I could make a quick and dirty solar backpack for it. I planned a better writeup but here I am anyway not letting perfect get in the way of done.
Pictures
Battery
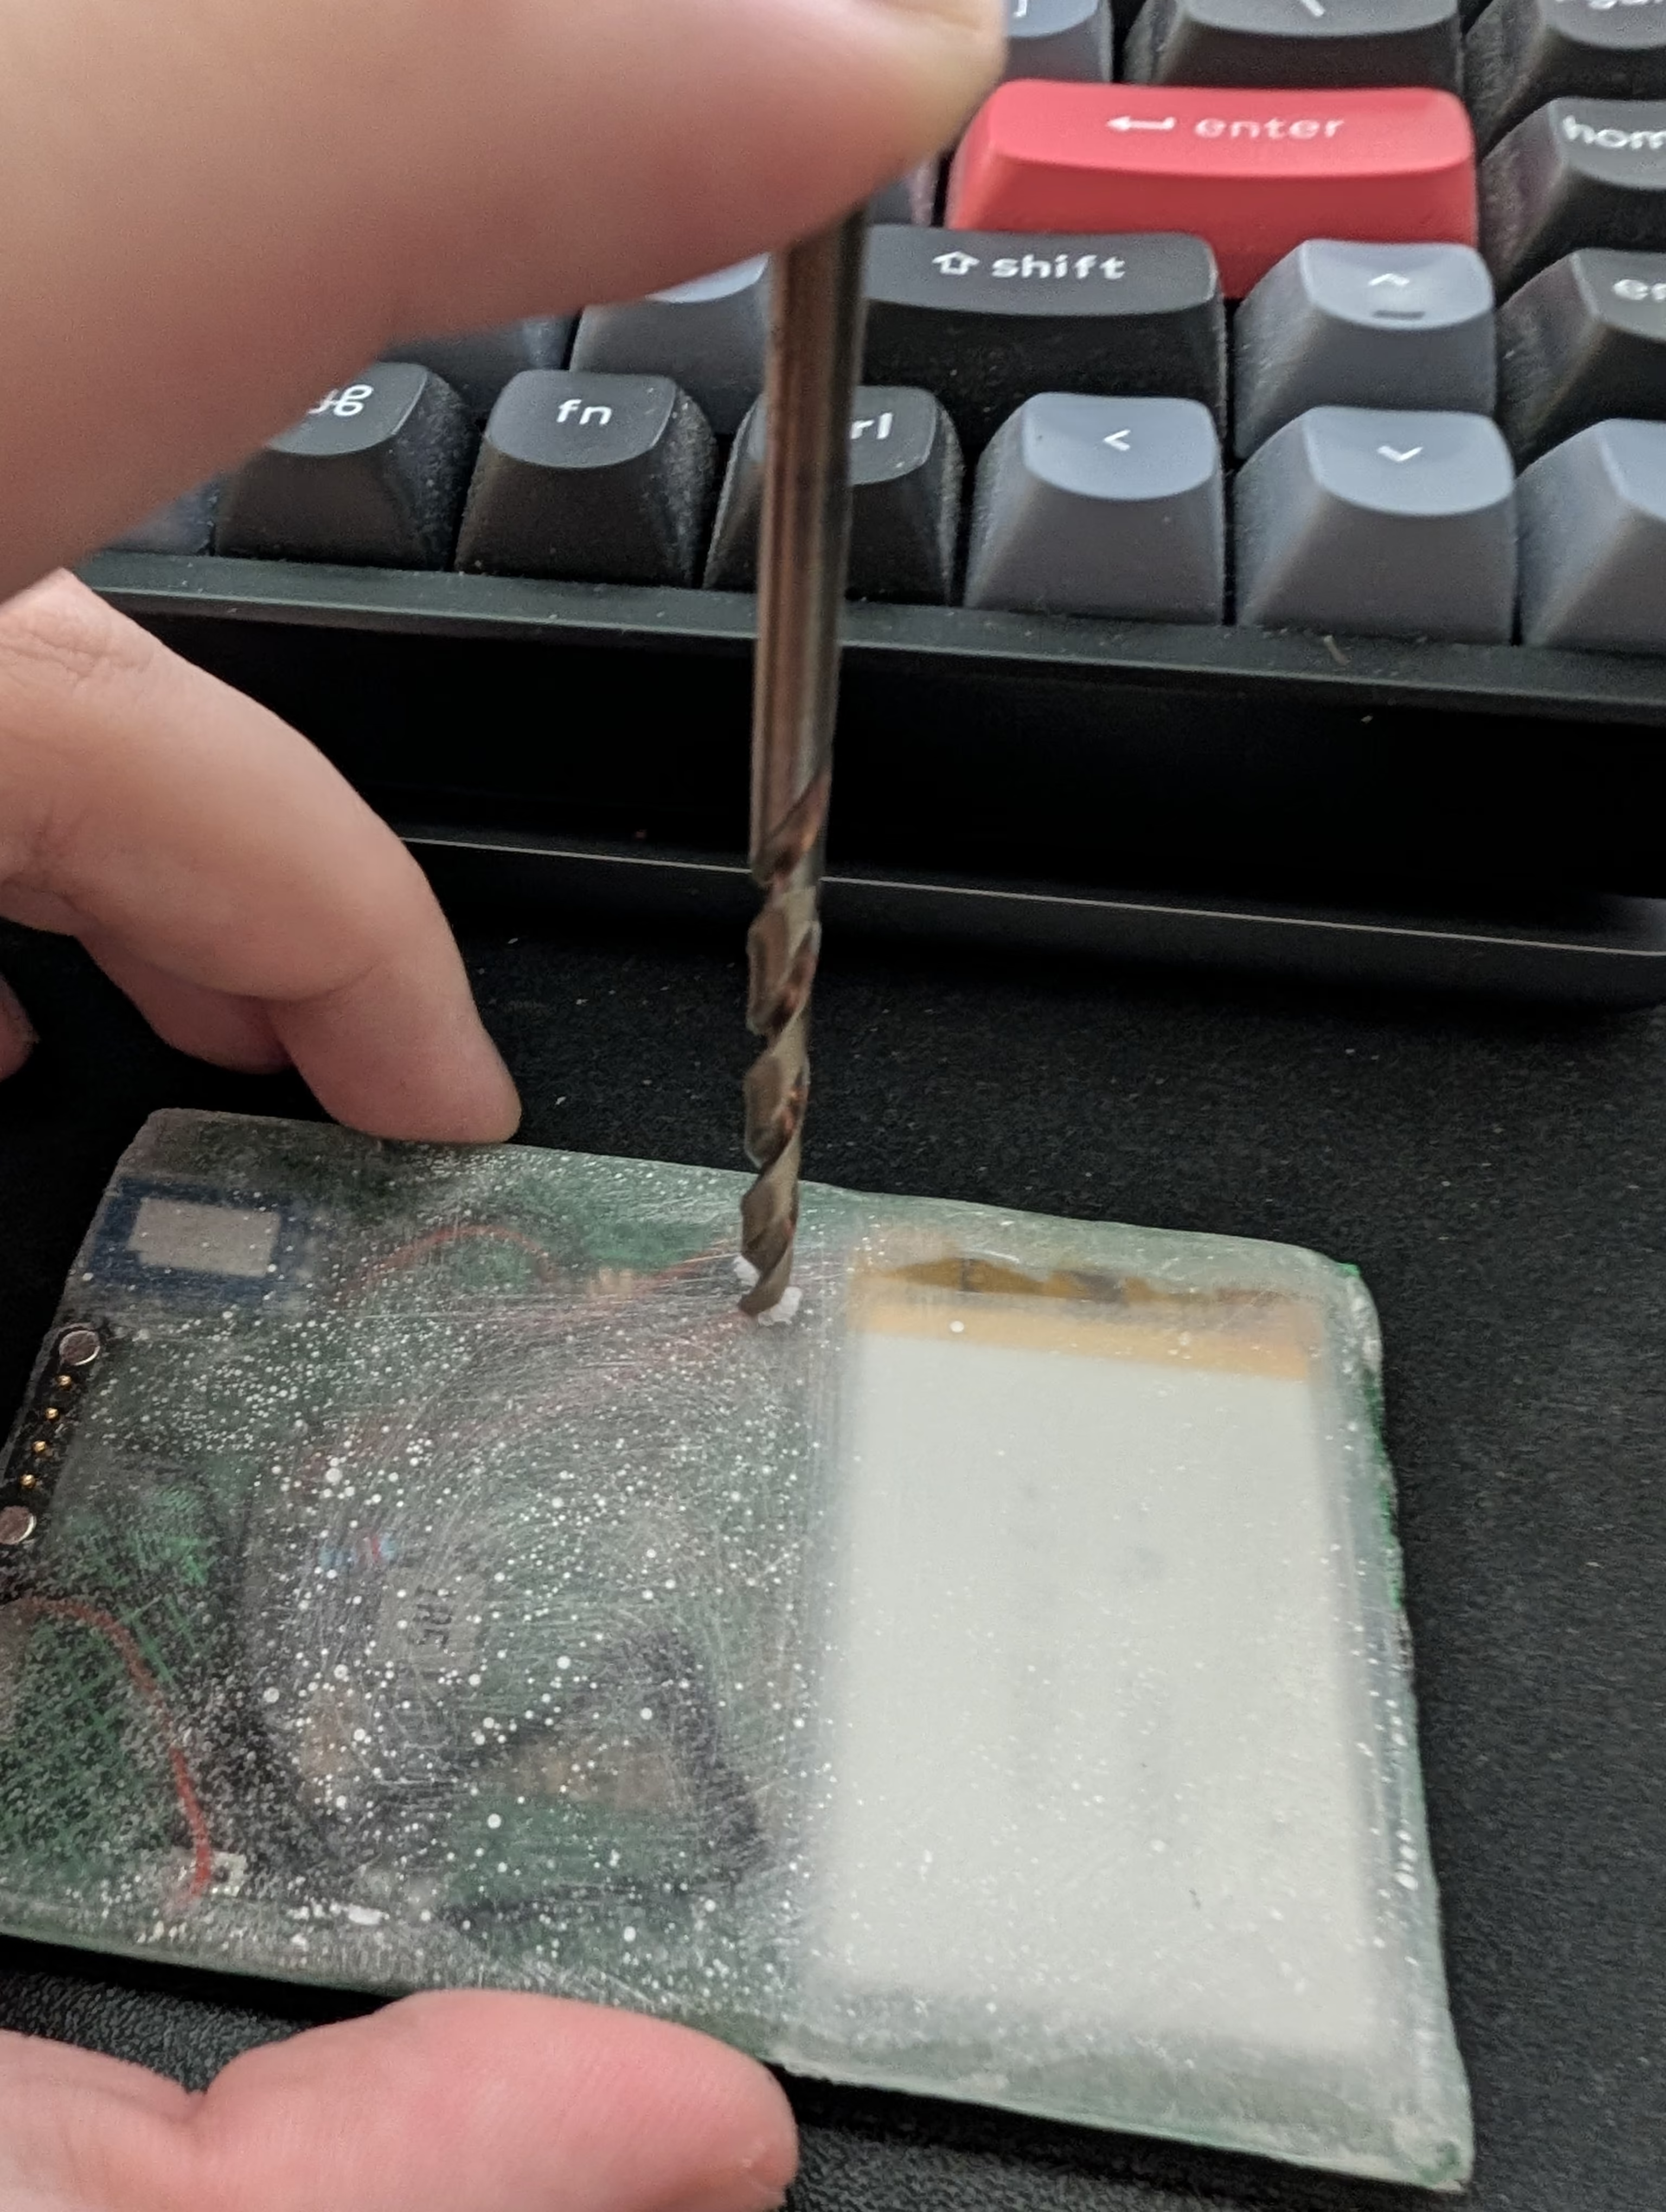
Mold/Pour
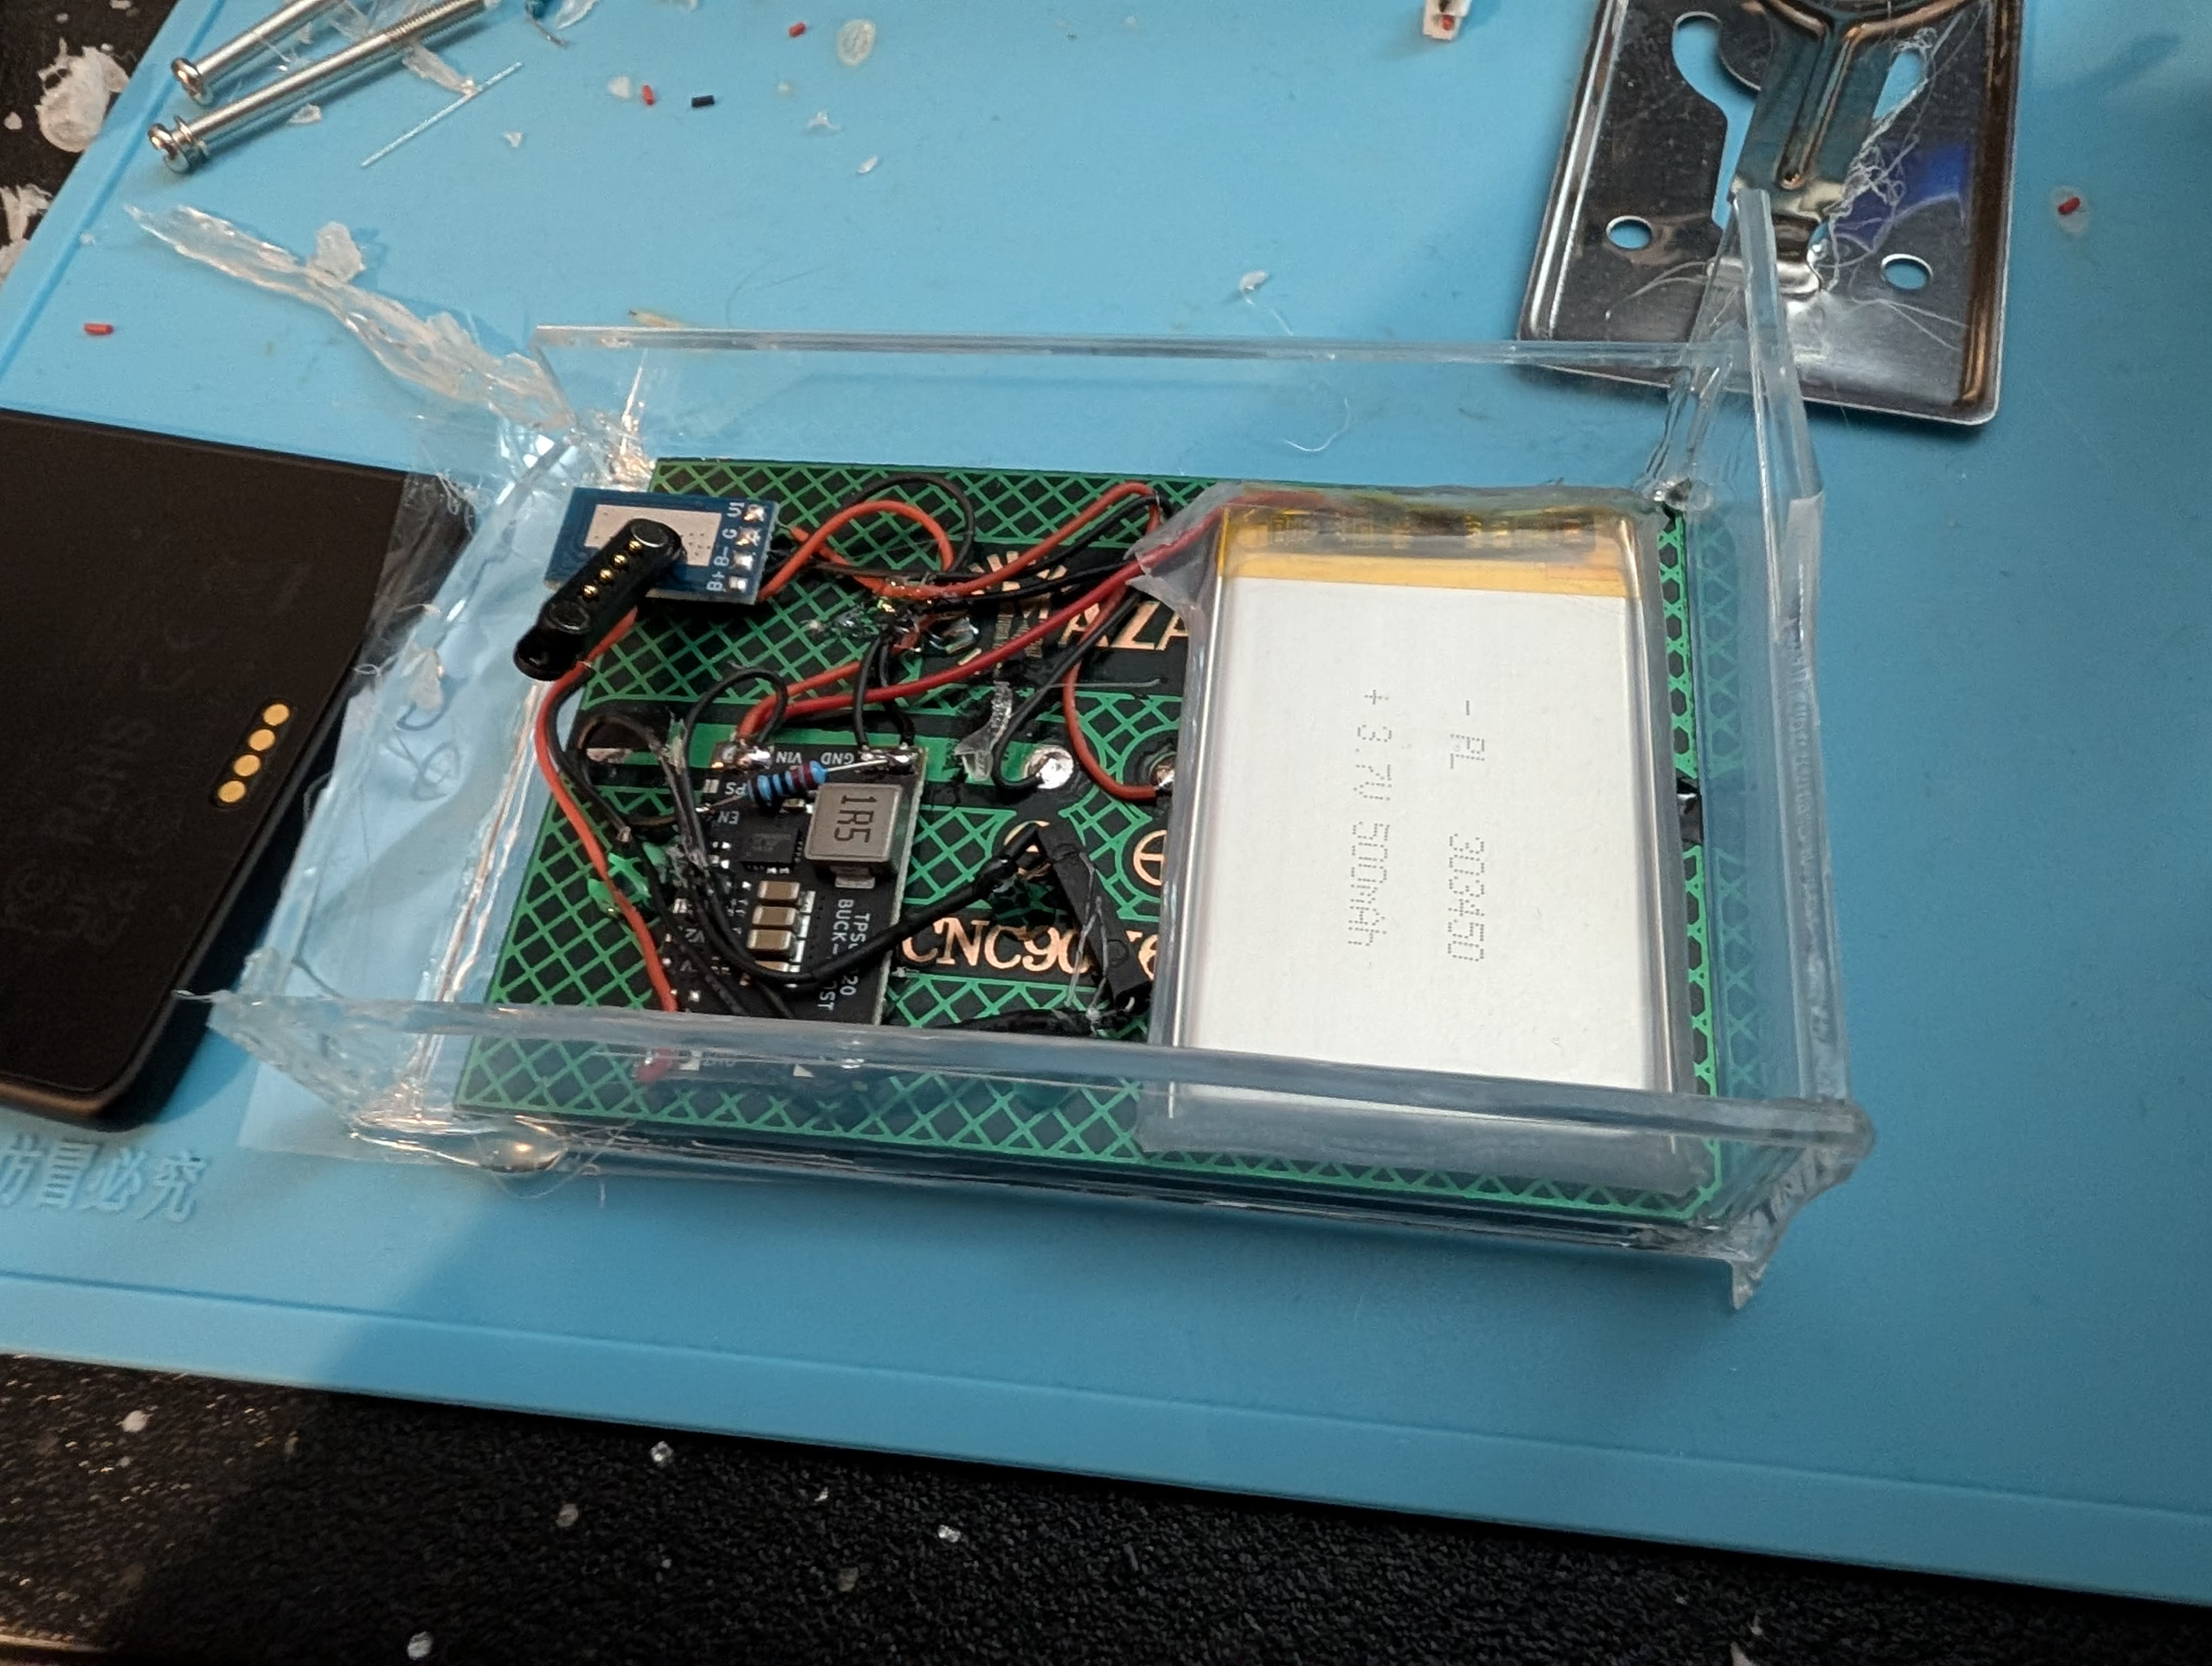
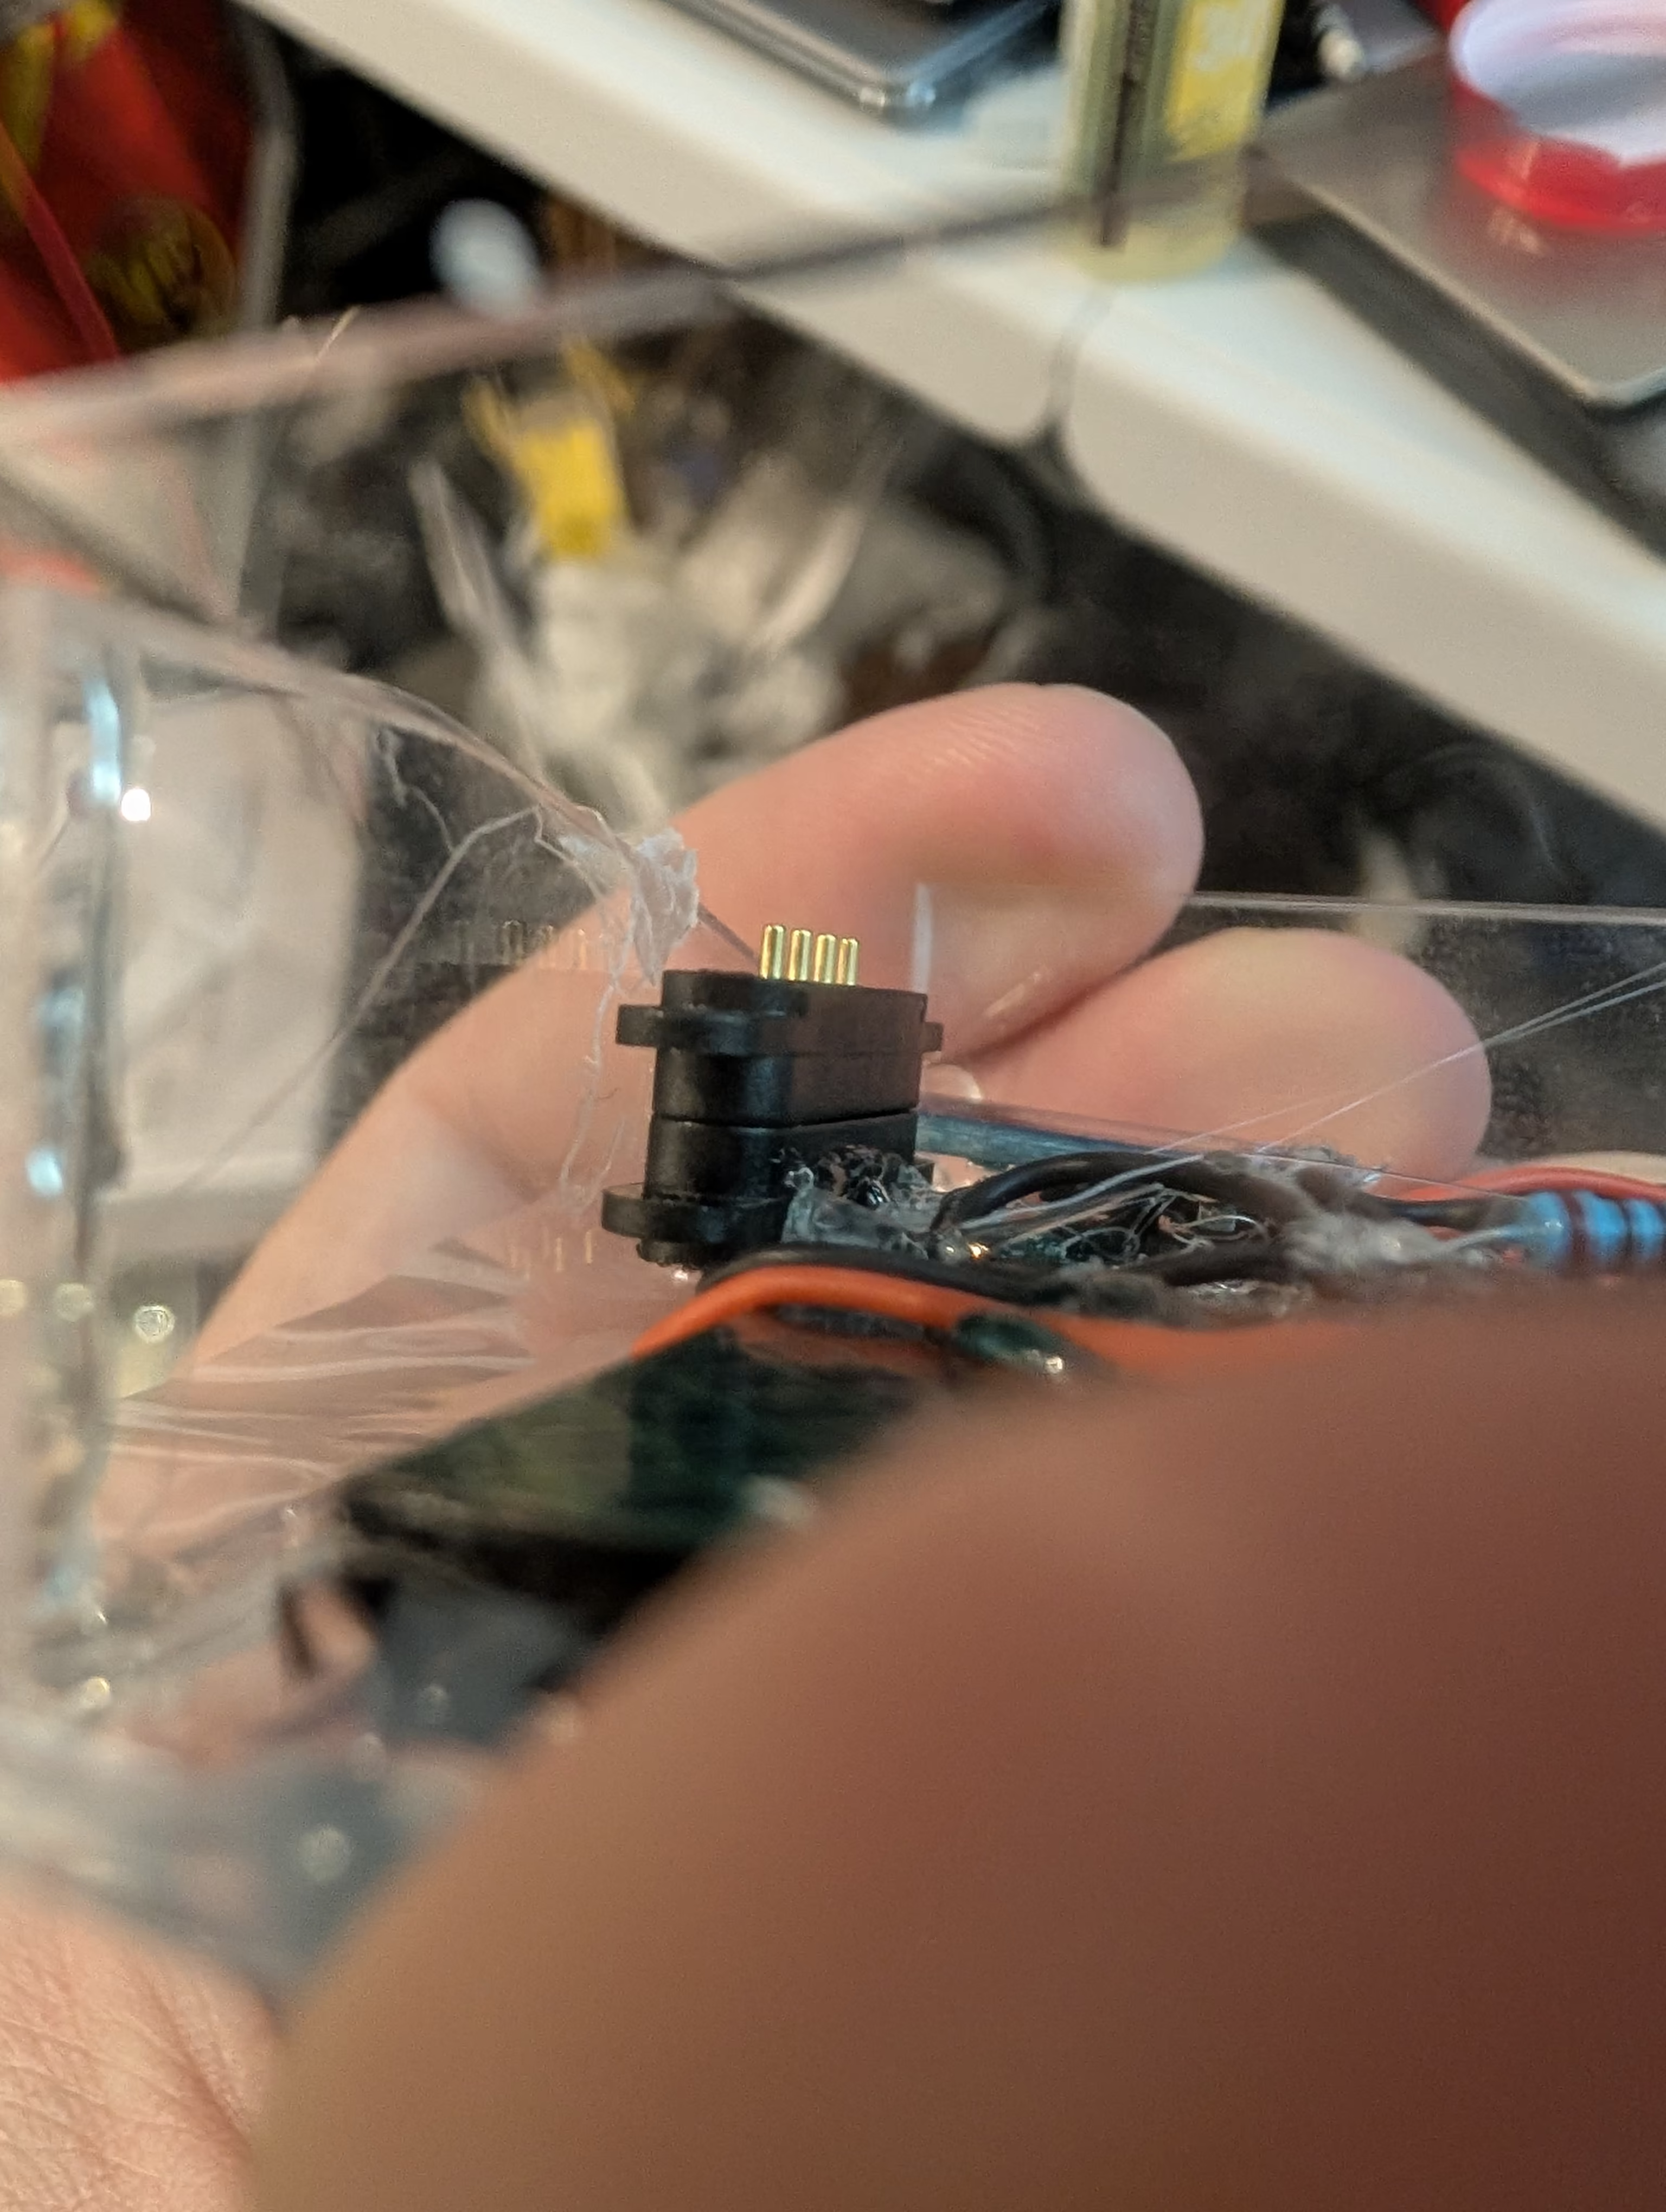
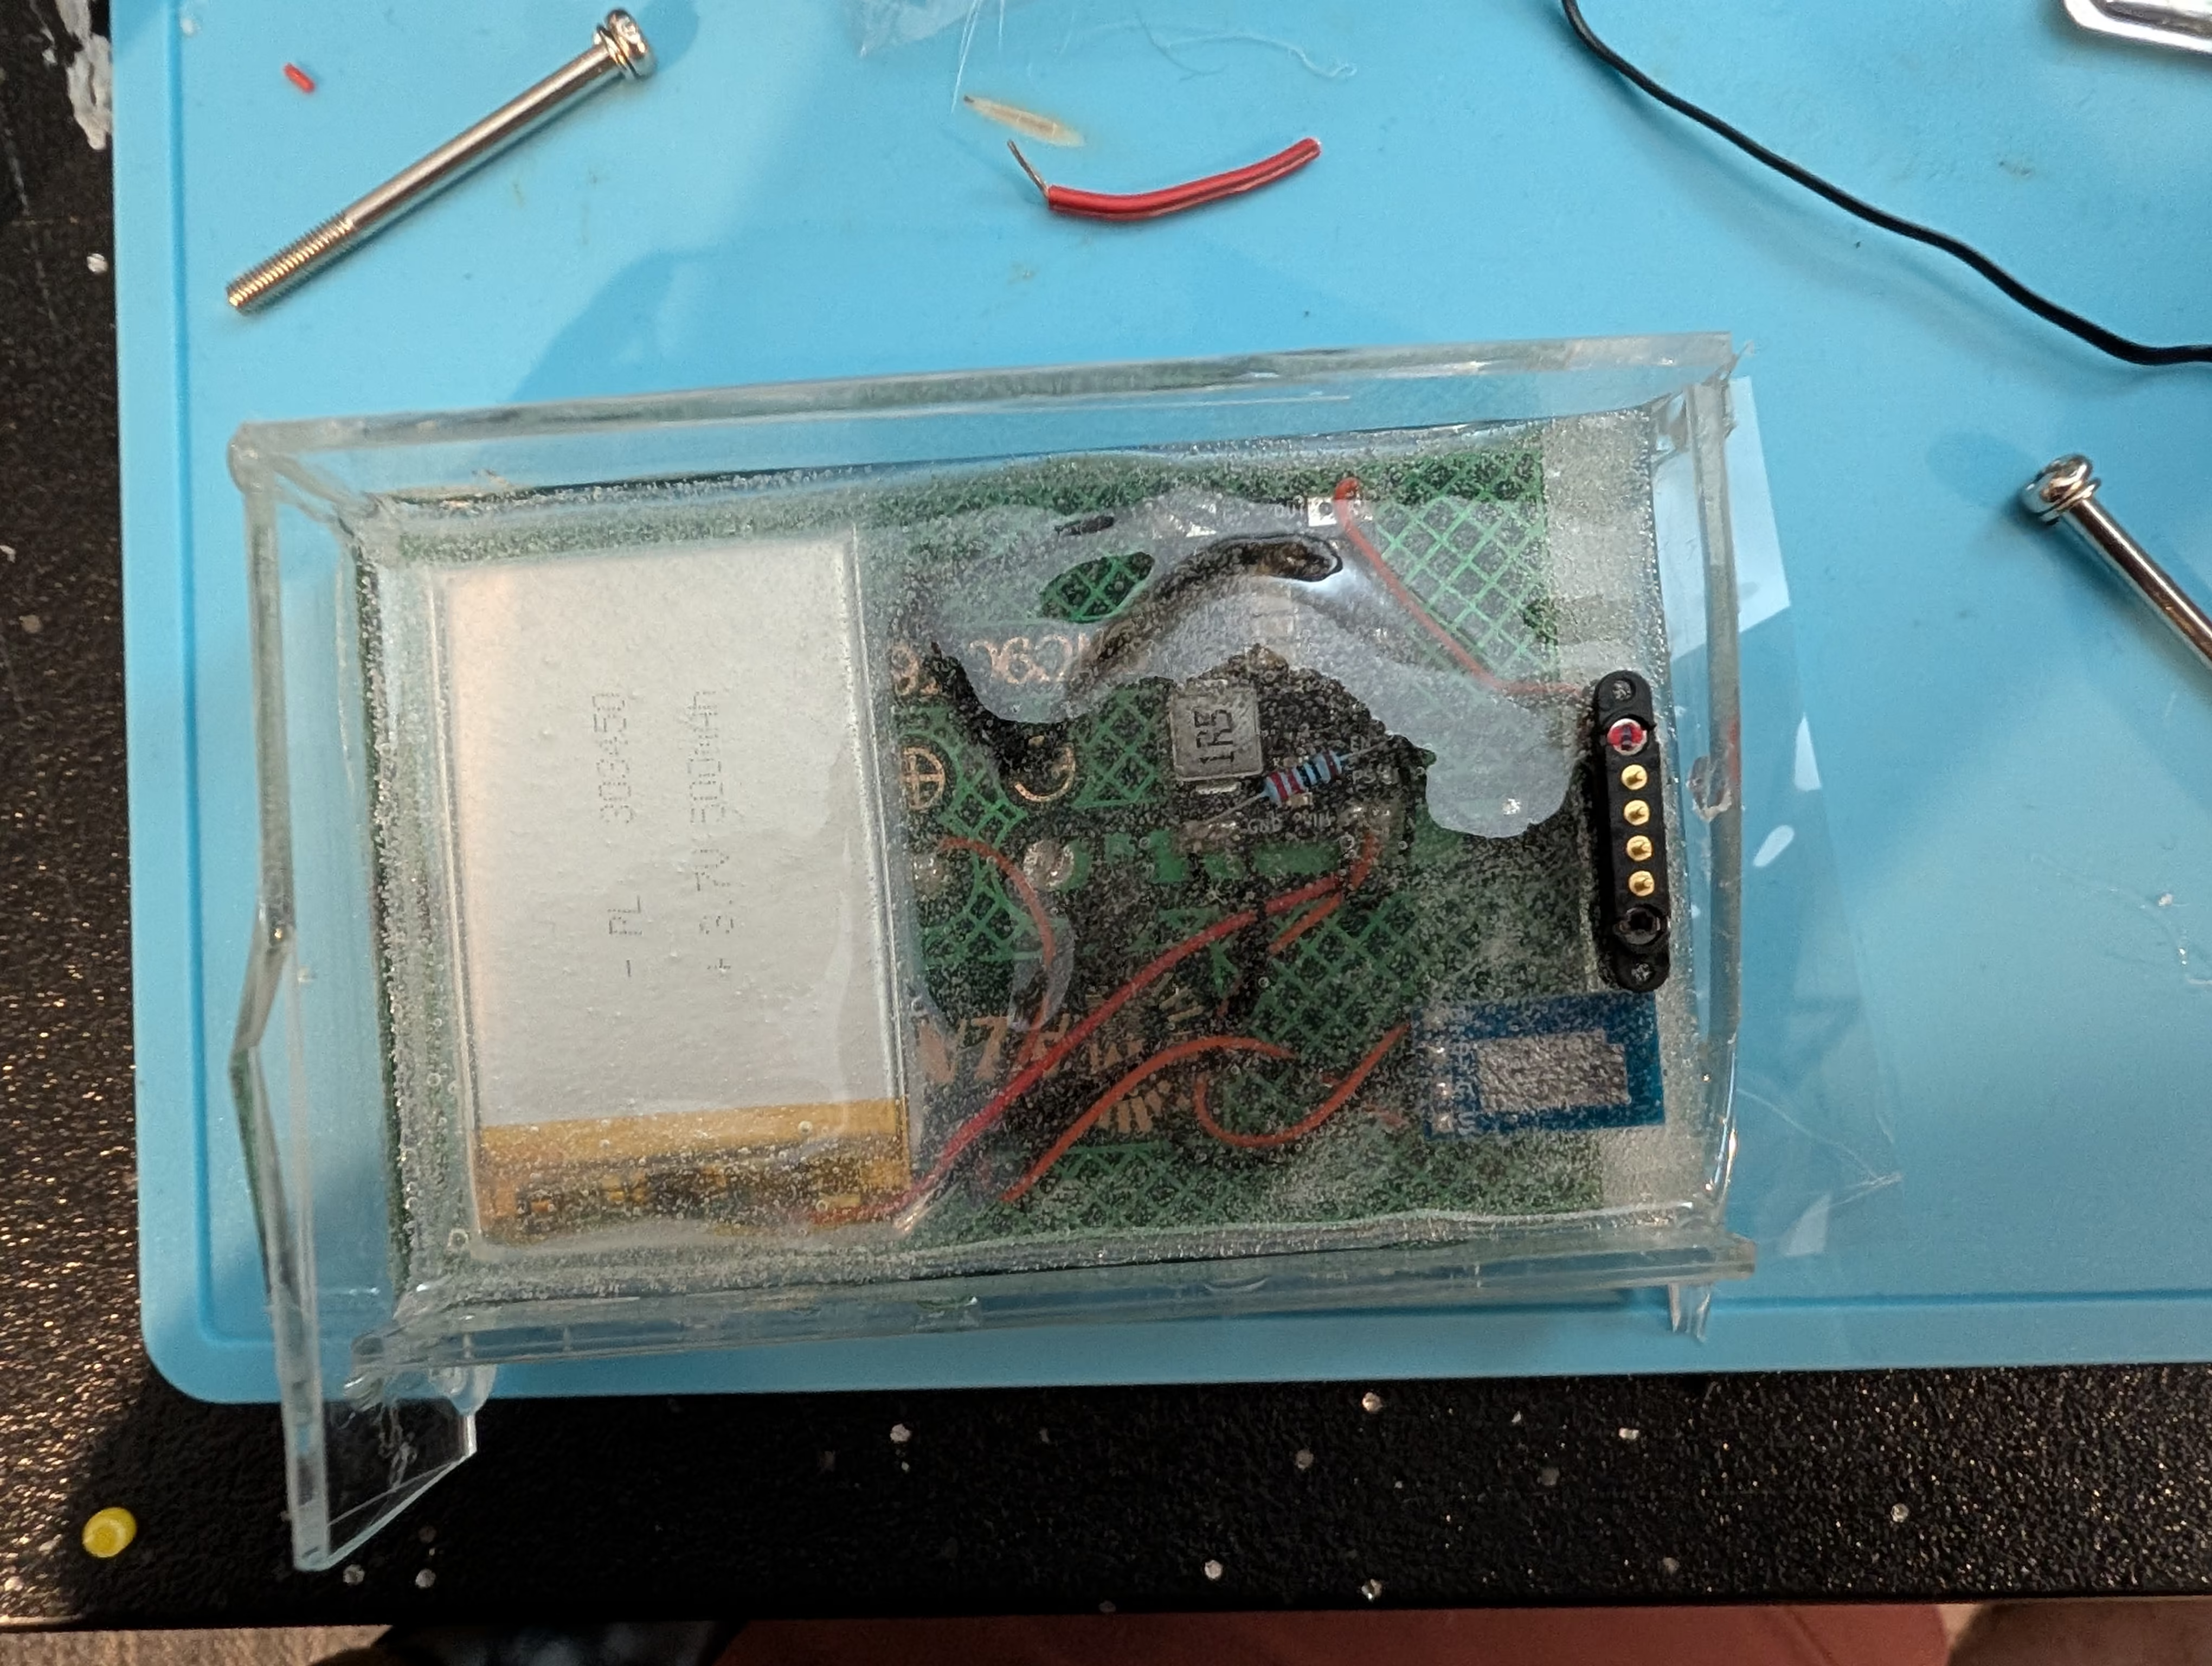
Pour Results
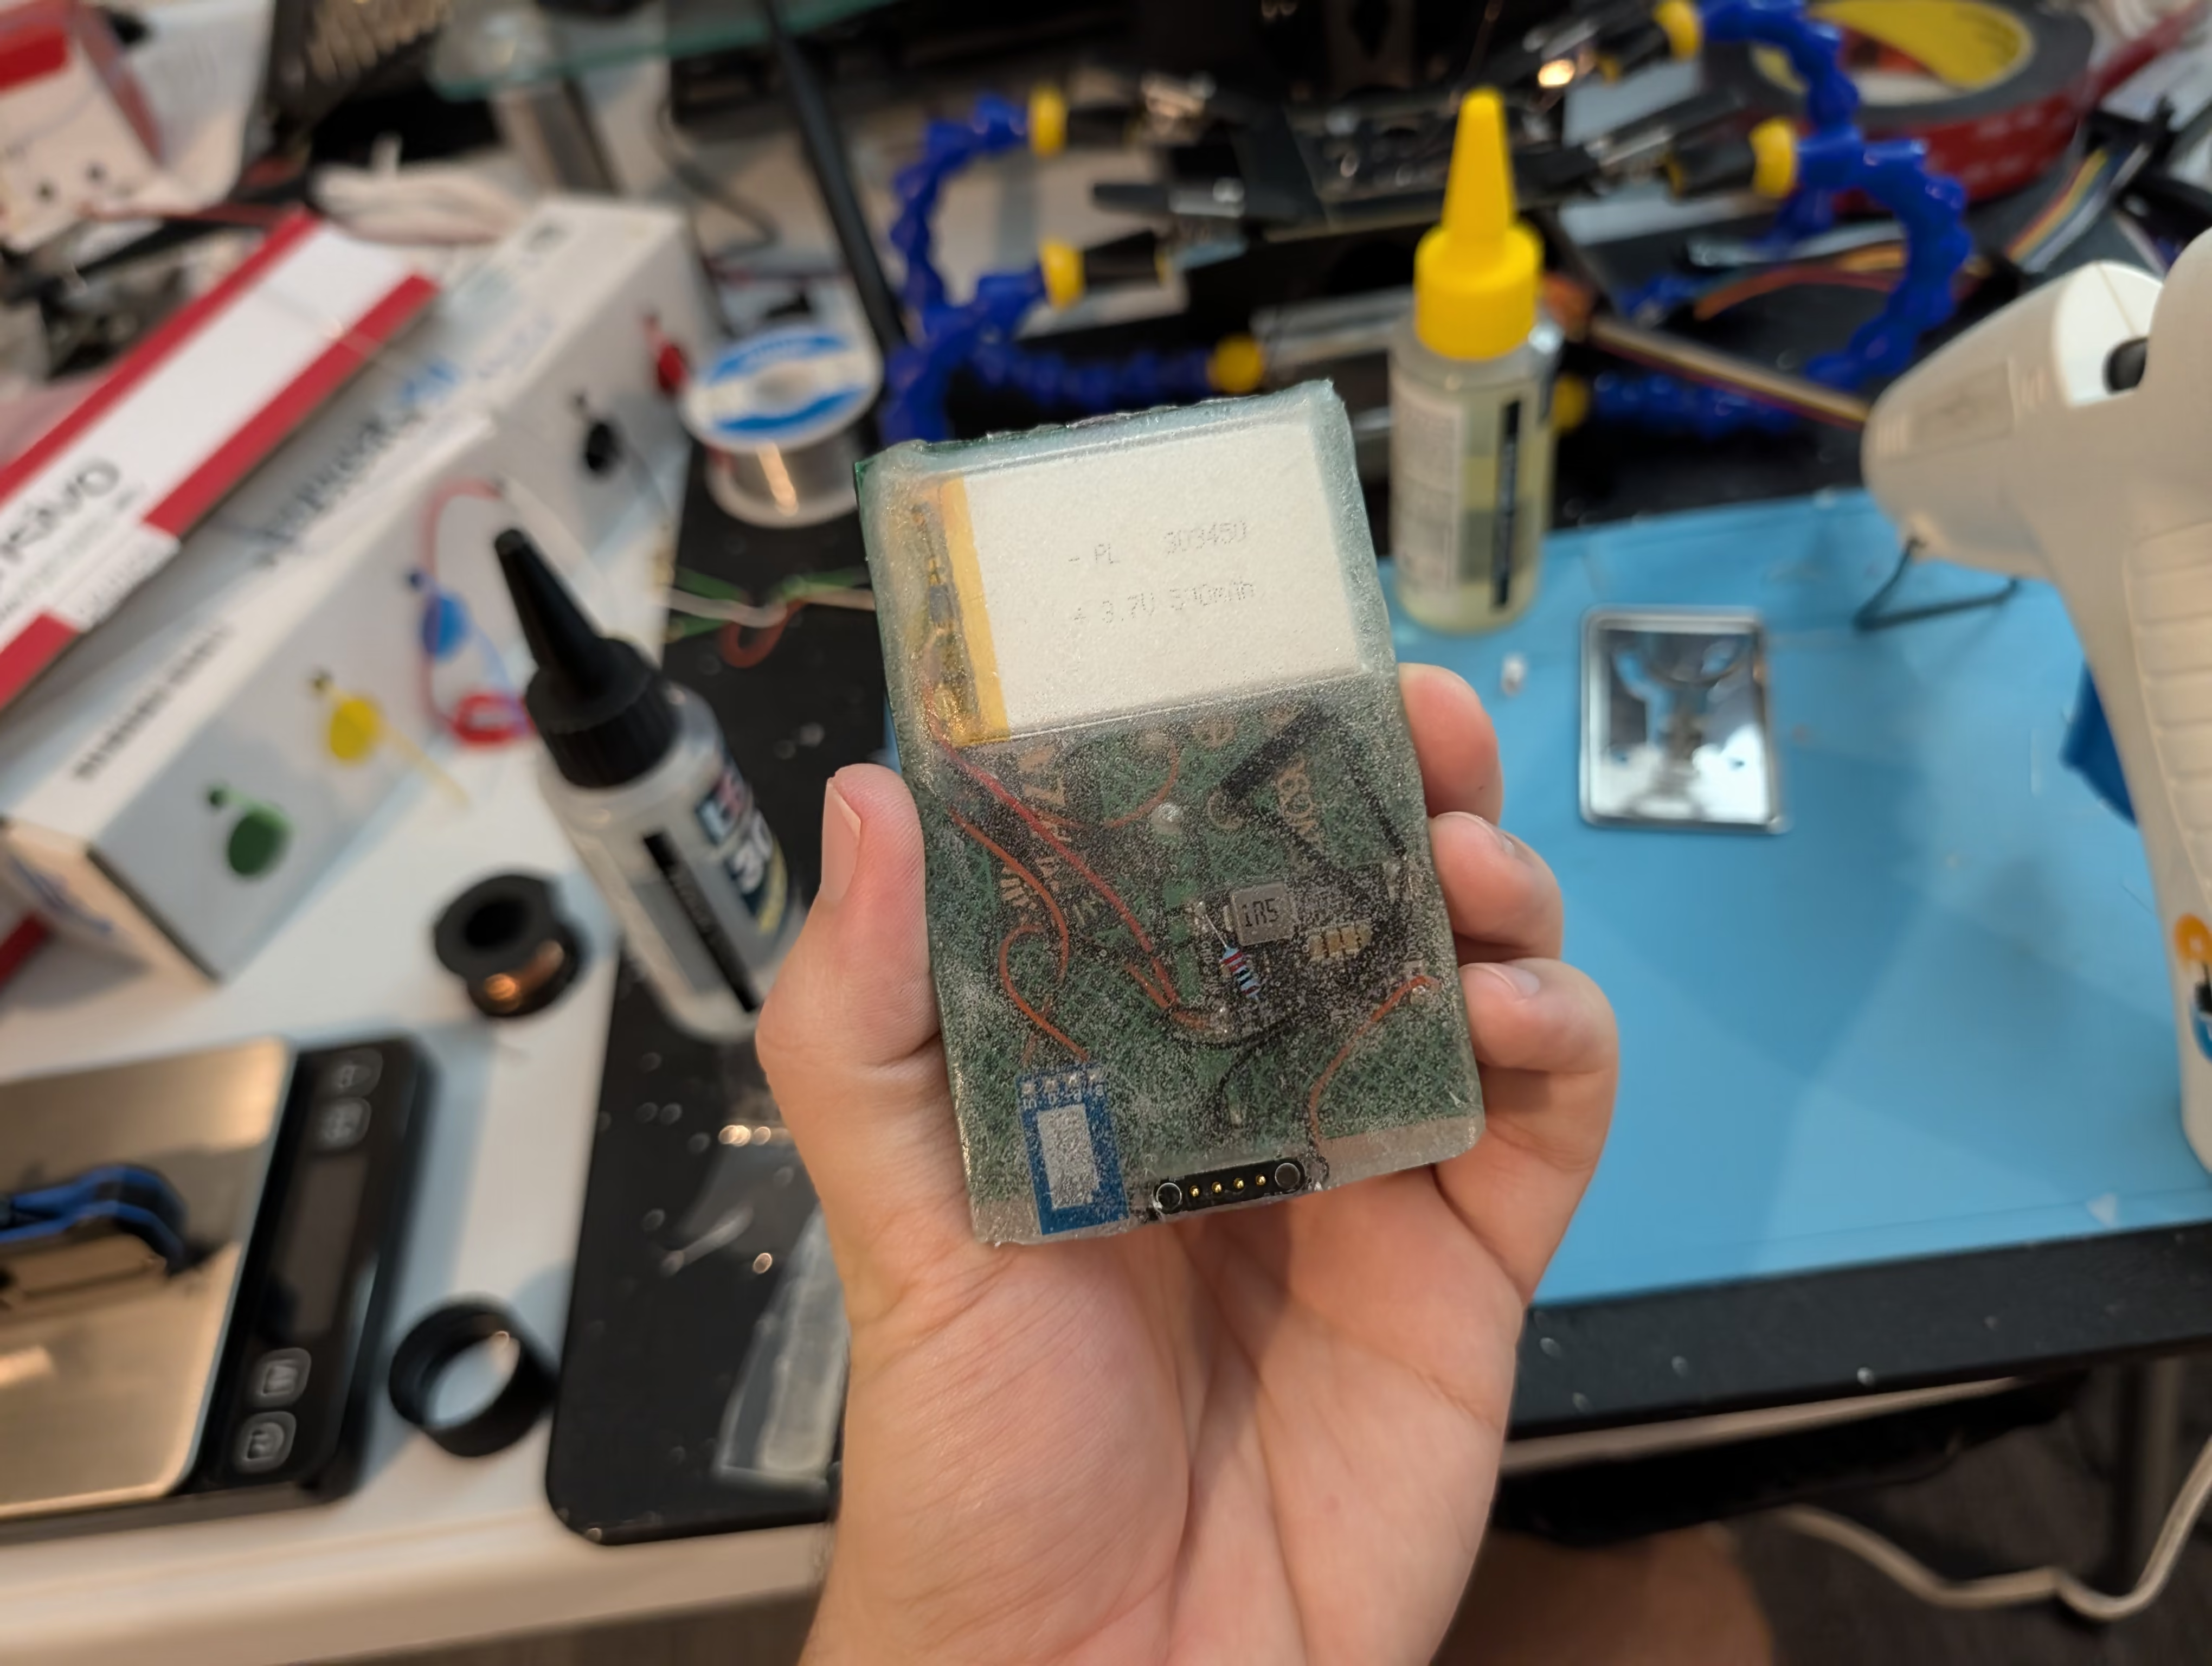
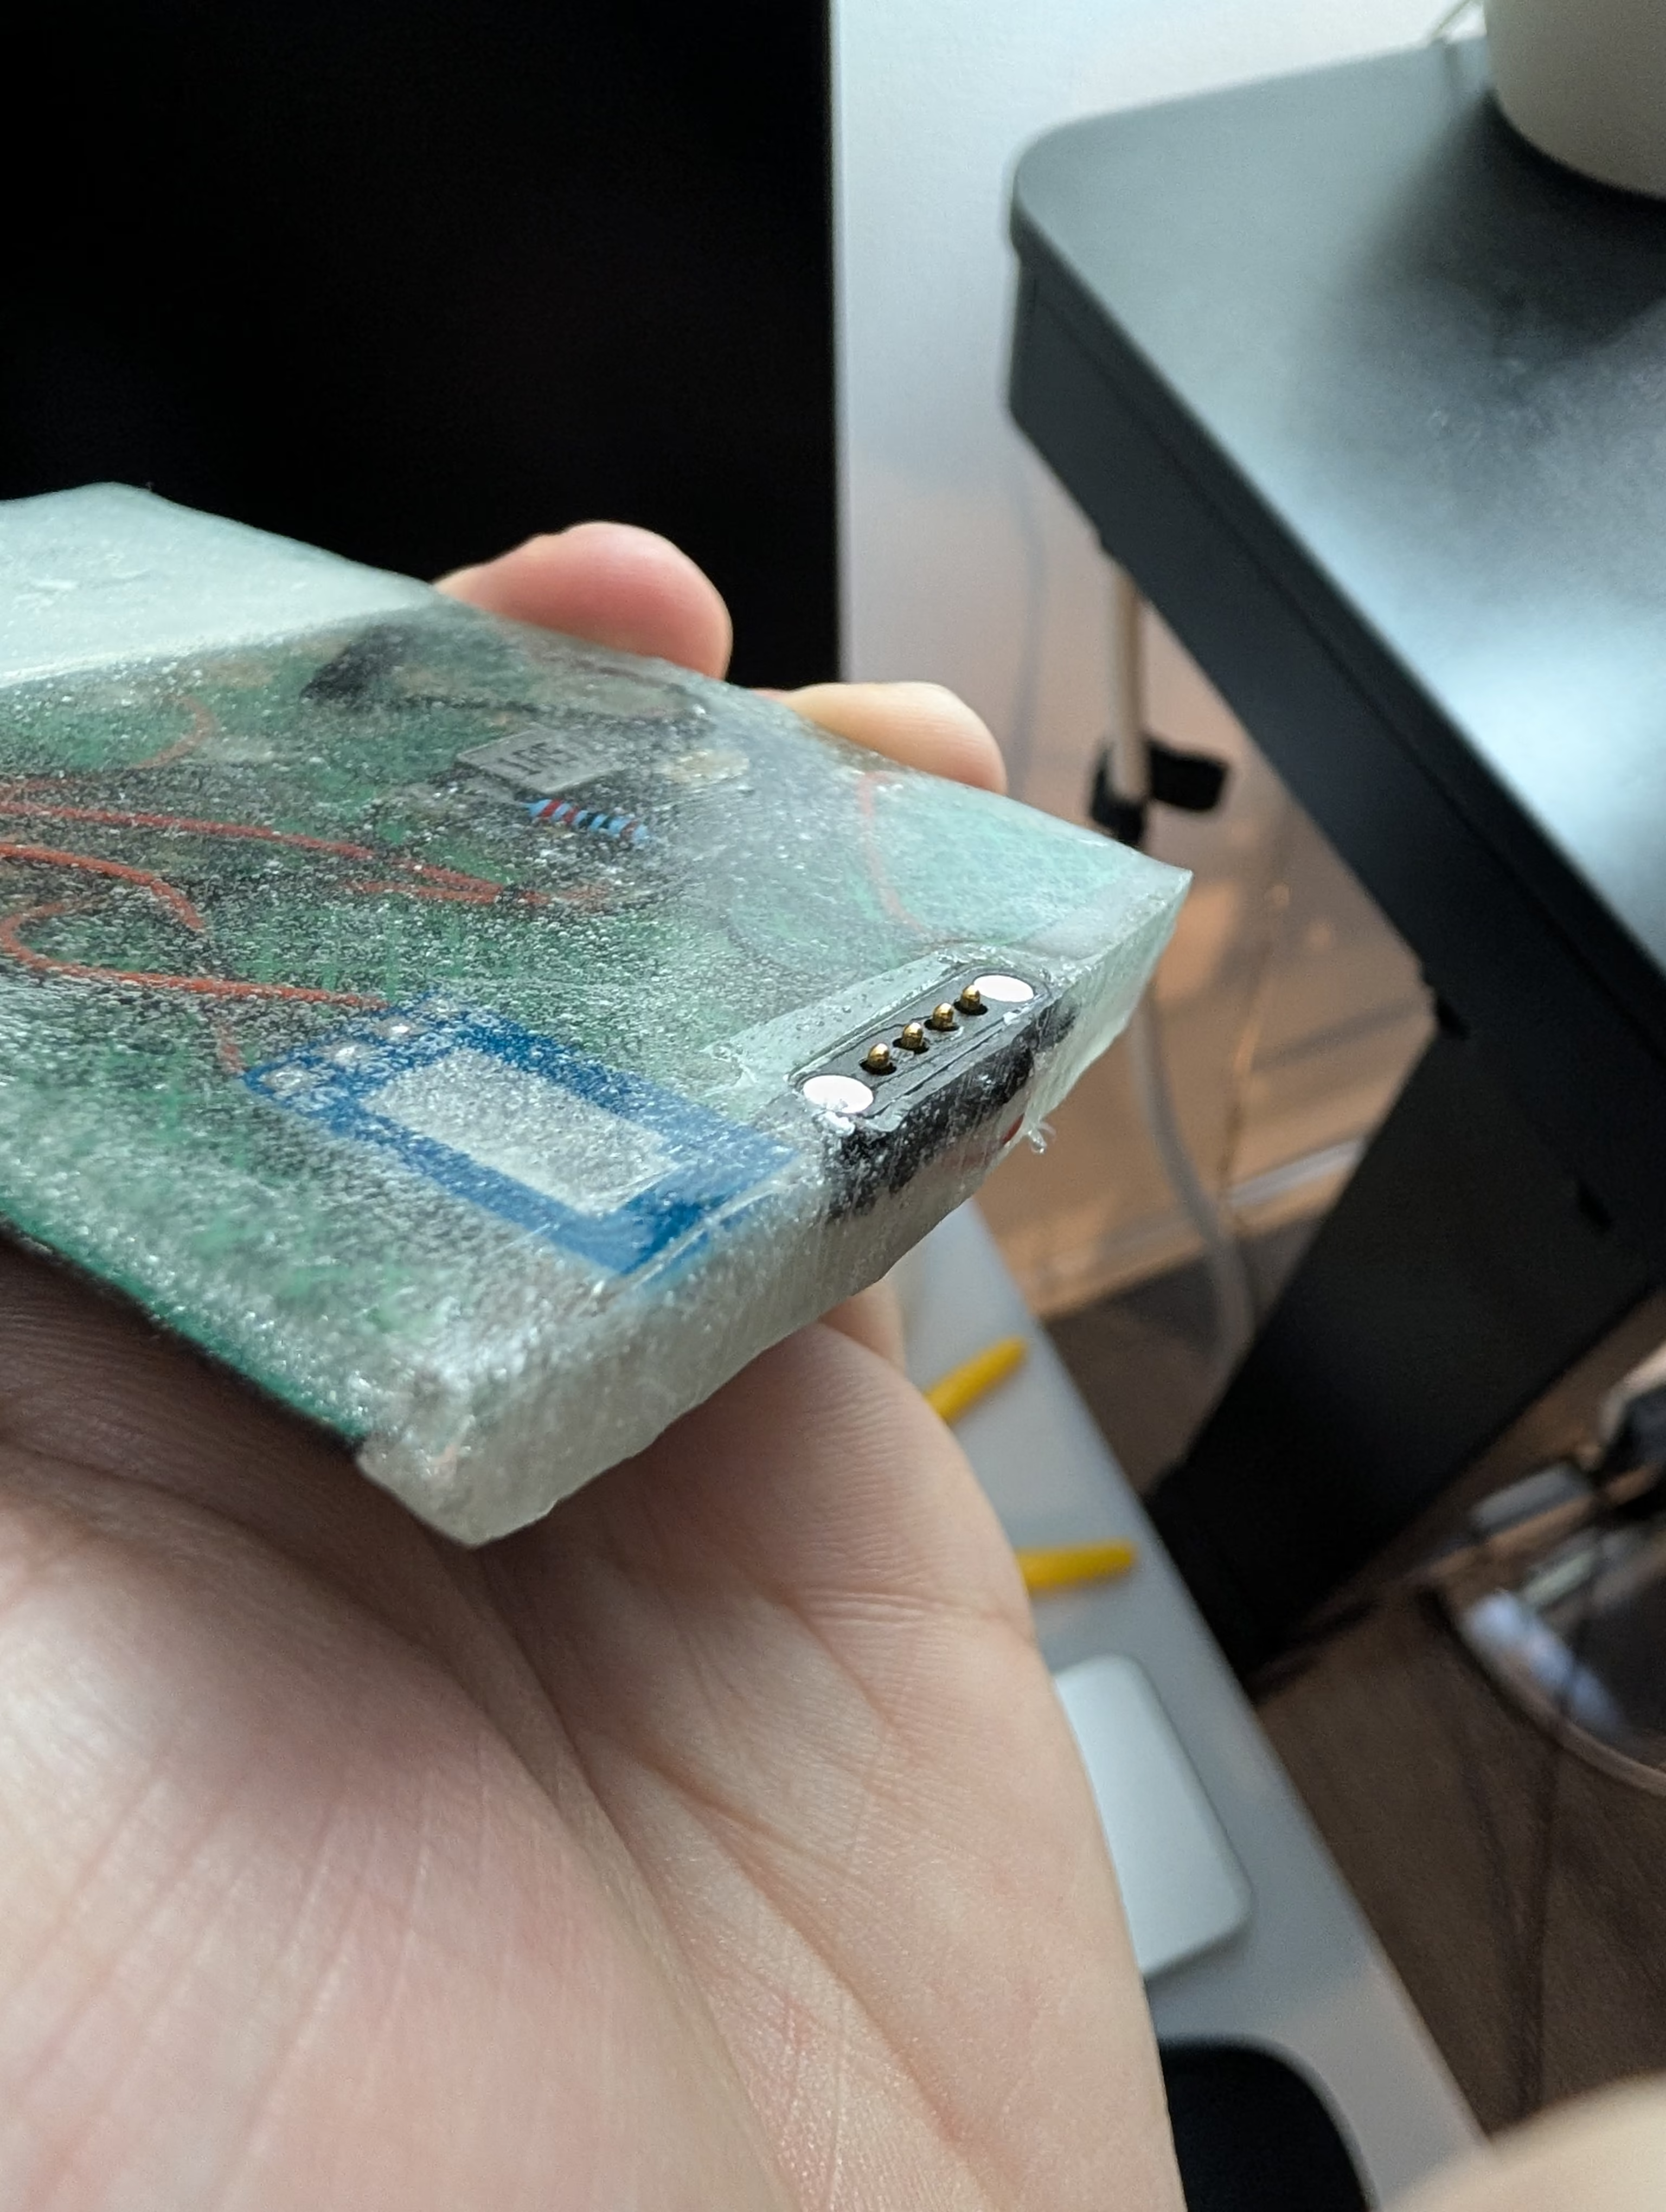
Magnets

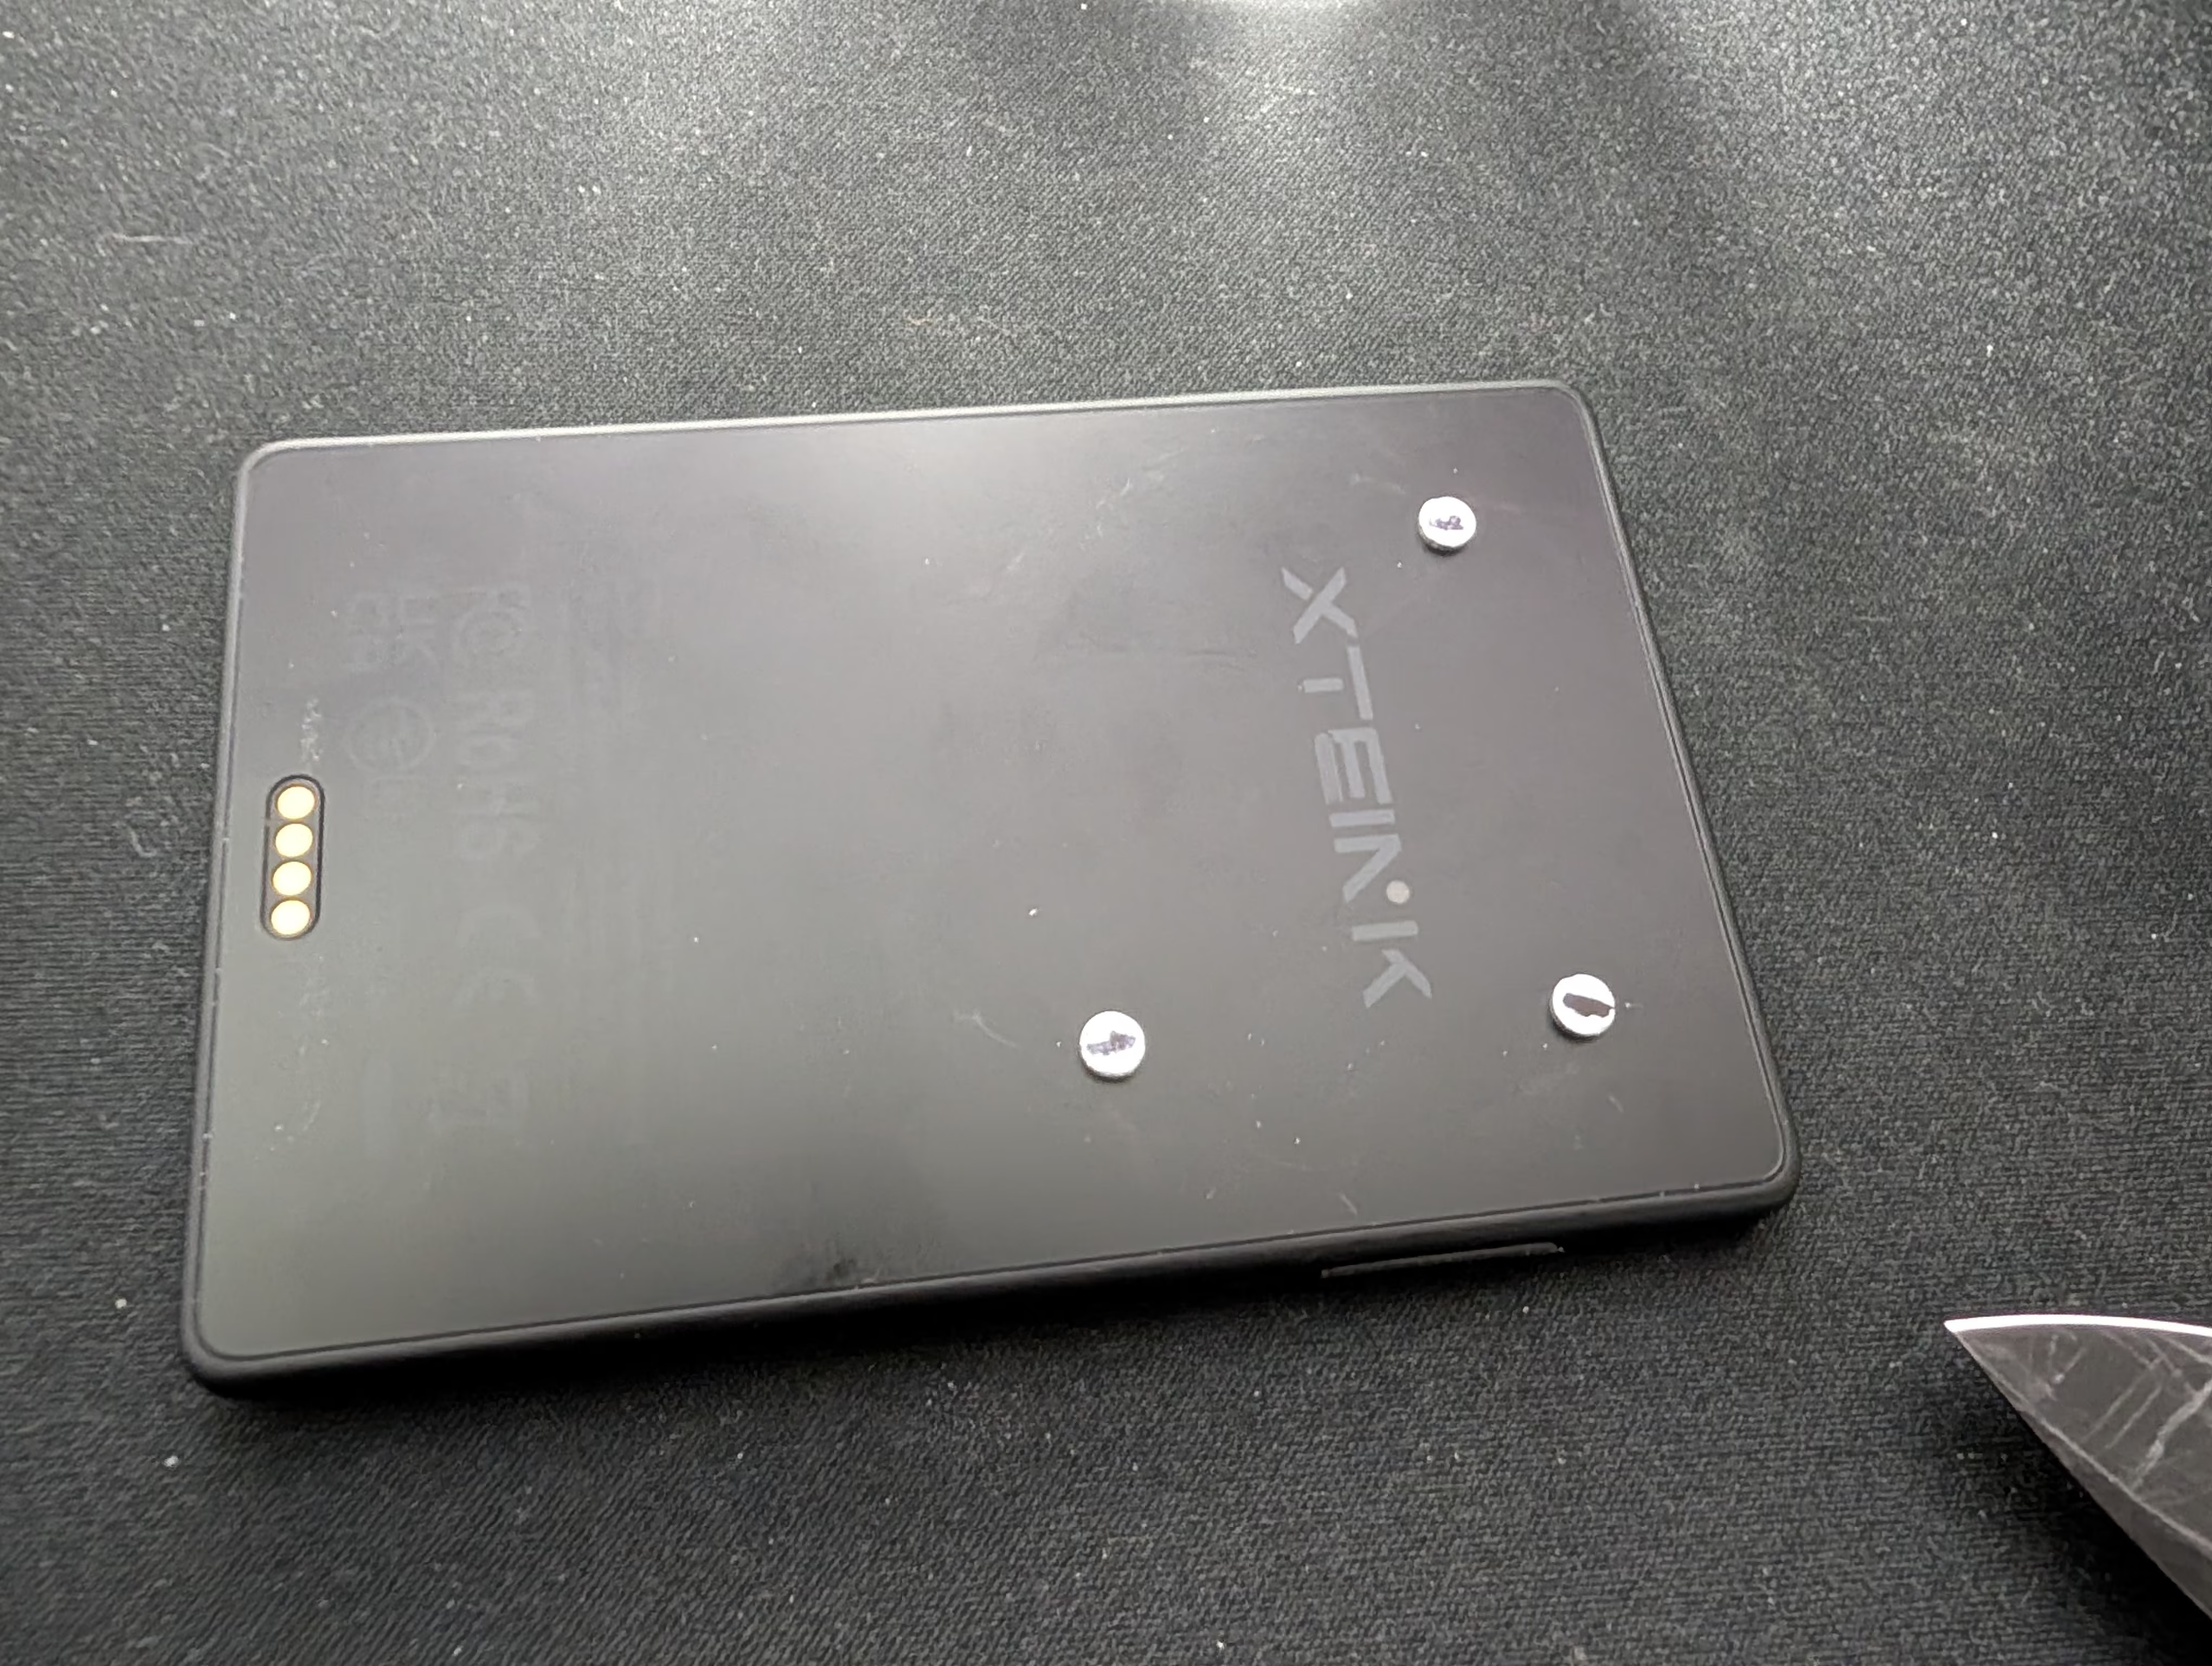
Final Result
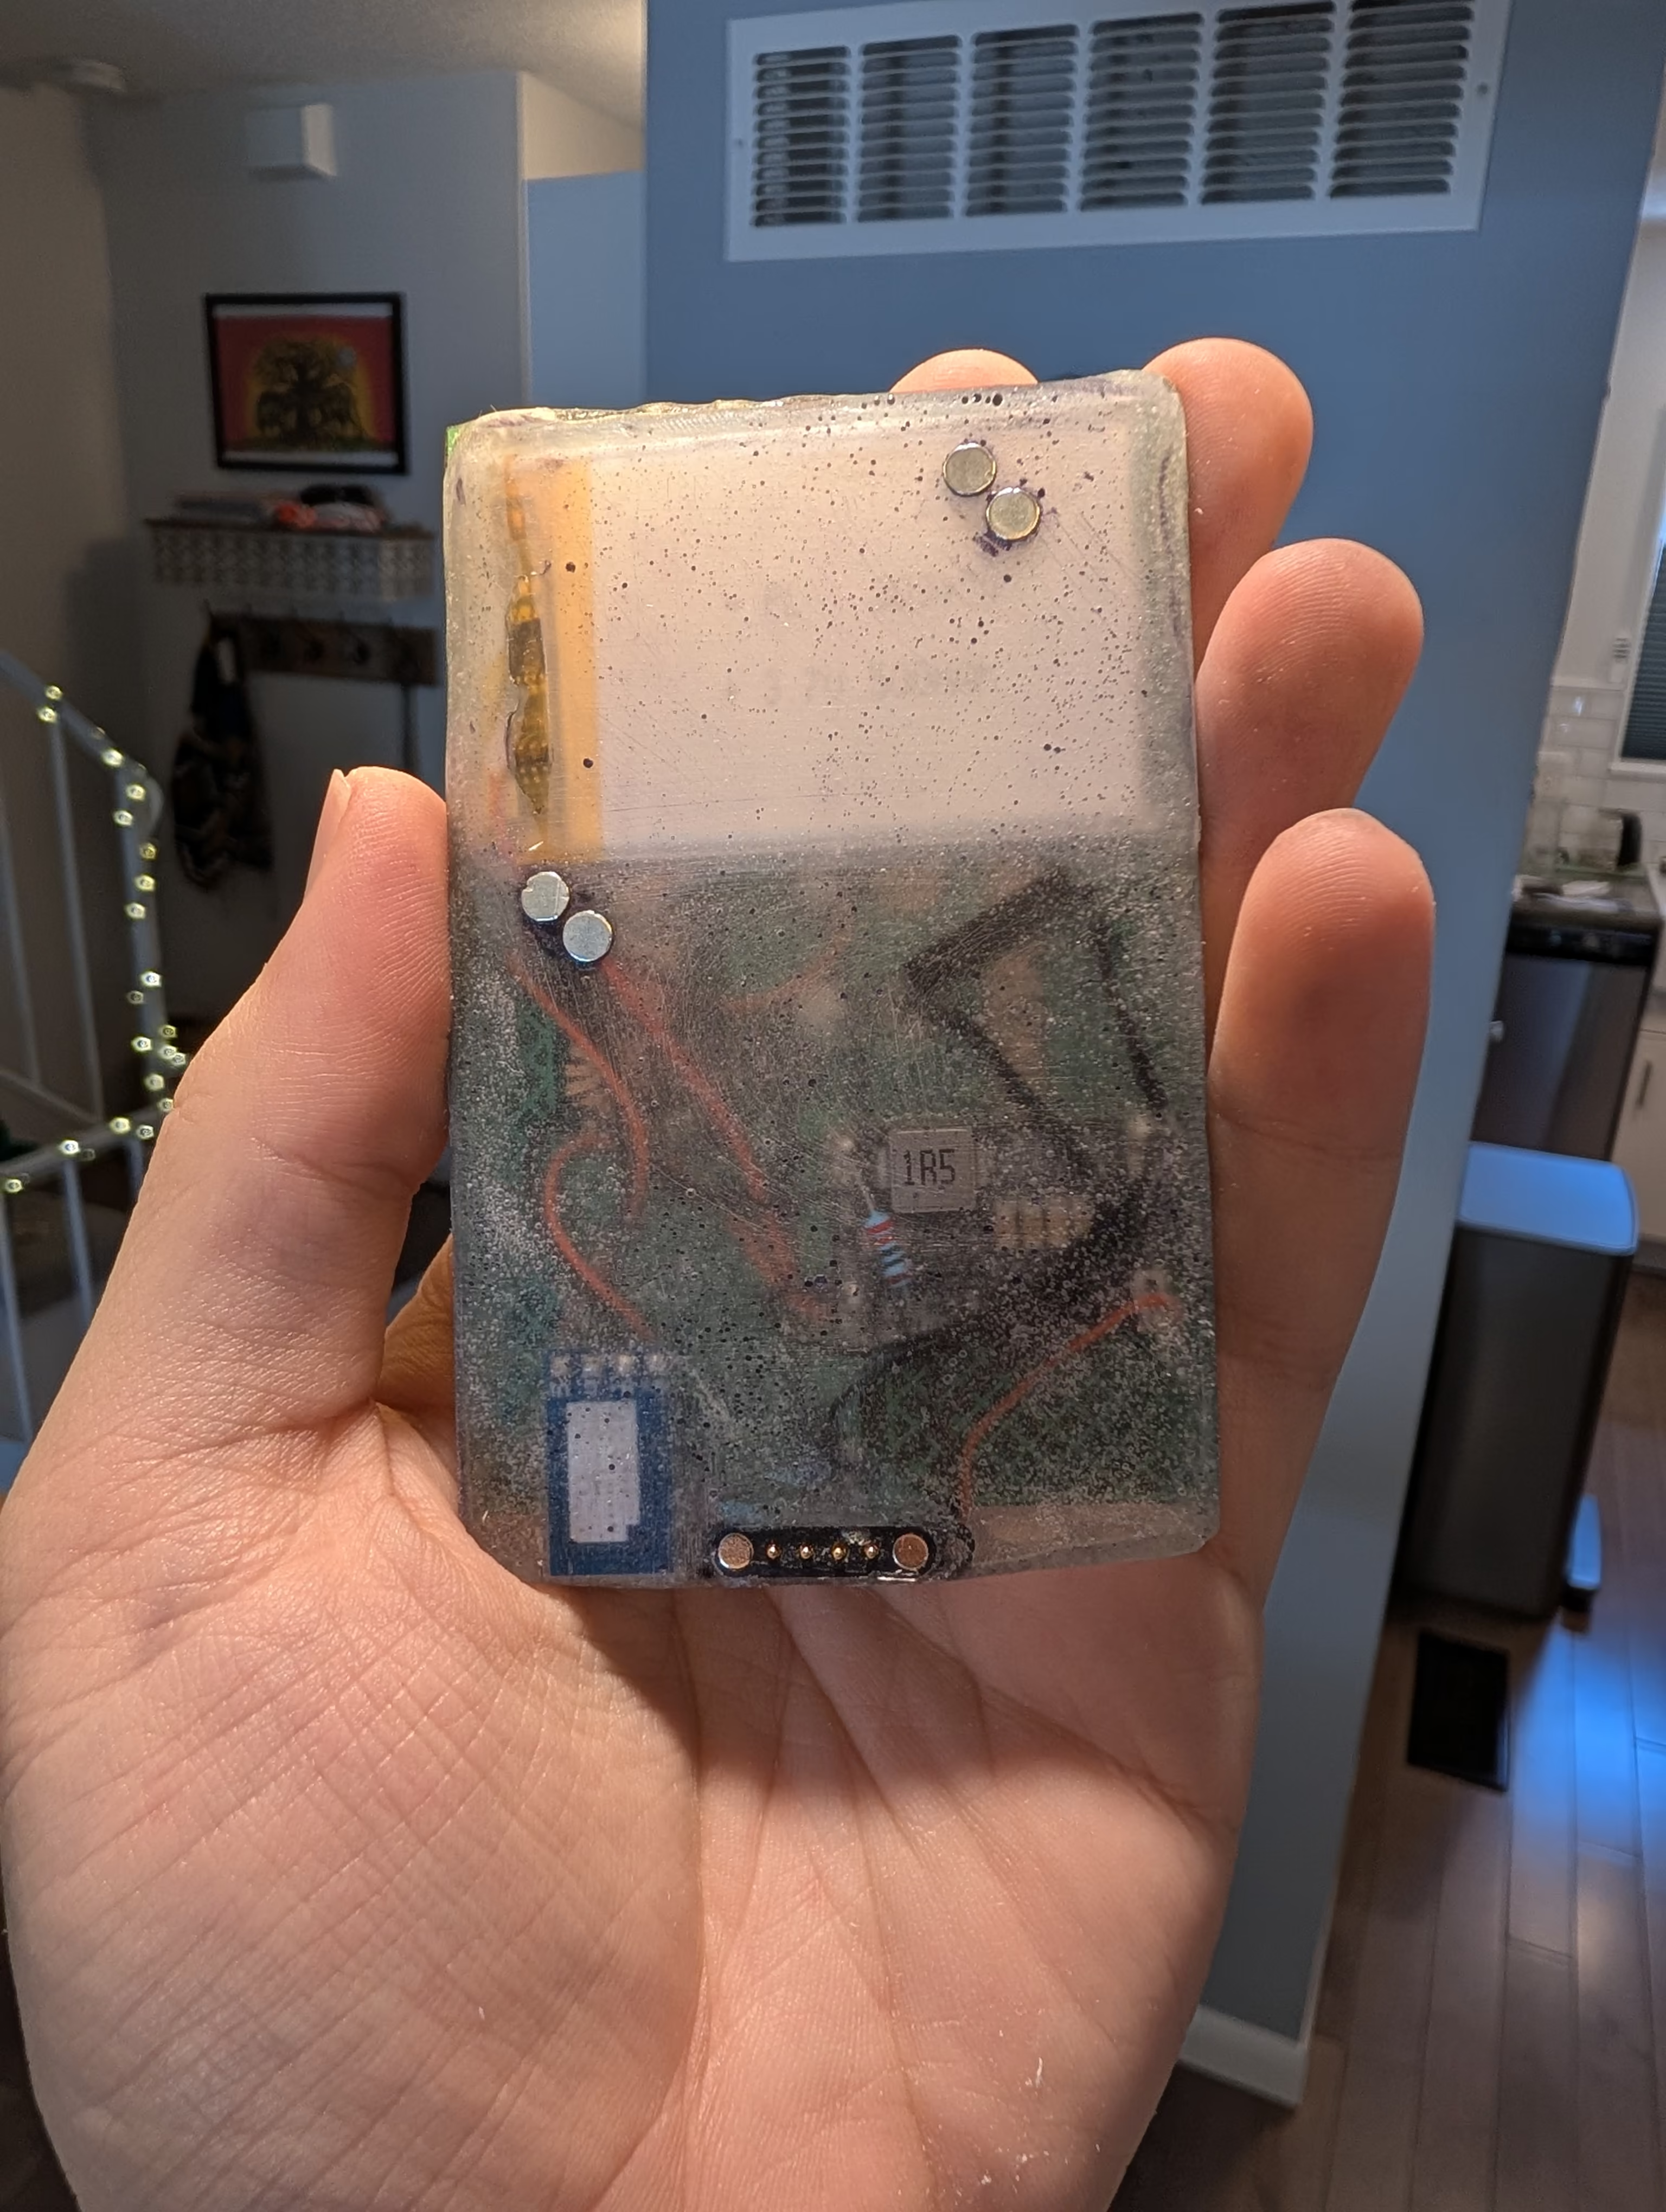
Notes
- Thin batteries are hard to get in low quantities
- A thinner solar panel would be really helpful
- I need to get my 3D printer running again - a printed shell + fixture to hold pogo connector would save a lot of work
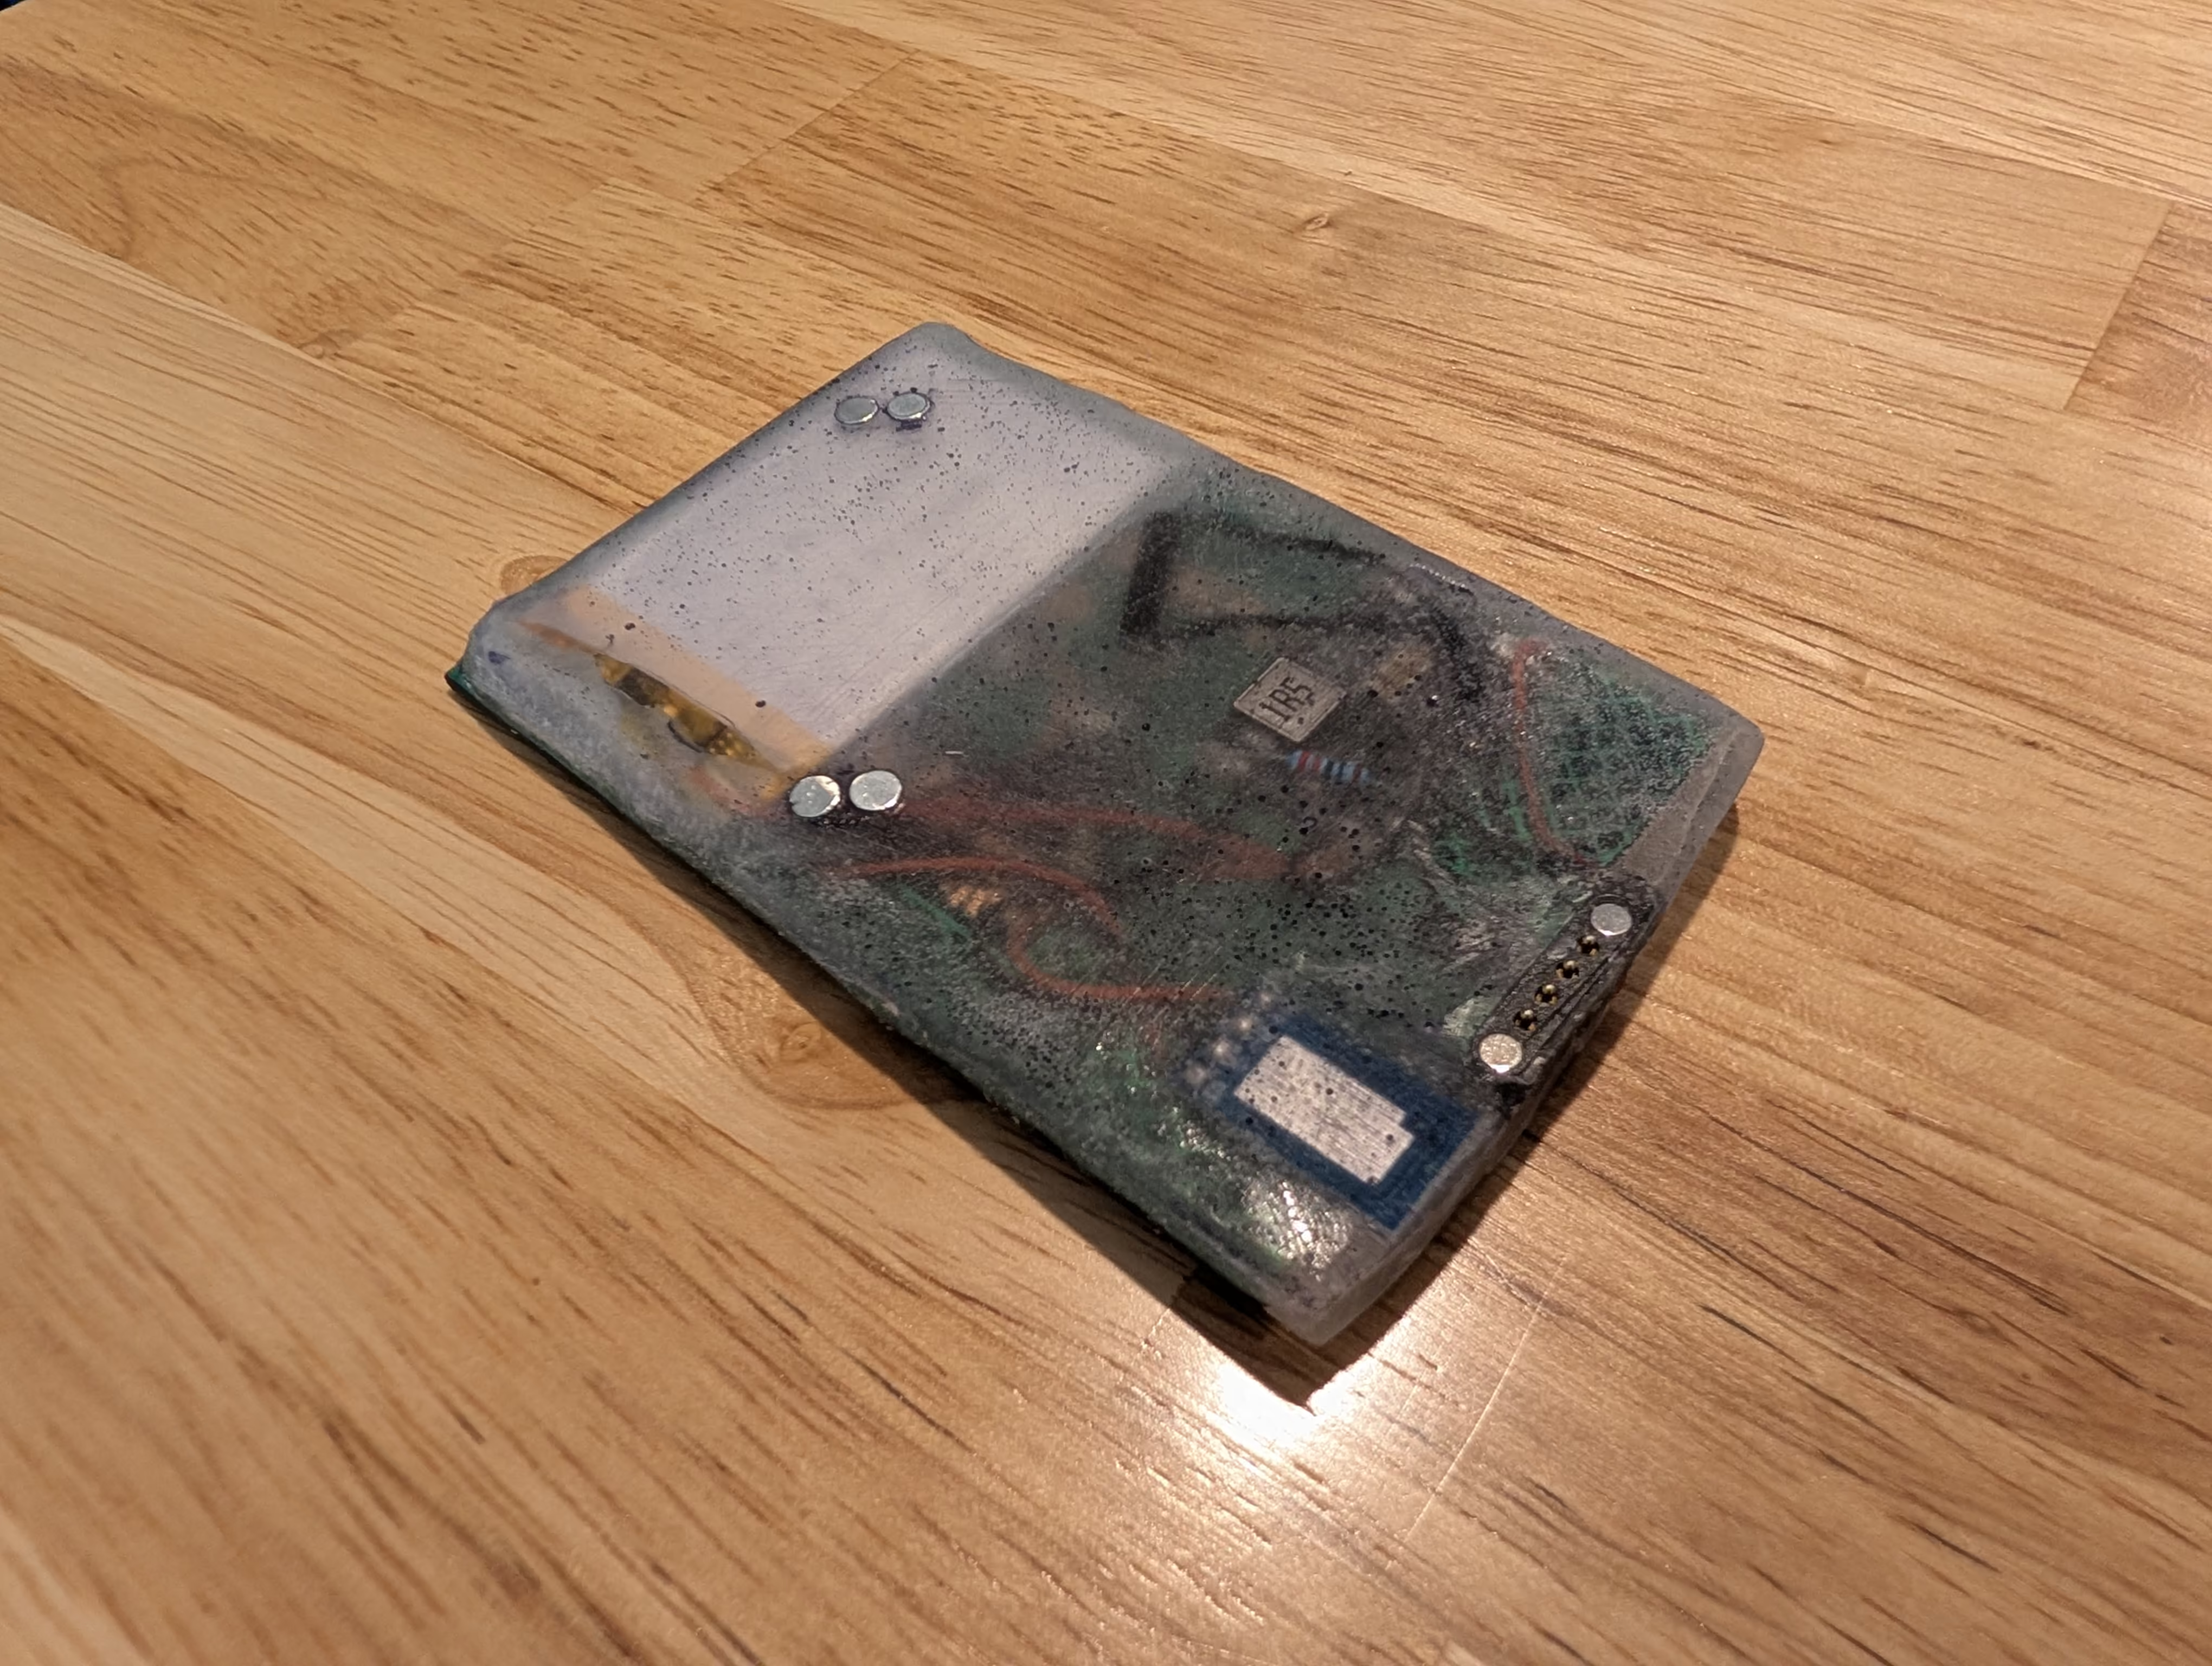
- Next time will avoid the epoxy itself being the rear surface - sanding flat was a lot of work, and imperfect
- Charge time and efficiency are likely quite poor
- Silicone tape seemed to work nicely for the battery, but robustness/actual affect untested
- Getting the reed switch positioning correct is a pain when the backpack itself needs to carry it’s own magnets - maybe look at pogo-pin style switch?
- A custom PCB could help reduce thickness/complexity
- As a fallback, a carrier PCB for modules would be trivial and inexpensive
- I started designing a CNC case for this with the intent to do another spin, but a few things put it on the backburner:
- Space constraints are tight, case will likely still be thicker than I want
- The X3 already has excellent battery life, making this a novelty more than a useful item
- I have too many other projects in-flight
BOM
| Part | Role | Notes |
|---|---|---|
| 5V 150mA polycrystalline solar panel (~89 × 61mm) | Charging input | Close to the footprint of the X3’s back - I very much doubt 150mA claim |
| CN3163 mini solar charger board | Battery management | Linear solar-tracking charger, 4.4-6V in, 4.2V out |
| TPS63020 buck-boost module | 5V output | Fixed 5V via a solder jumper, has an EN pin |
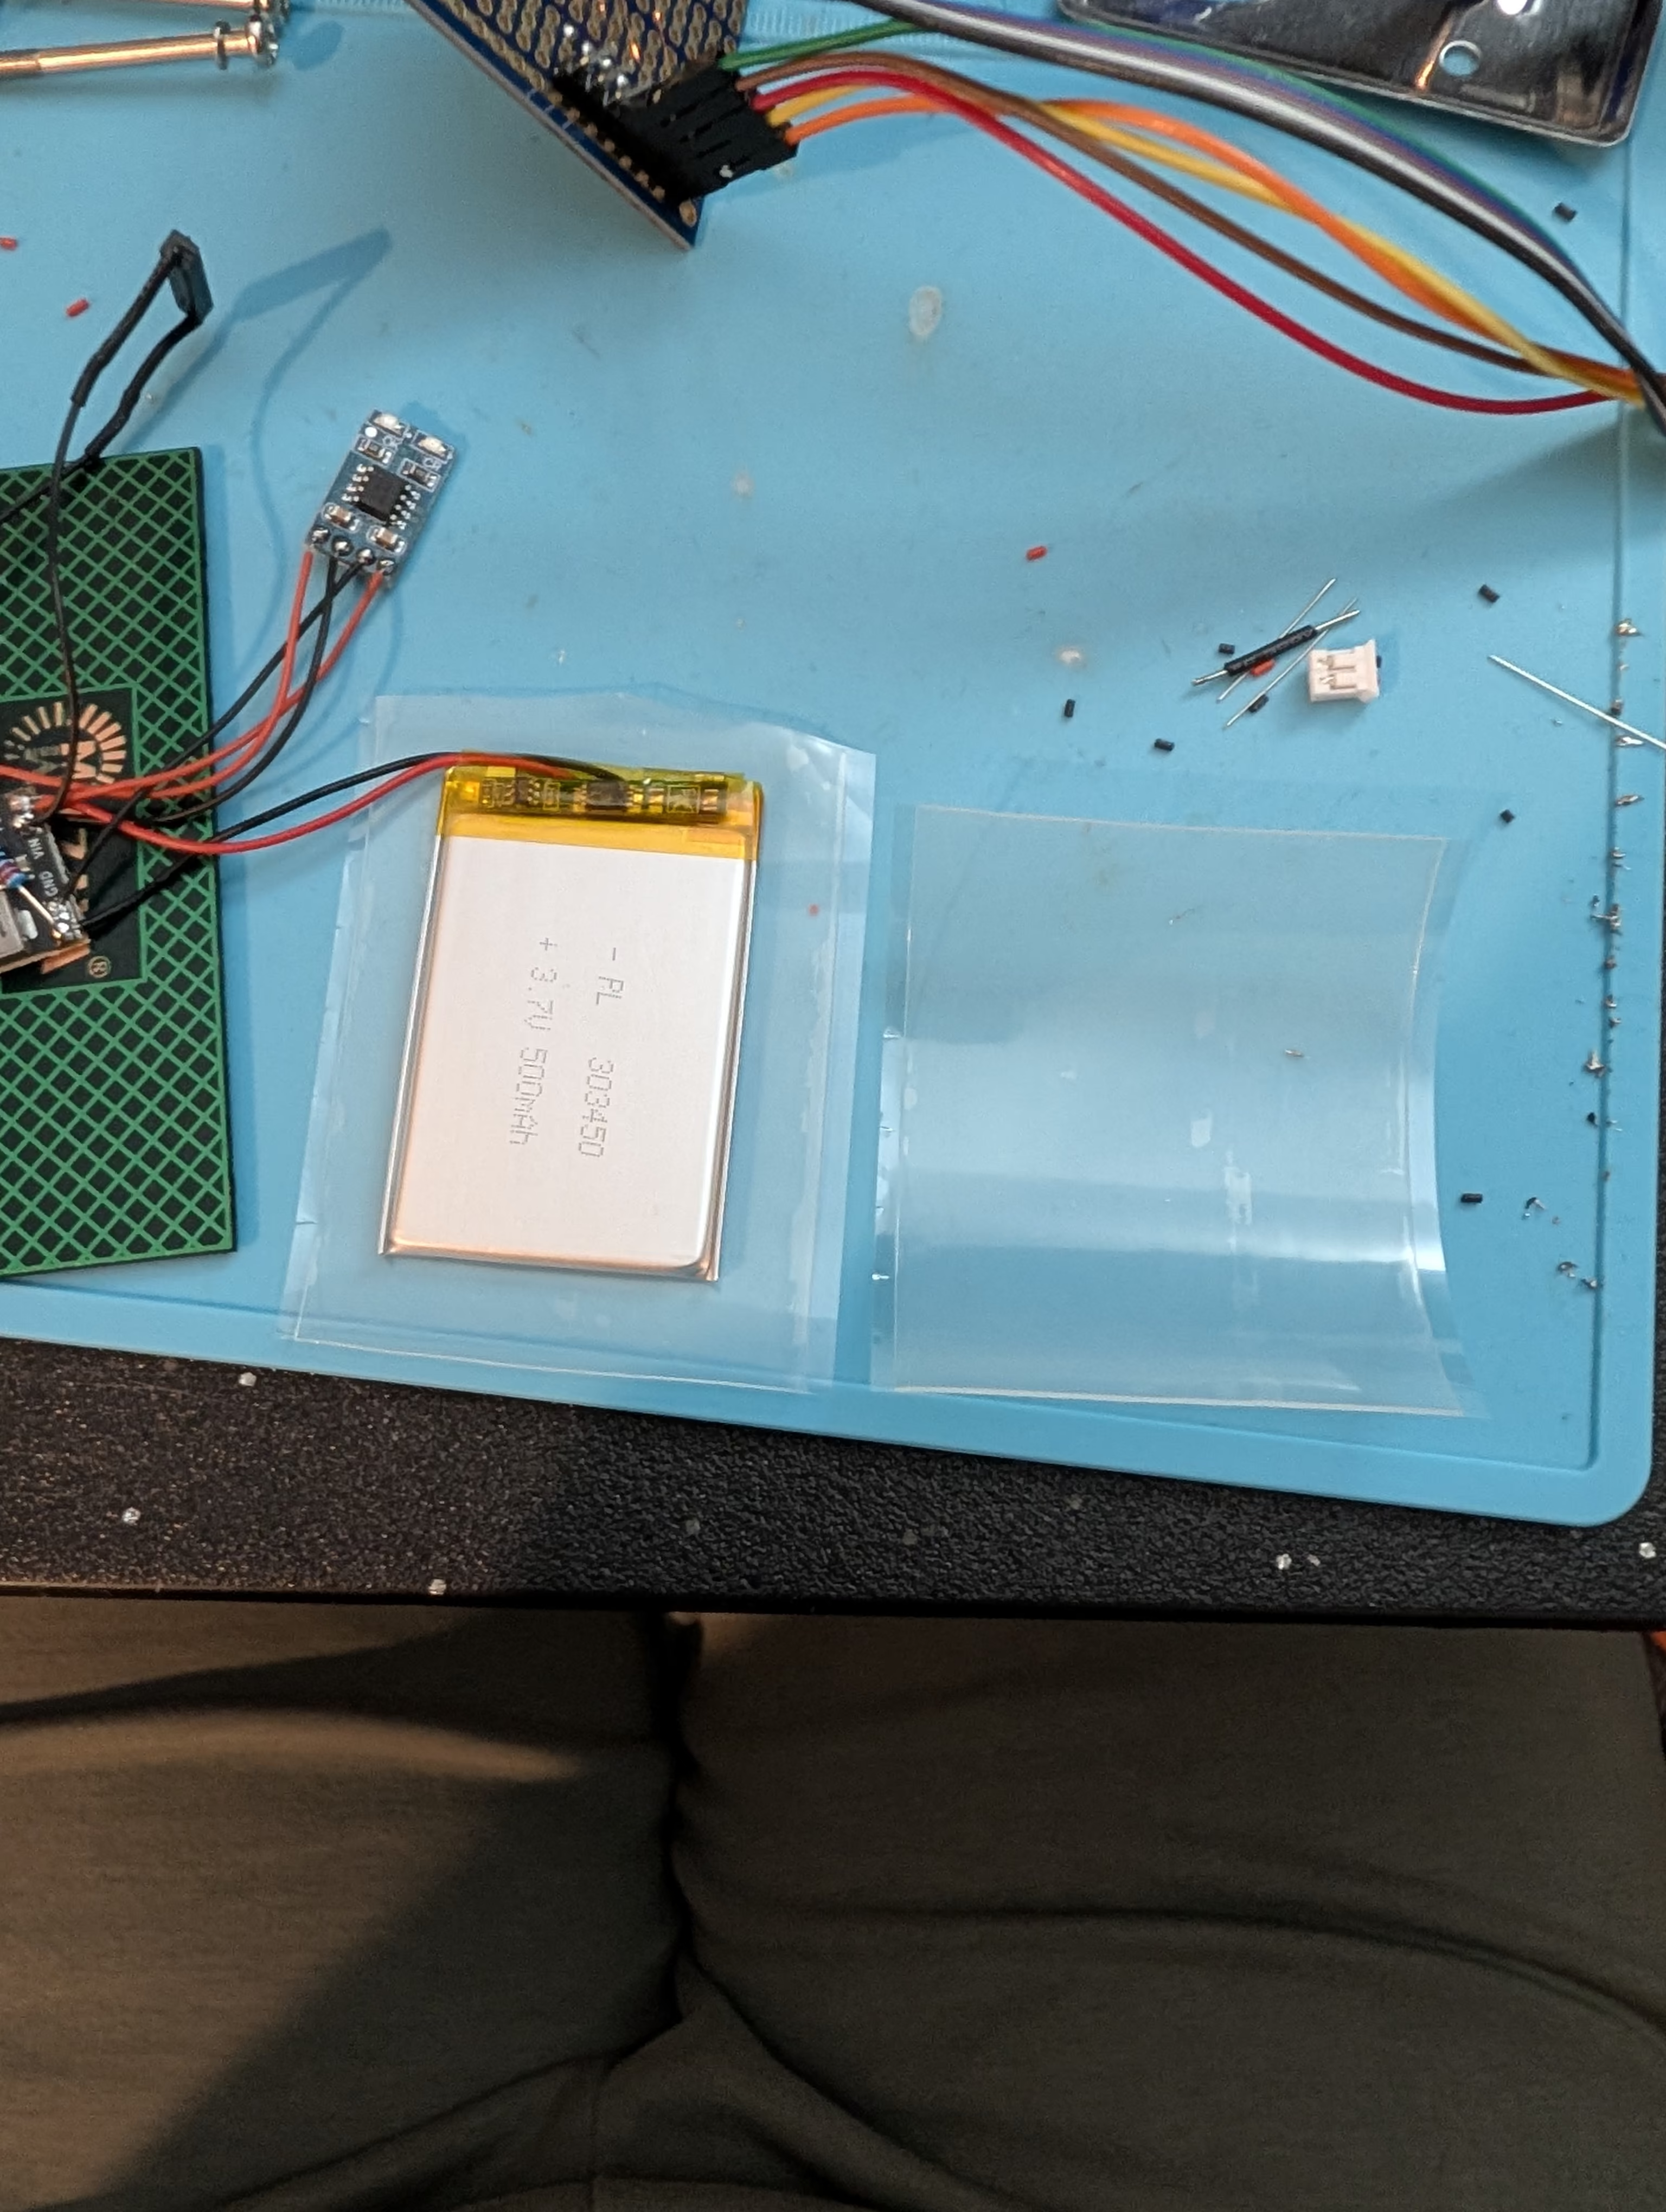
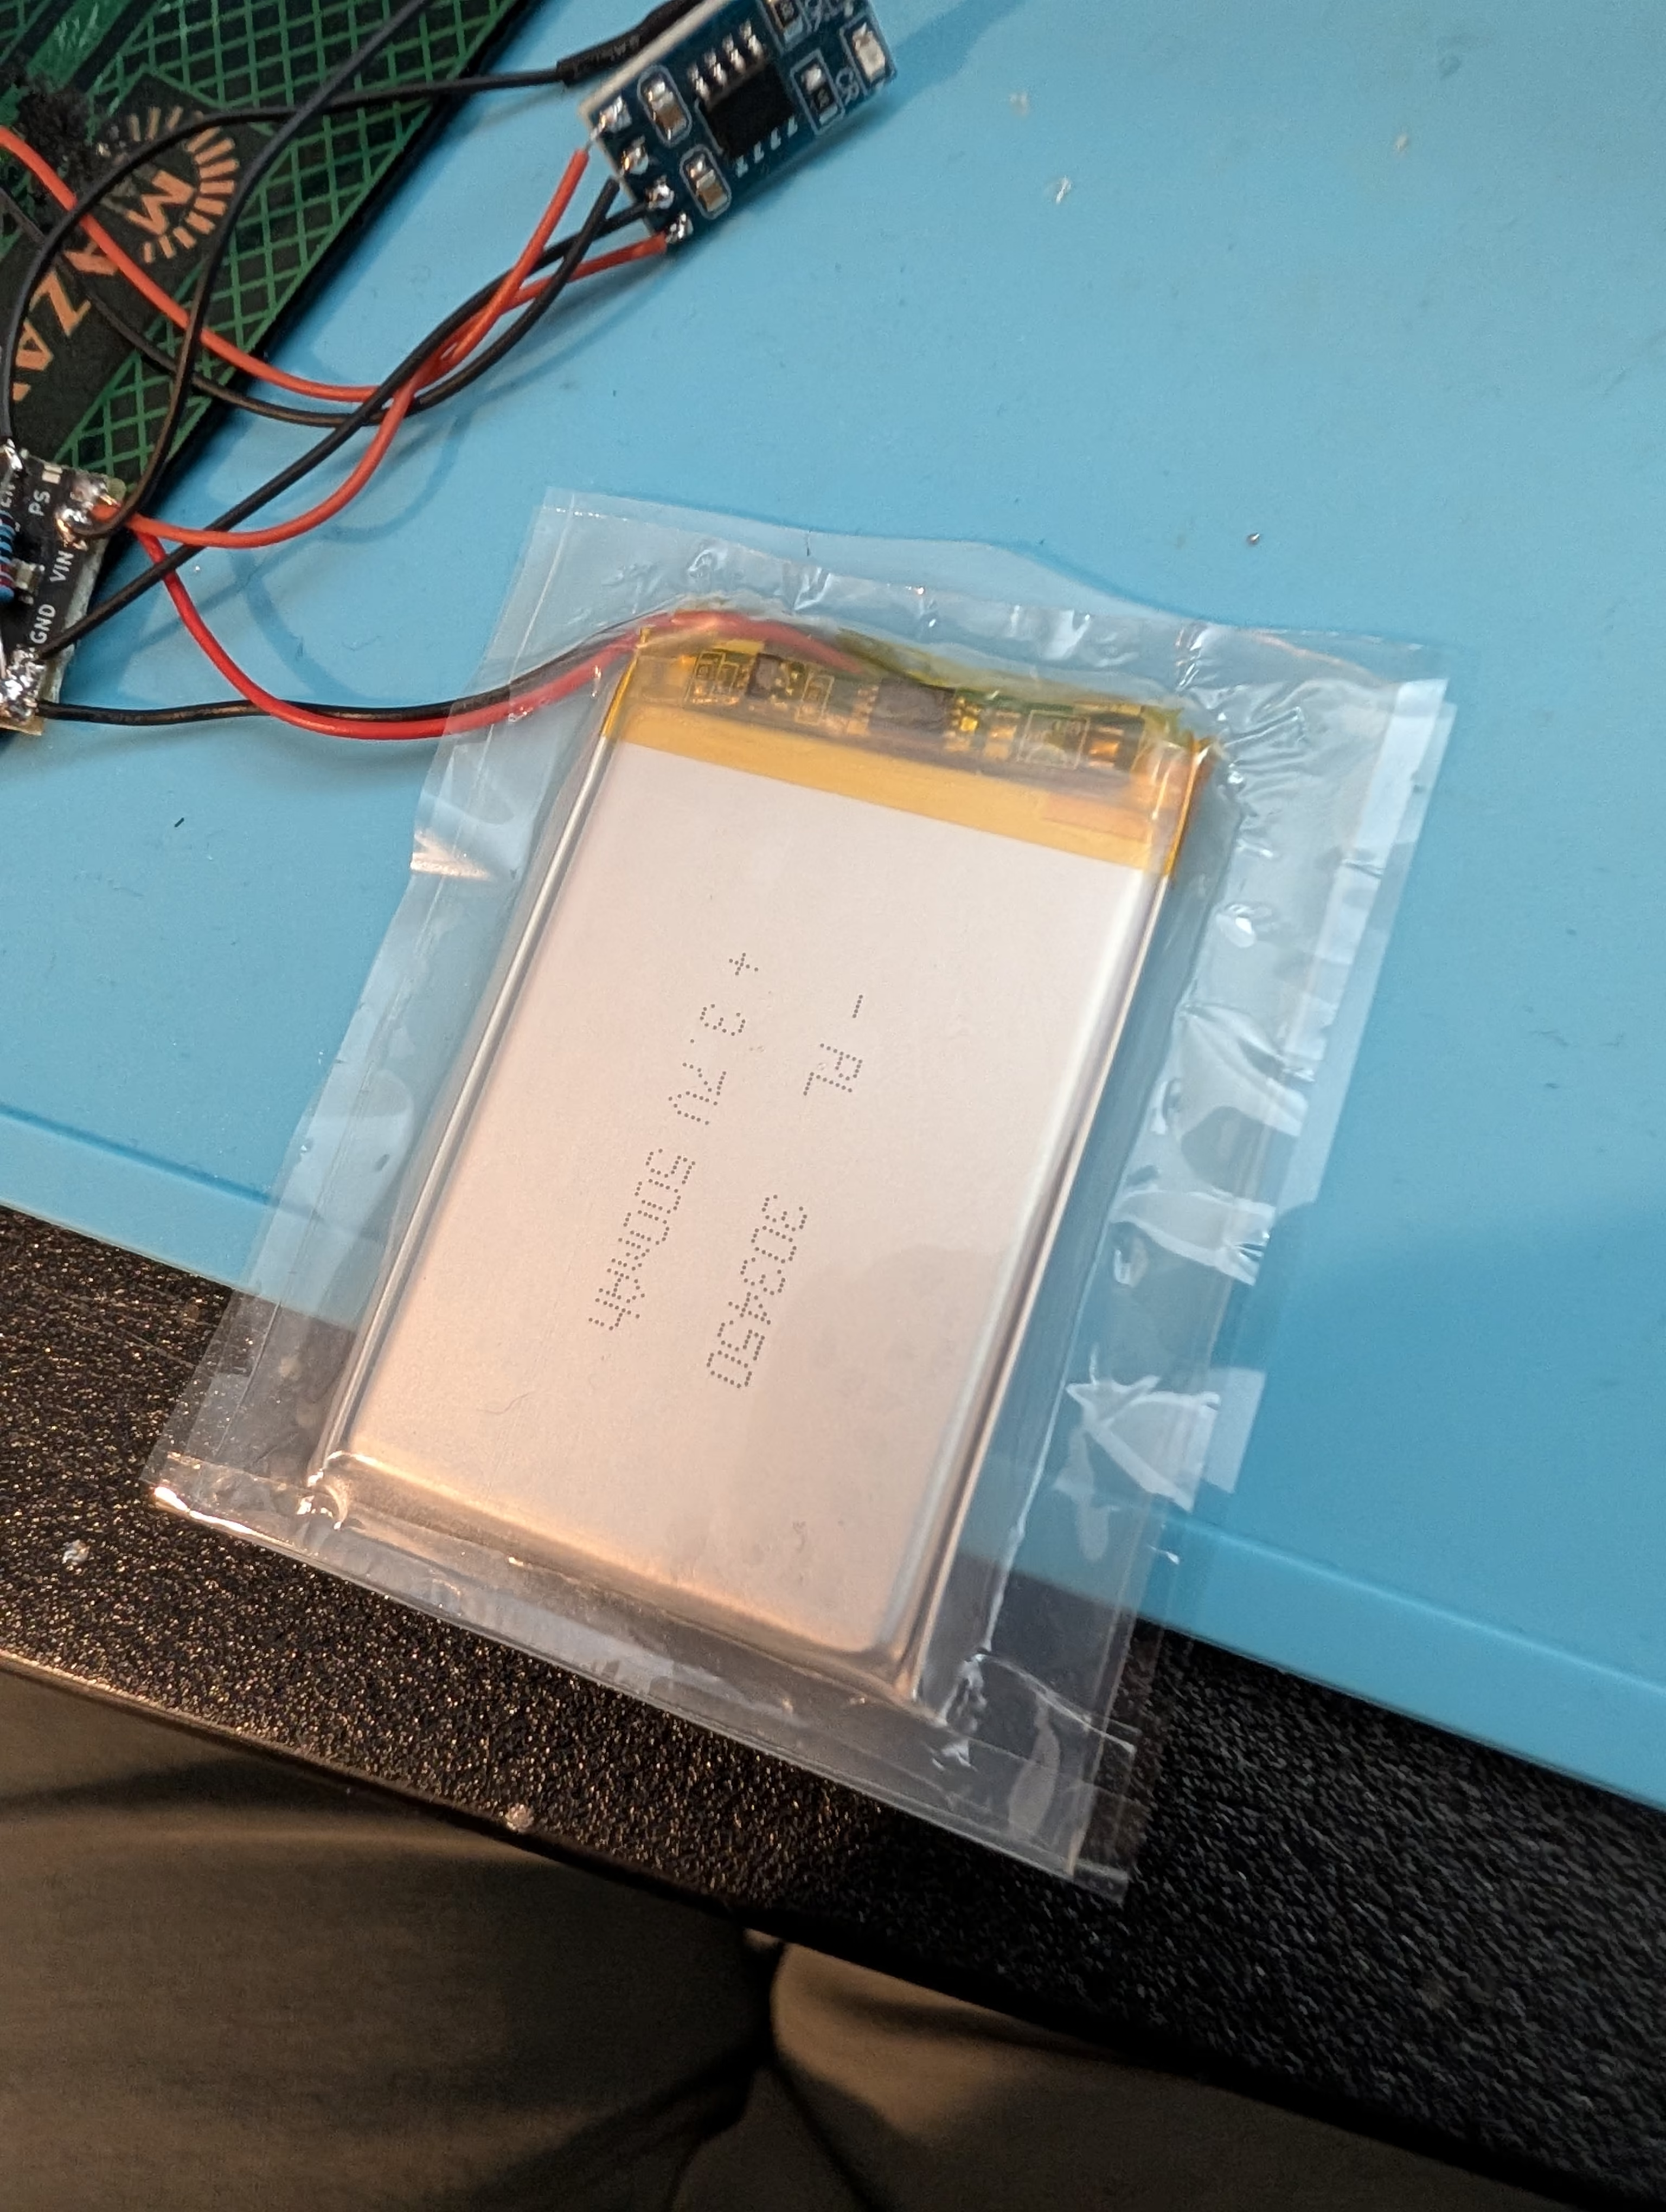
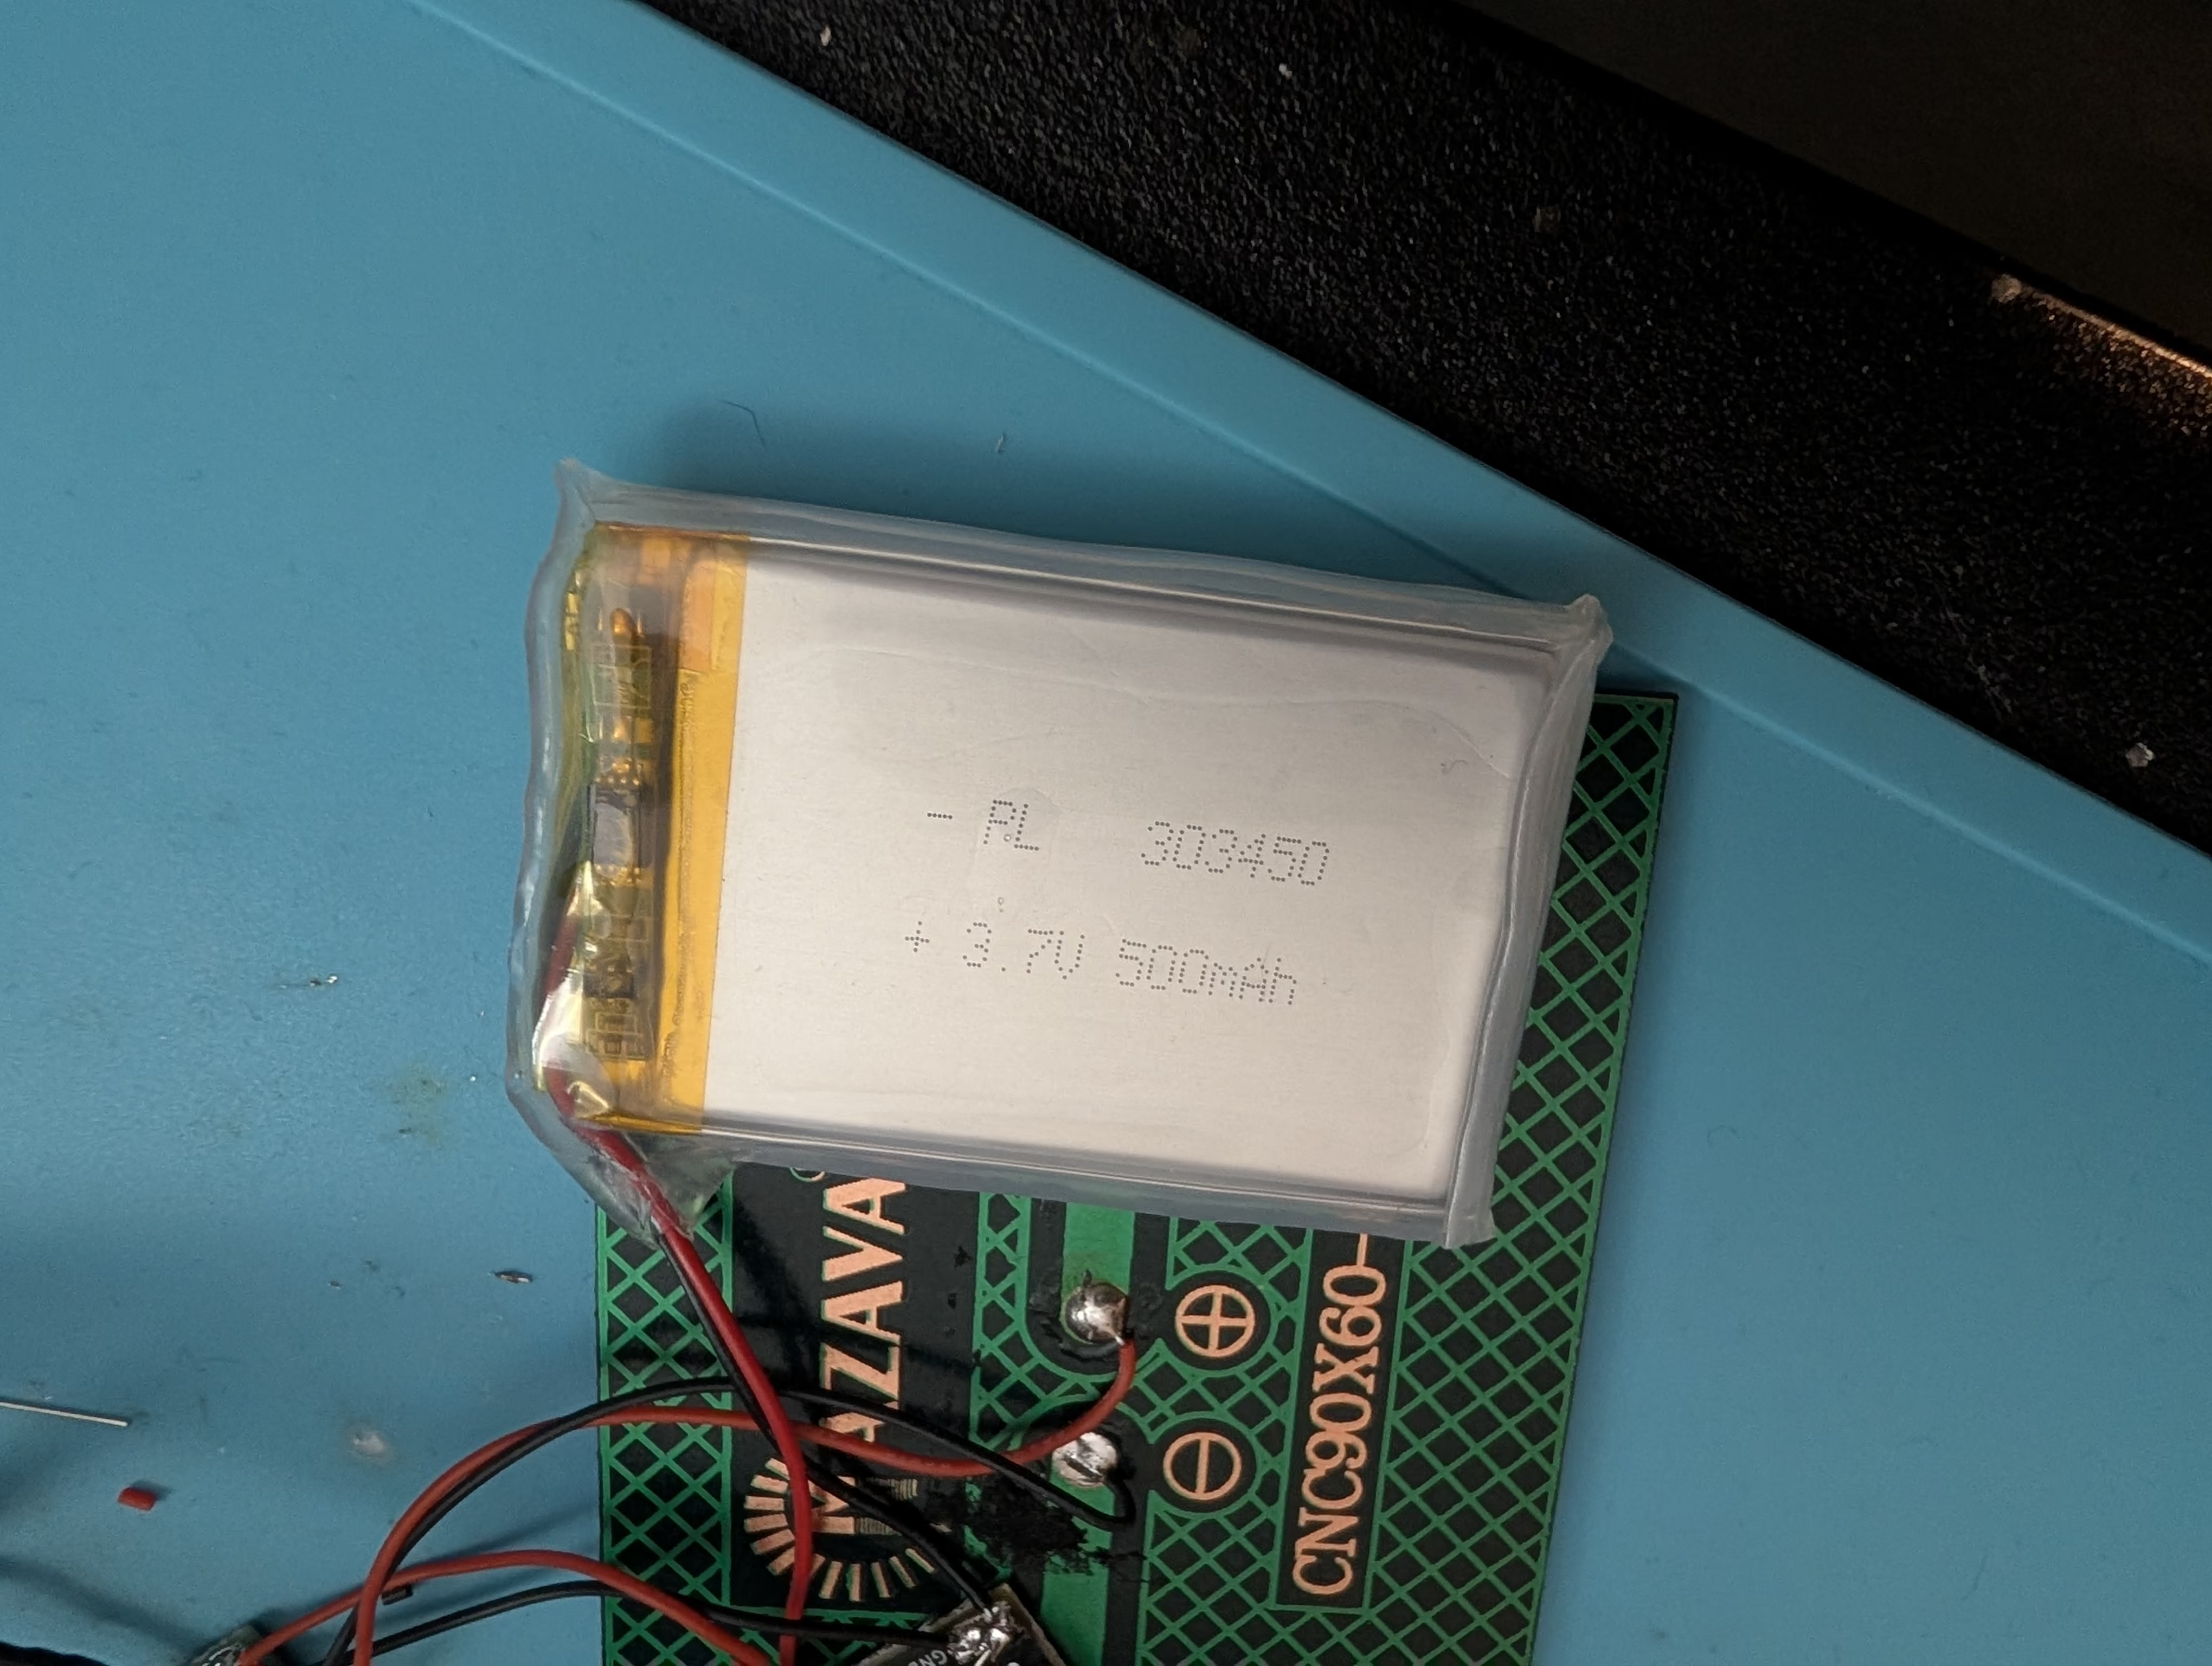
| 303450 LiPo pouch cell, 3.7V 500mAh | Energy storage | Roughly doubles the X3’s onboard capacity |
| Molded reed switch (N/O) | Magnetic power switch | Enables the boost converter only when attached |
| 4-pin 2.54mm magnetic pogo connector | Output to the X3 | Matches the X3’s charging pin pitch |
| BSI slow-cure epoxy | Potting | |
| Silicone tape | Battery sock | See below |
I used silicone tape to seal the battery so as to prevent epoxy doing anything to the battery - I’ve not tried encasing a cell in epoxy directly, but the heat and shrink/expansions scares me and this is what I landed on that would allow some amount of squish.