 Views and opinions of the author are independent of employers past or present. Duh...
I have recently (last couple months) been getting into home automation, specifically using Home Assistant. I also wanted to get a coffee maker that used K-Cups. Thus the goal was born - to get a coffee maker working with Home Assistant, such that I could automate it to fit my morning routine.
I first searched for new coffee makers, looking to see what the easiest ones would be to hack into and automate. I got so far as adding a sleek new brand name model to my Amazon cart, but thankfully reason and frugality prevailed! Instead, I opted to swing by the local Goodwill the next day, to see what secondhand options might be available. As luck would have it, I found a no-frills, single button coffee maker for the princely sum of $4, and I was on my merry way.

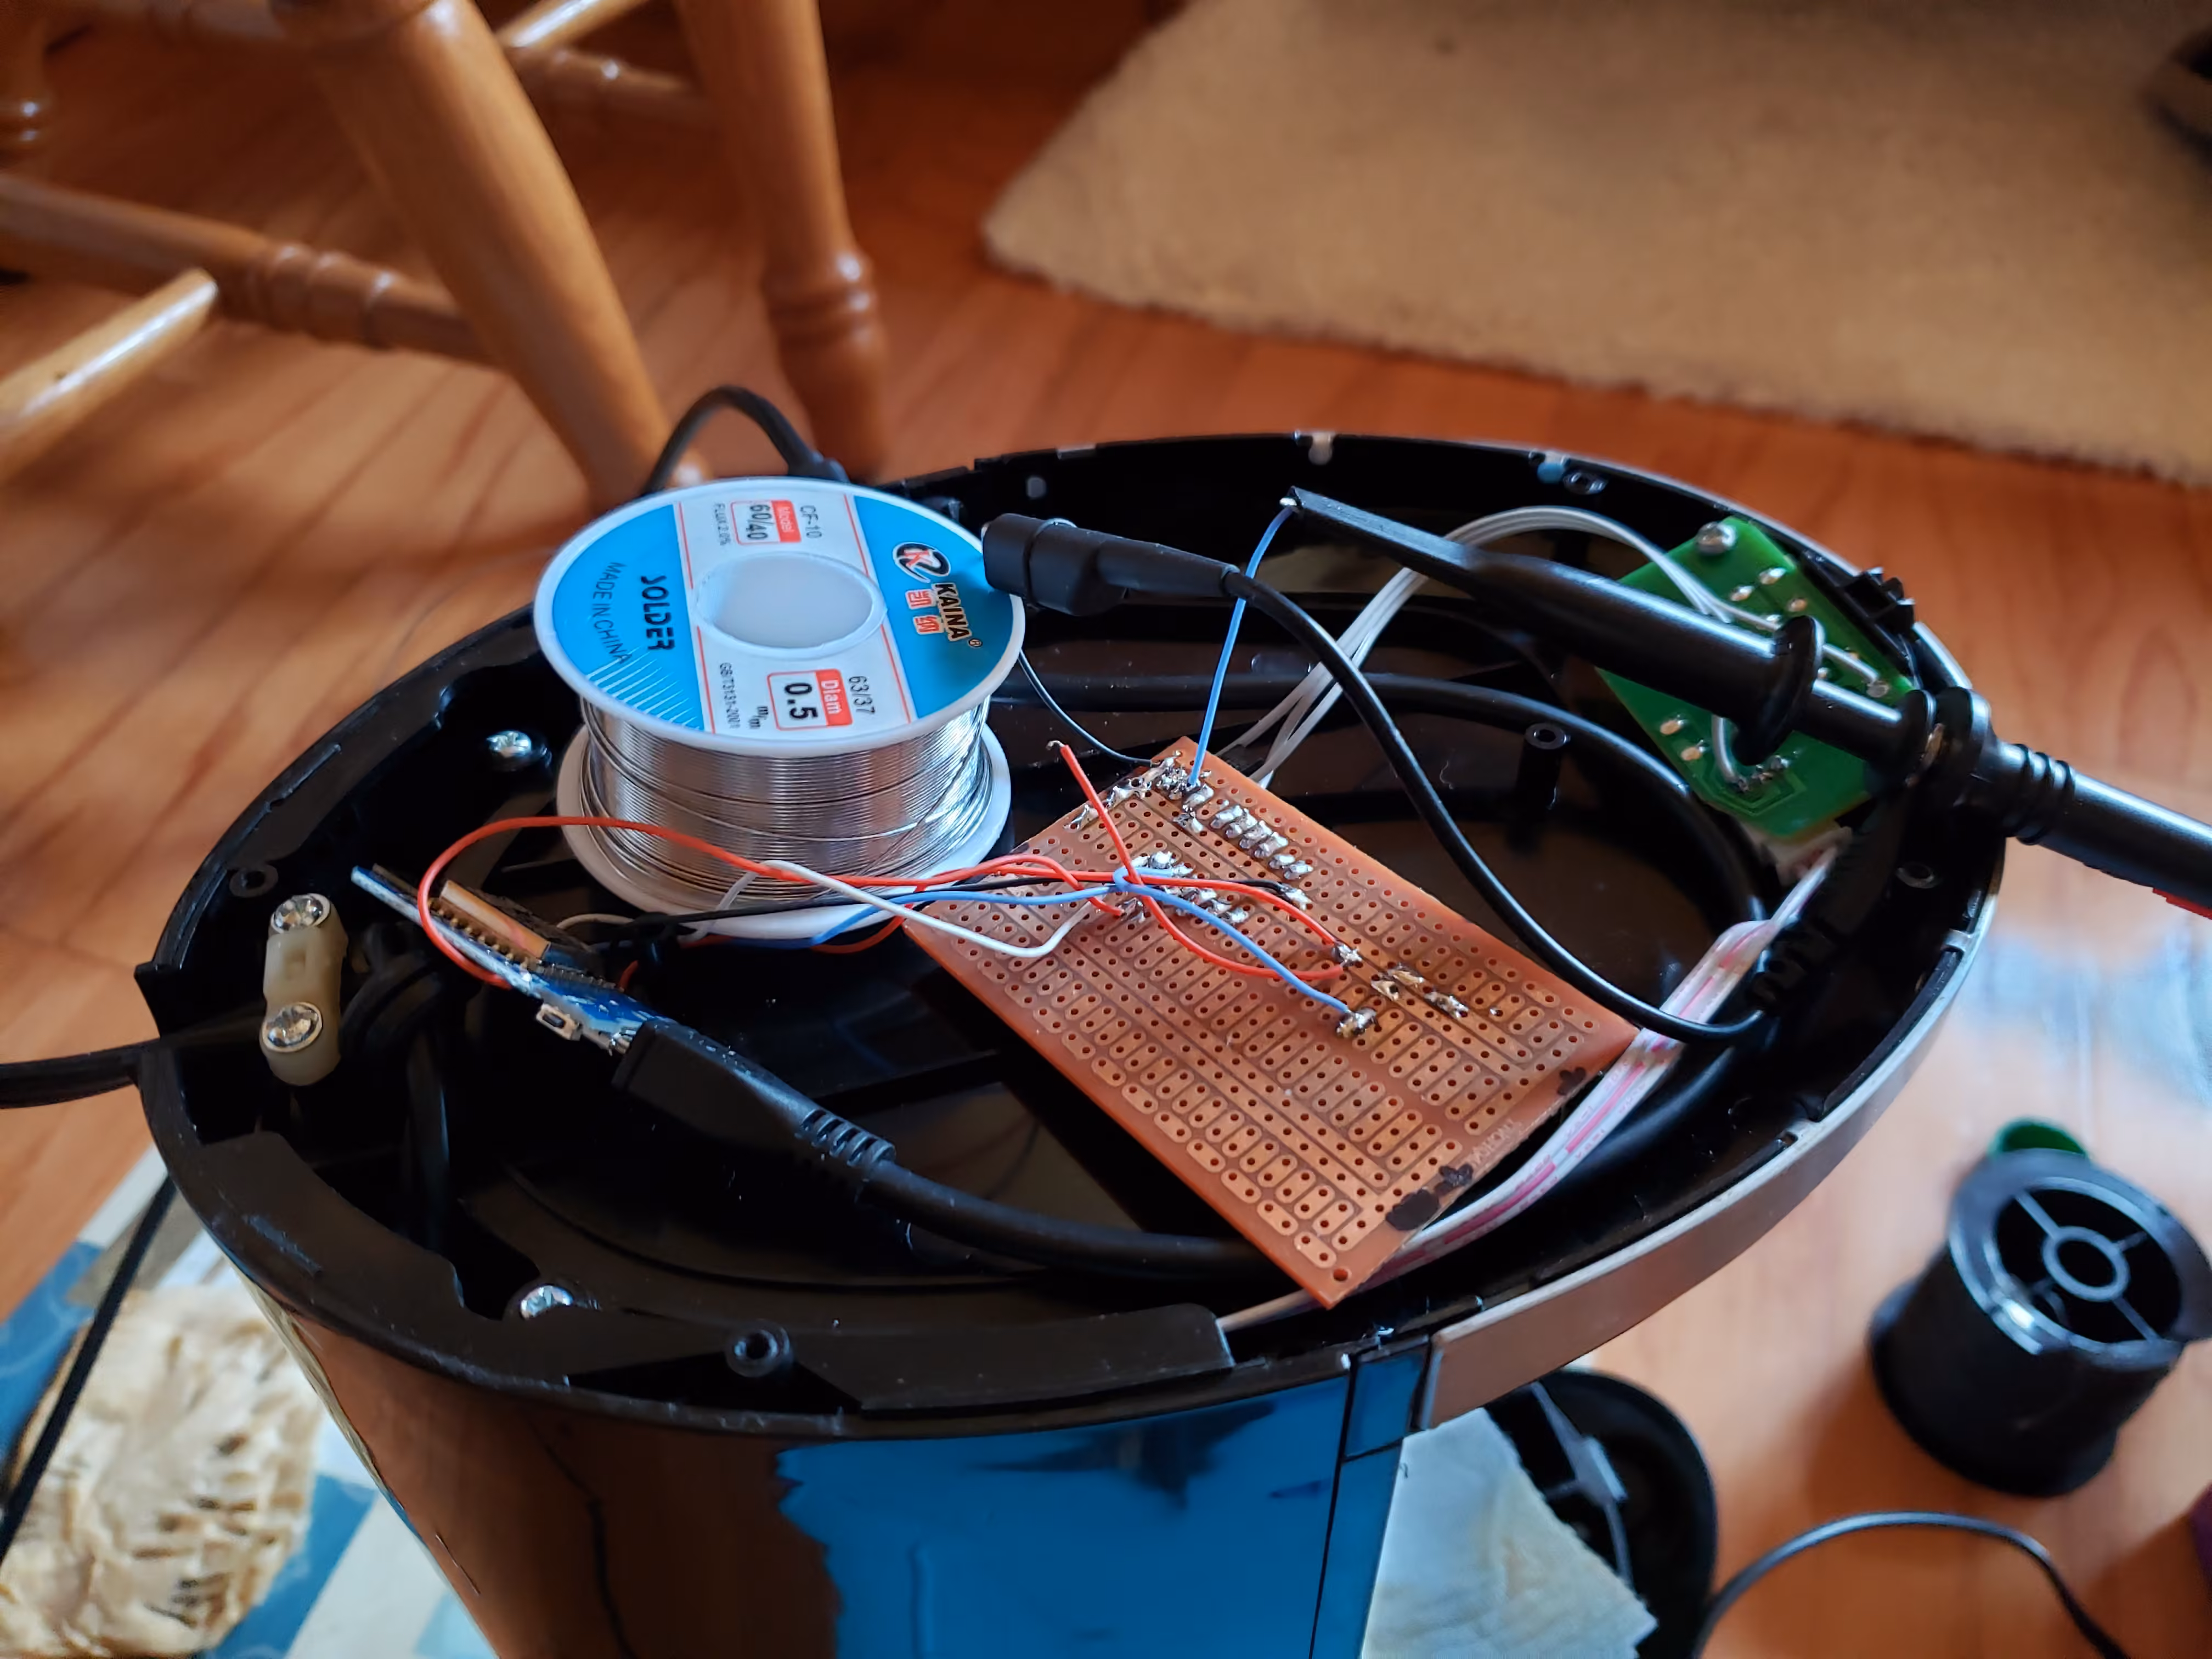
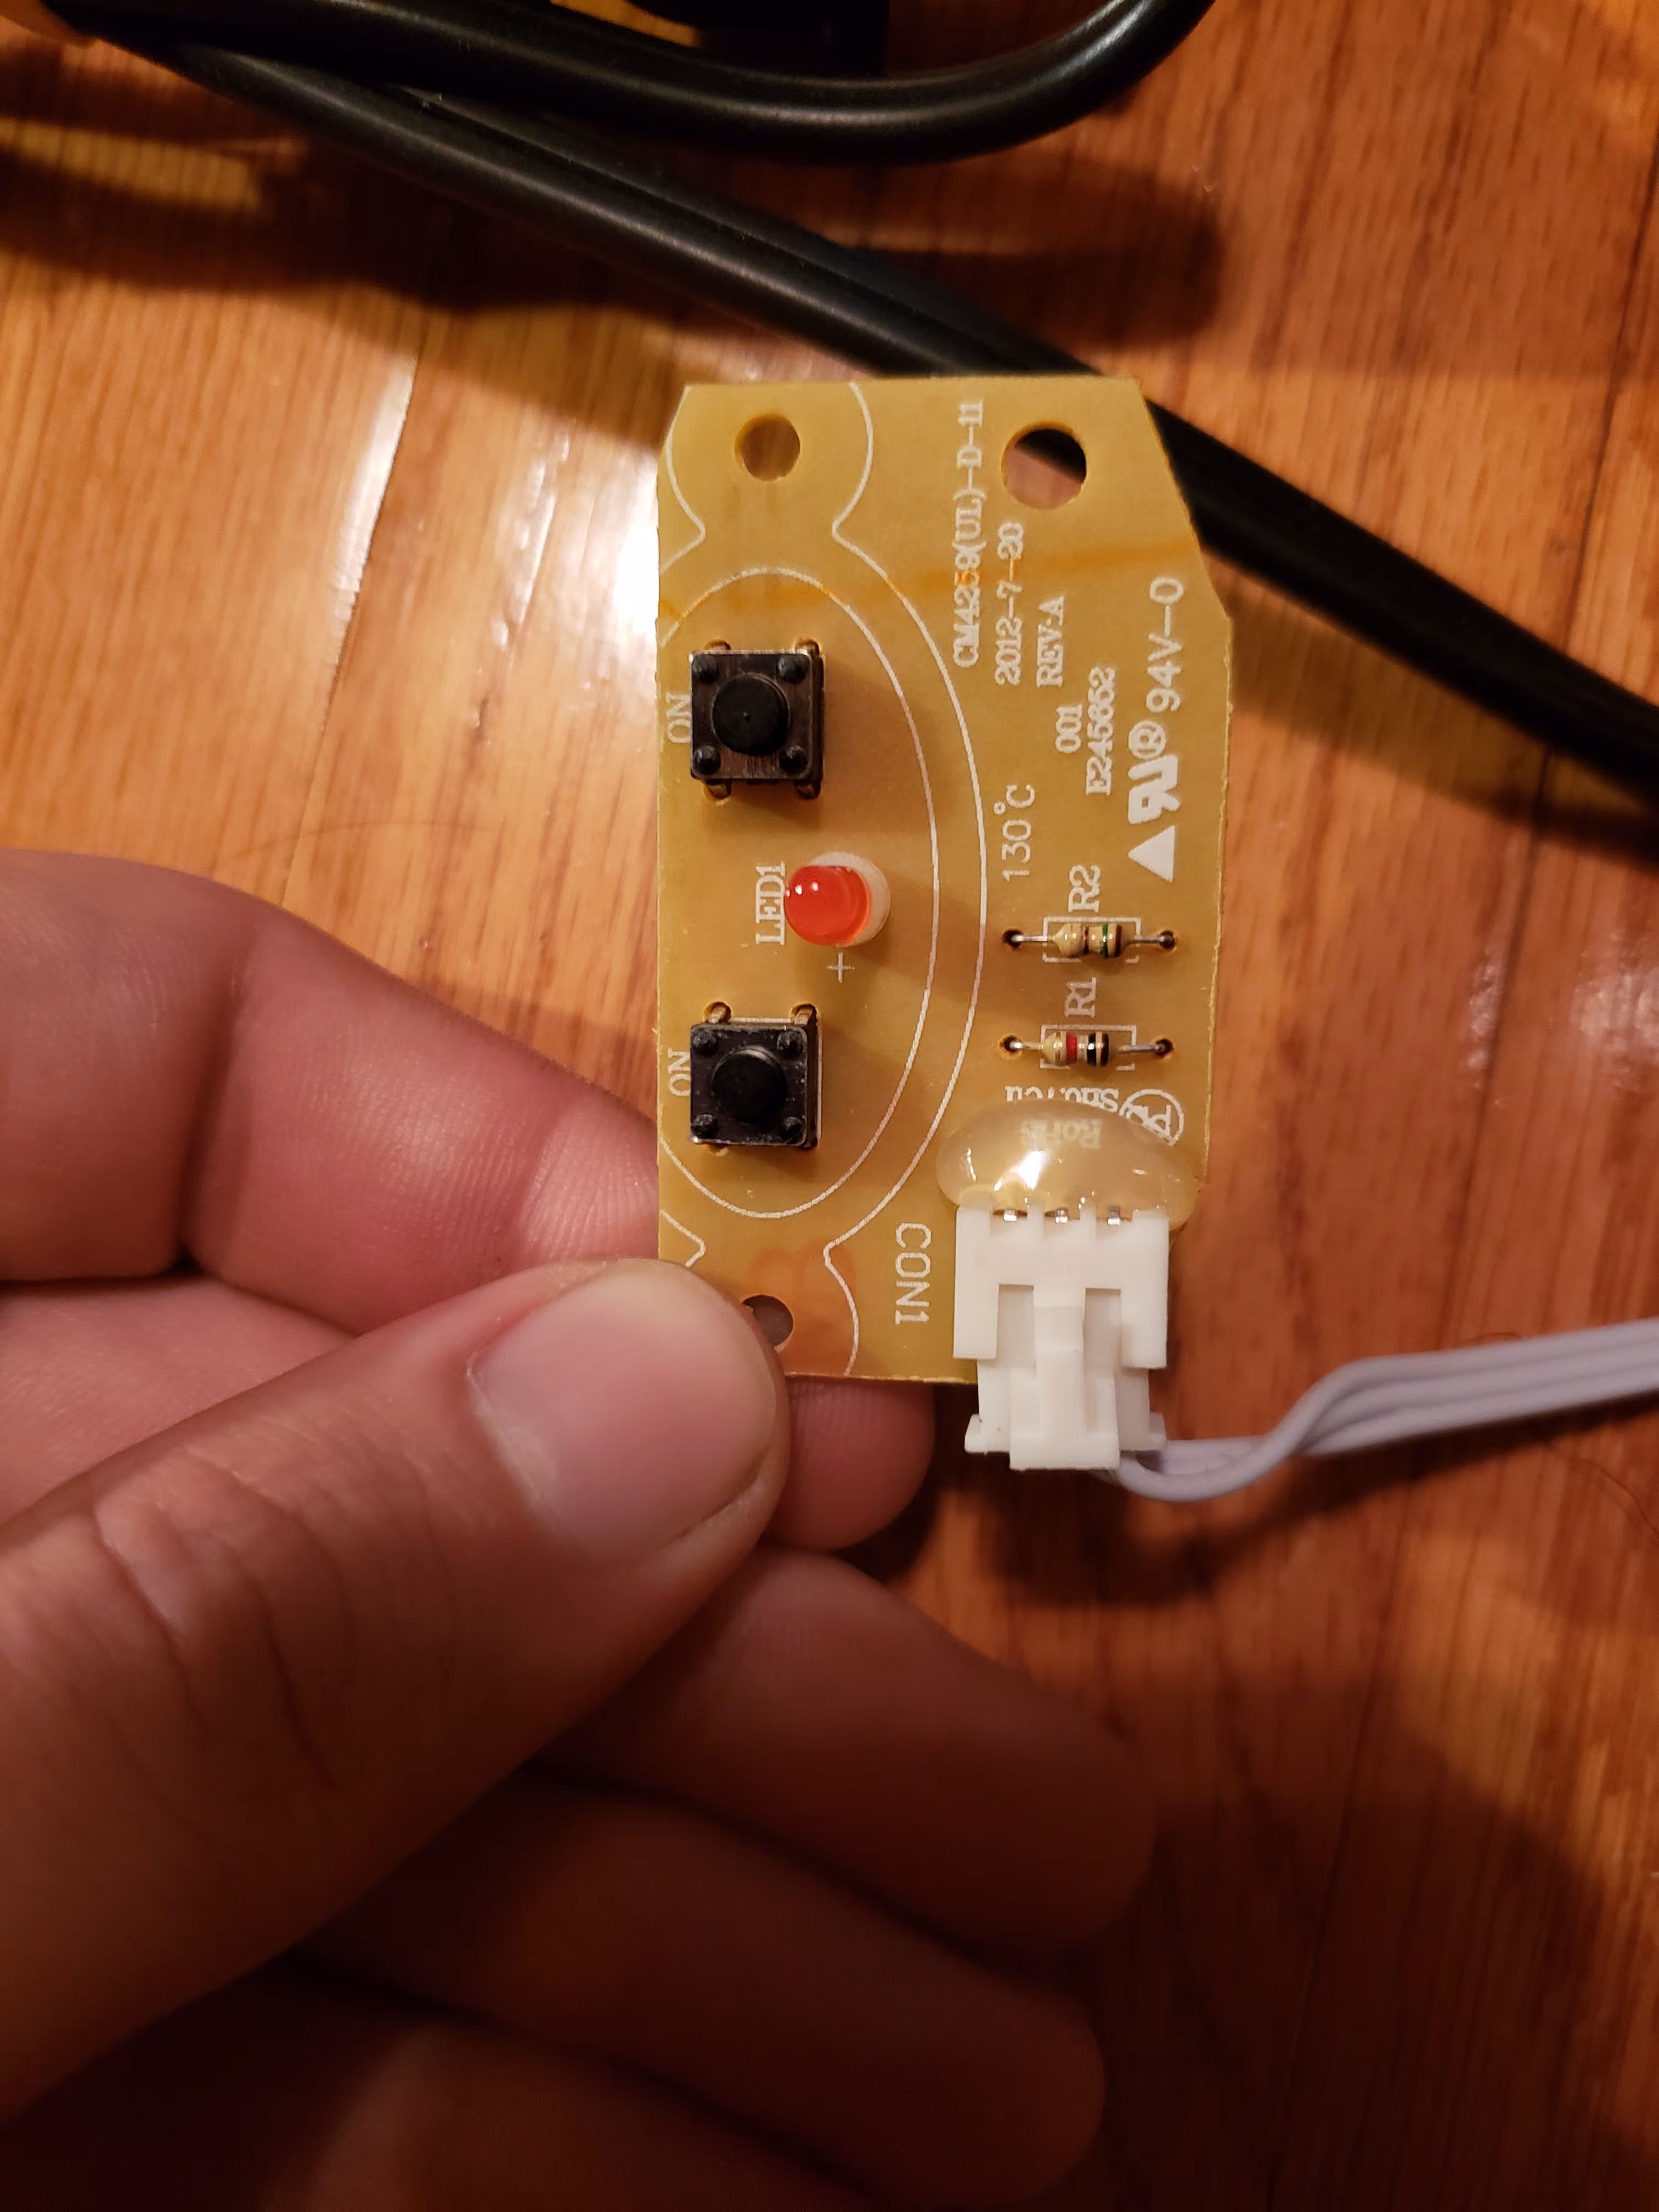
Later that evening, opening the black box up (thankfully I had the correct triangular screwdriver head), I found very easily hackable innards.

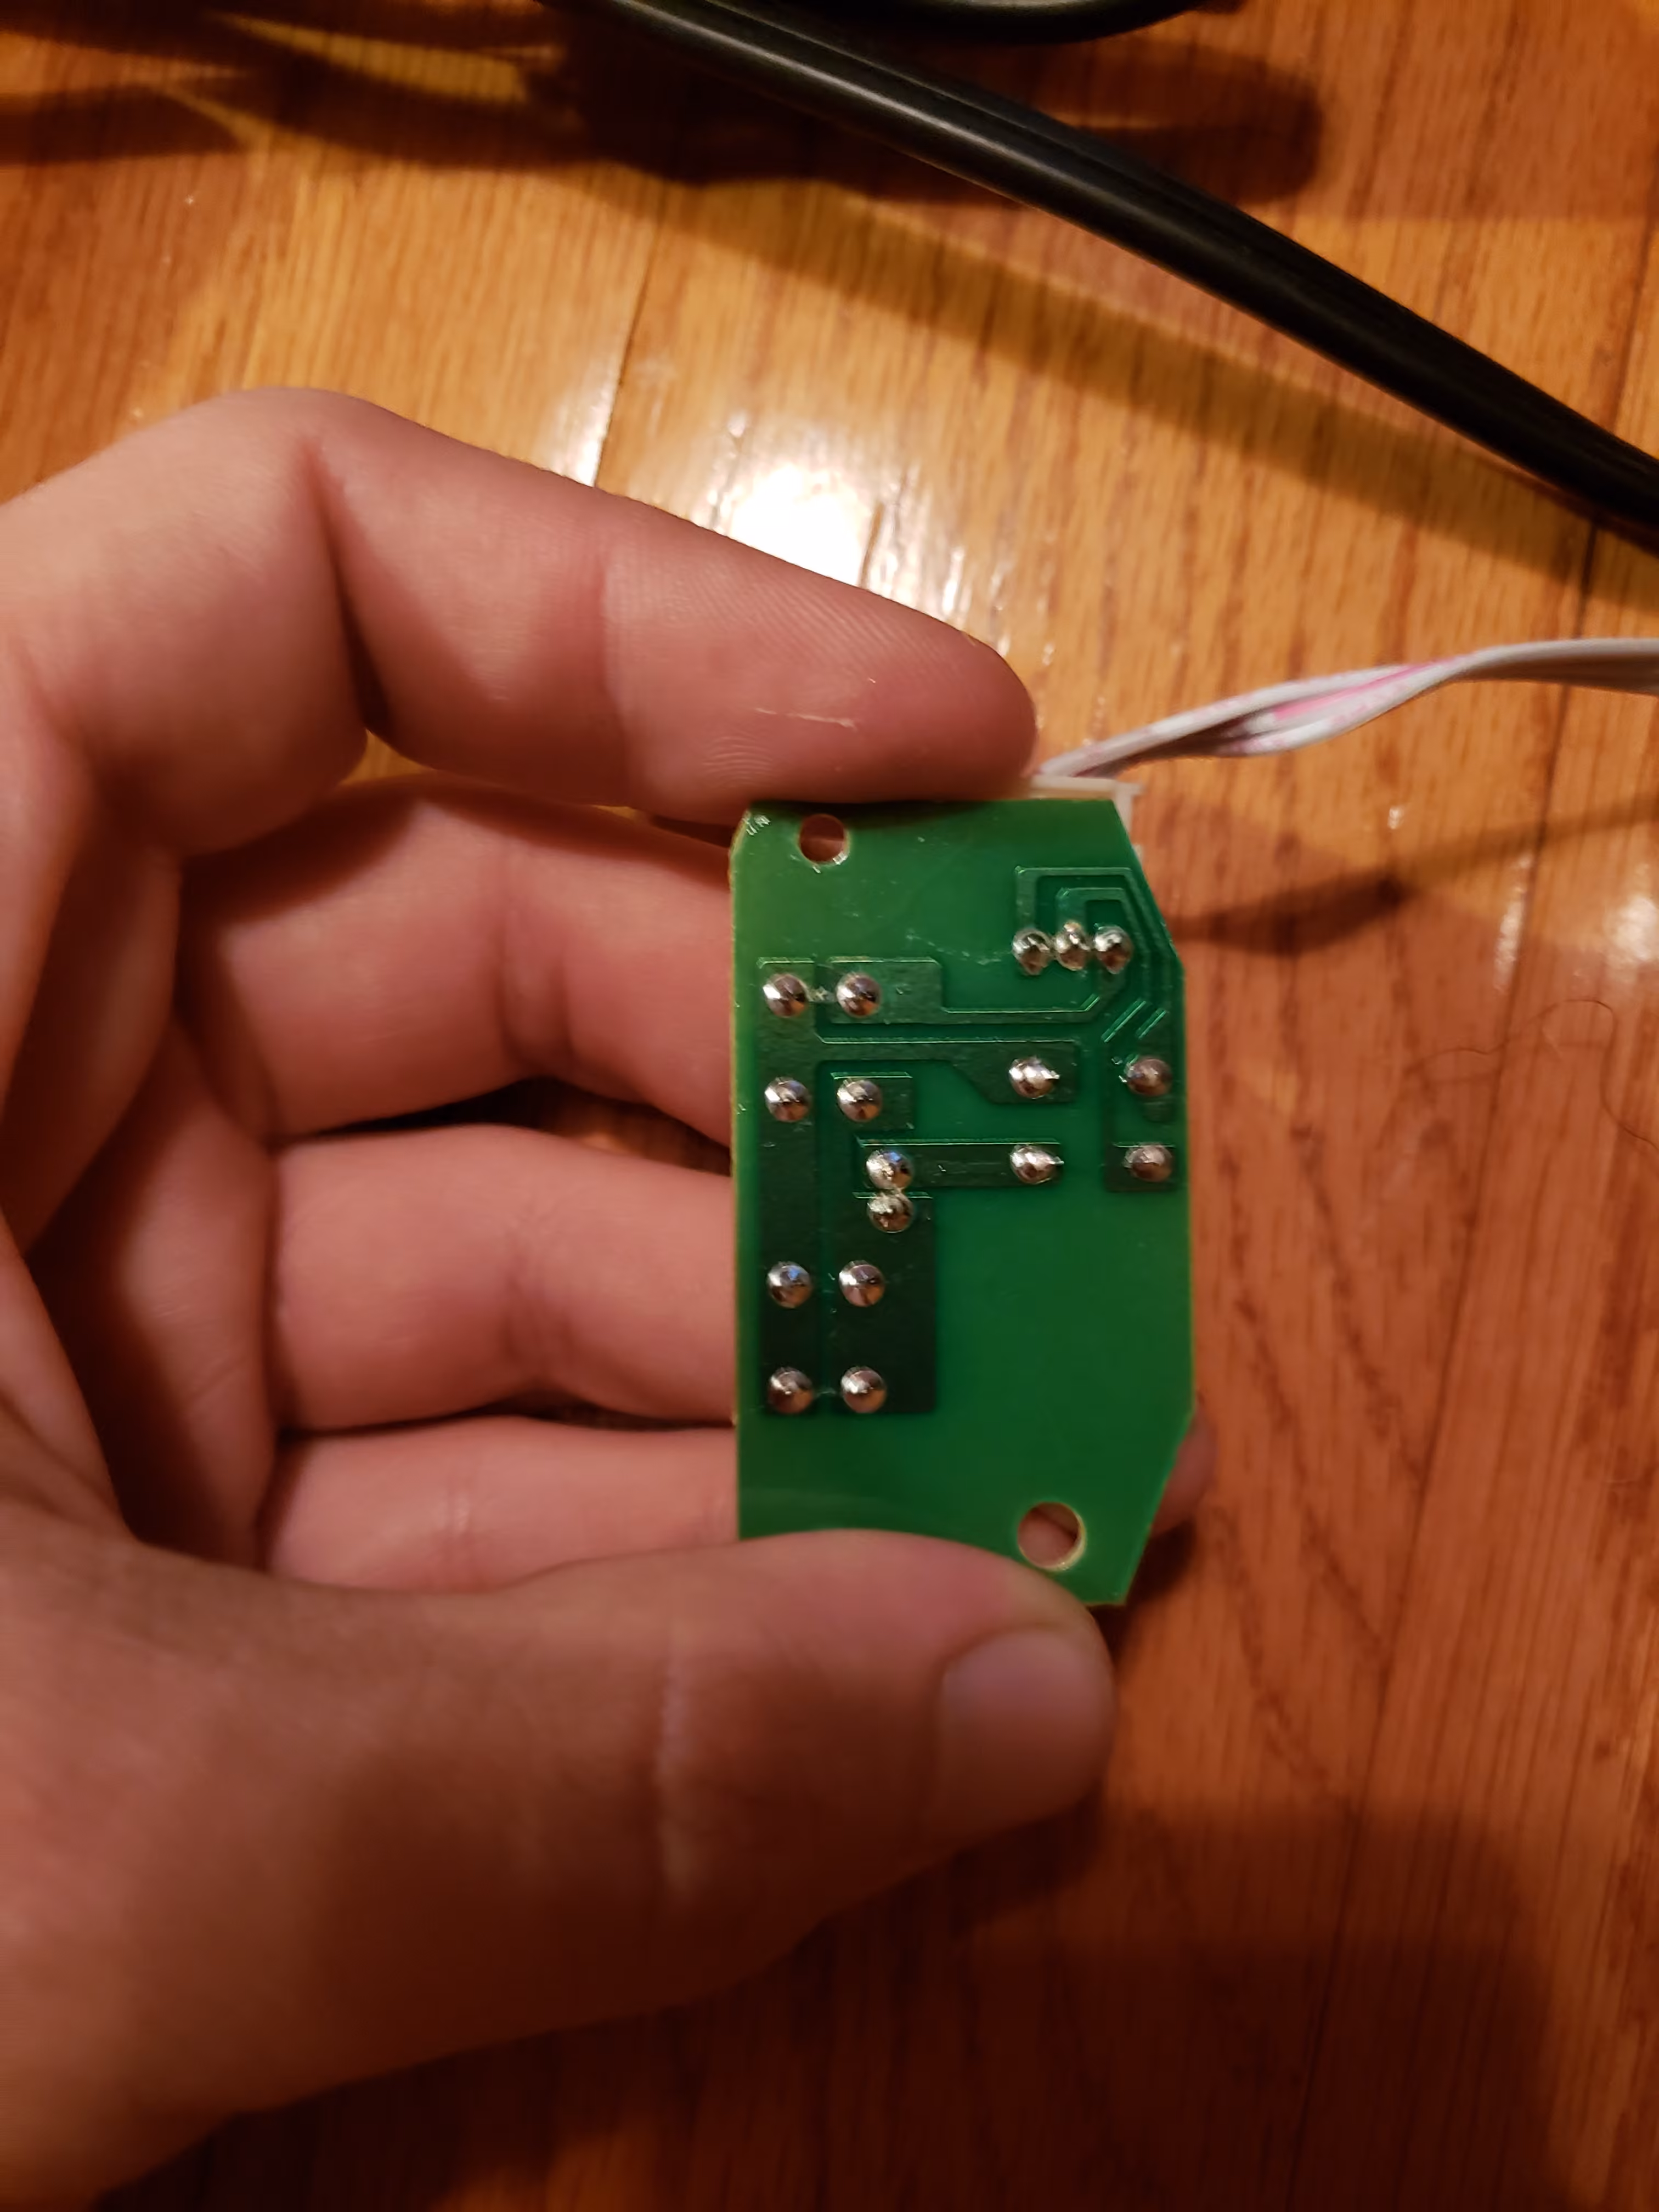
The control board (front, back) is very simple - two buttons in parallel, an LED, and a couple resistors. I’m not quite sure what the logic is upstream (it un/latches on each press), but the buttons short to ground, and this is something I can work with. The control board has wires for ground, signal, and 5V, in that order.
The ordeal of hacking into the thing, and my missteps trying to do so, is rather boring really, but it produced this:


The brains I added was a Wemos D1 Mini (thanks, Aliexpress!), with a 3.3V<->5V converter between to sense when the coffee maker is on, and also turn on a mosfet to short the button to ground. I initially had issues with the coffee maker turning on whenever I plugged the D1 Mini in, but a pulldown resistor solved this.

I also opted for an external USB plug - this allows me to possibly reflash this without opening the enclosure, and also meant I did not need to splice into the mains line inside, which I was reluctant to do.
I initially flashed and programmed the coffee maker with Tasmota, but almost immediately opted to use ESPHome instead. I like Tasmota and ESPHome, I was just able to get more fine control of the setup using ESPHome in this instance, especially concerning the button logic.
The (important) code is as follows:
binary_sensor:
  - platform: gpio
    device_class: power
    internal: true
    id: power_on
    pin: D2

switch:
  - platform: gpio
    pin: D1
    id: relay
    restore_mode: ALWAYS_OFF
  - platform: template
    name: "Coffee Maker"
    icon: "mdi:coffee-maker"
    lambda: |-
      if (id(power_on).state) {
        return true;
      } else {
        return false;
      }
    turn_on_action:
    - switch.turn_on: relay
    - delay: 50ms
    - switch.turn_off: relay
    turn_off_action:
    - switch.turn_on: relay
    - delay: 50ms
    - switch.turn_off: relay
The beauty of the way in which I can detect signals and simulate a button press is that ESPHome senses when I use the physical button, and updates accordingly. I can use the coffee maker absolutely as normal, the ‘Smart’ part of it is optional.
The rest of my setup using this coffee maker is somewhat outside the scope of this post, but it includes using Tasker on my phone to run a ‘Wakeup’ automation on Home Assistant, which will - along with turning on my bed-head lamp, and switching my monitor on before putting it to sleep - check if I turned on a ‘Morning Coffee’ user input. If I remembered to prep my coffee the night before, and turned on the switch, I will wake up to a hot cup of coffee (or, the sound of a coffee-in-progress). I can also command Alexa and Google Assistant to do my bidding and make me a coffee. At least someone does what I want…
Truly, we are living in the future.