 Views and opinions of the author are independent of employers past or present. Duh...
This project was completed in the Fall Semester of 2019, for my EPM class at LeTourneau University.
The mandate given to us was as follows:
Create a device to launch a fishing weight. It must:
- be capable of selectively launching 20 and 40 feet
- weigh less than 5 pounds
- cost less than $100
- be battery powered
- be capable of firing 30 times over the course of 1 hour
- (for extra credit) be wirelessly controlled
And so it was that we began brainstorming.
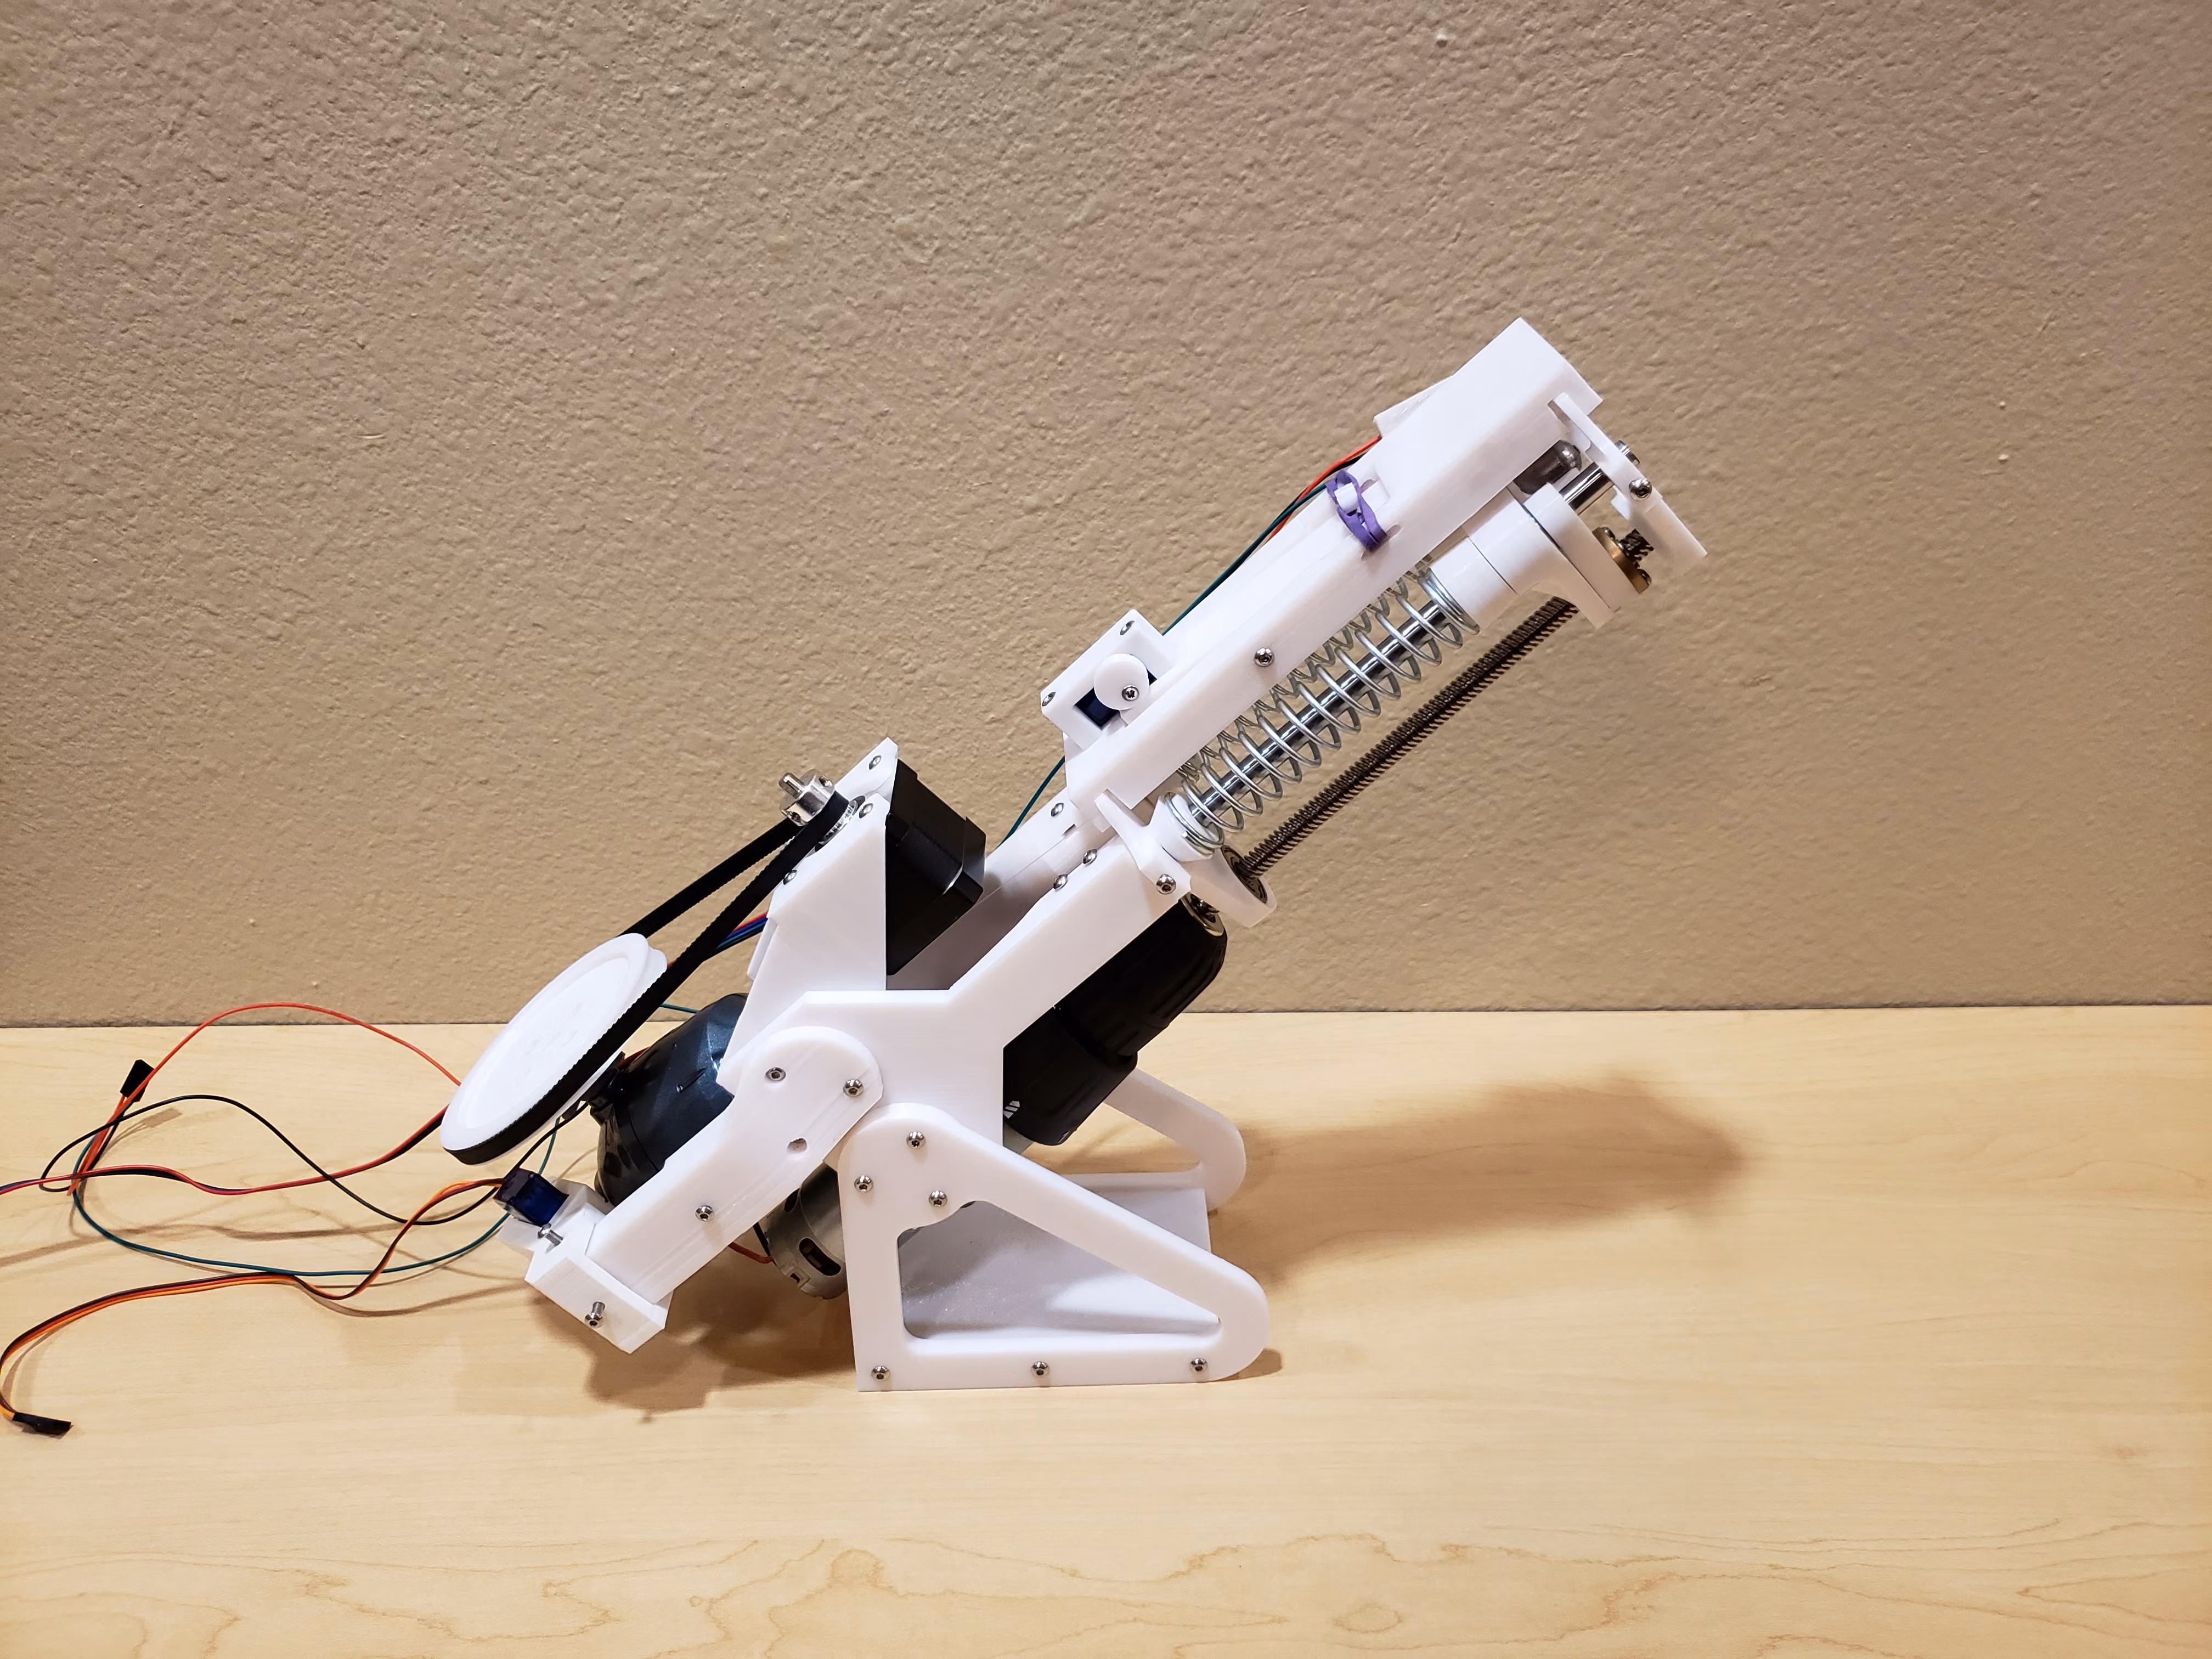
 The idea was fairly simple - use two smooth rods and a leadscrew to pull a carriage against springs that would then somehow fire the fishing weight.
The choice of this mechanism was, for the most part, due to availability of parts.
I already owned the necessary rods and bearings, and springs were readily available.
The idea was fairly simple - use two smooth rods and a leadscrew to pull a carriage against springs that would then somehow fire the fishing weight.
The choice of this mechanism was, for the most part, due to availability of parts.
I already owned the necessary rods and bearings, and springs were readily available.
 Soon, we had some basic 3D printed parts in order - for it was 3D printing that was most accessible to us, and allowed largely unattended manufacturing while classes continued.
Despite this early start of progress, however, the ever present tendency toward procrastination crept in.
The usual array of excuses were made by all, and little actual work was accomplished.
Soon, we had some basic 3D printed parts in order - for it was 3D printing that was most accessible to us, and allowed largely unattended manufacturing while classes continued.
Despite this early start of progress, however, the ever present tendency toward procrastination crept in.
The usual array of excuses were made by all, and little actual work was accomplished.
So it was that we inched ever closer to the deadline. Past the basic idea of our launch mechanism, all else was yet to be decided. A few calculations were half-heartedly done (kinetic energy, spring constants, etc.), but we all knew we didn’t know enough to make any meaningful decisions yet. We had some very much unfounded fears concerning battery power, and not enough fears concerning torque - we believed we would be using NEMA 17 motors to tension the leadscrew. Needless to say, this did not turn out to be realistic. Nor was it realistic for us to budget a baitcasting reel instead of a much cheaper spincaster.
 Eventually, however, some progress was made - progress in something of a wrong direction, but progress nonetheless.
As the shape of our ungainly creation began to emerge, it was clear progress needed to be made quickly.
Once we coupled our stepper motor to the leadscrew and power tested the unit, it was also clear that change was in order.
Eventually, however, some progress was made - progress in something of a wrong direction, but progress nonetheless.
As the shape of our ungainly creation began to emerge, it was clear progress needed to be made quickly.
Once we coupled our stepper motor to the leadscrew and power tested the unit, it was also clear that change was in order.
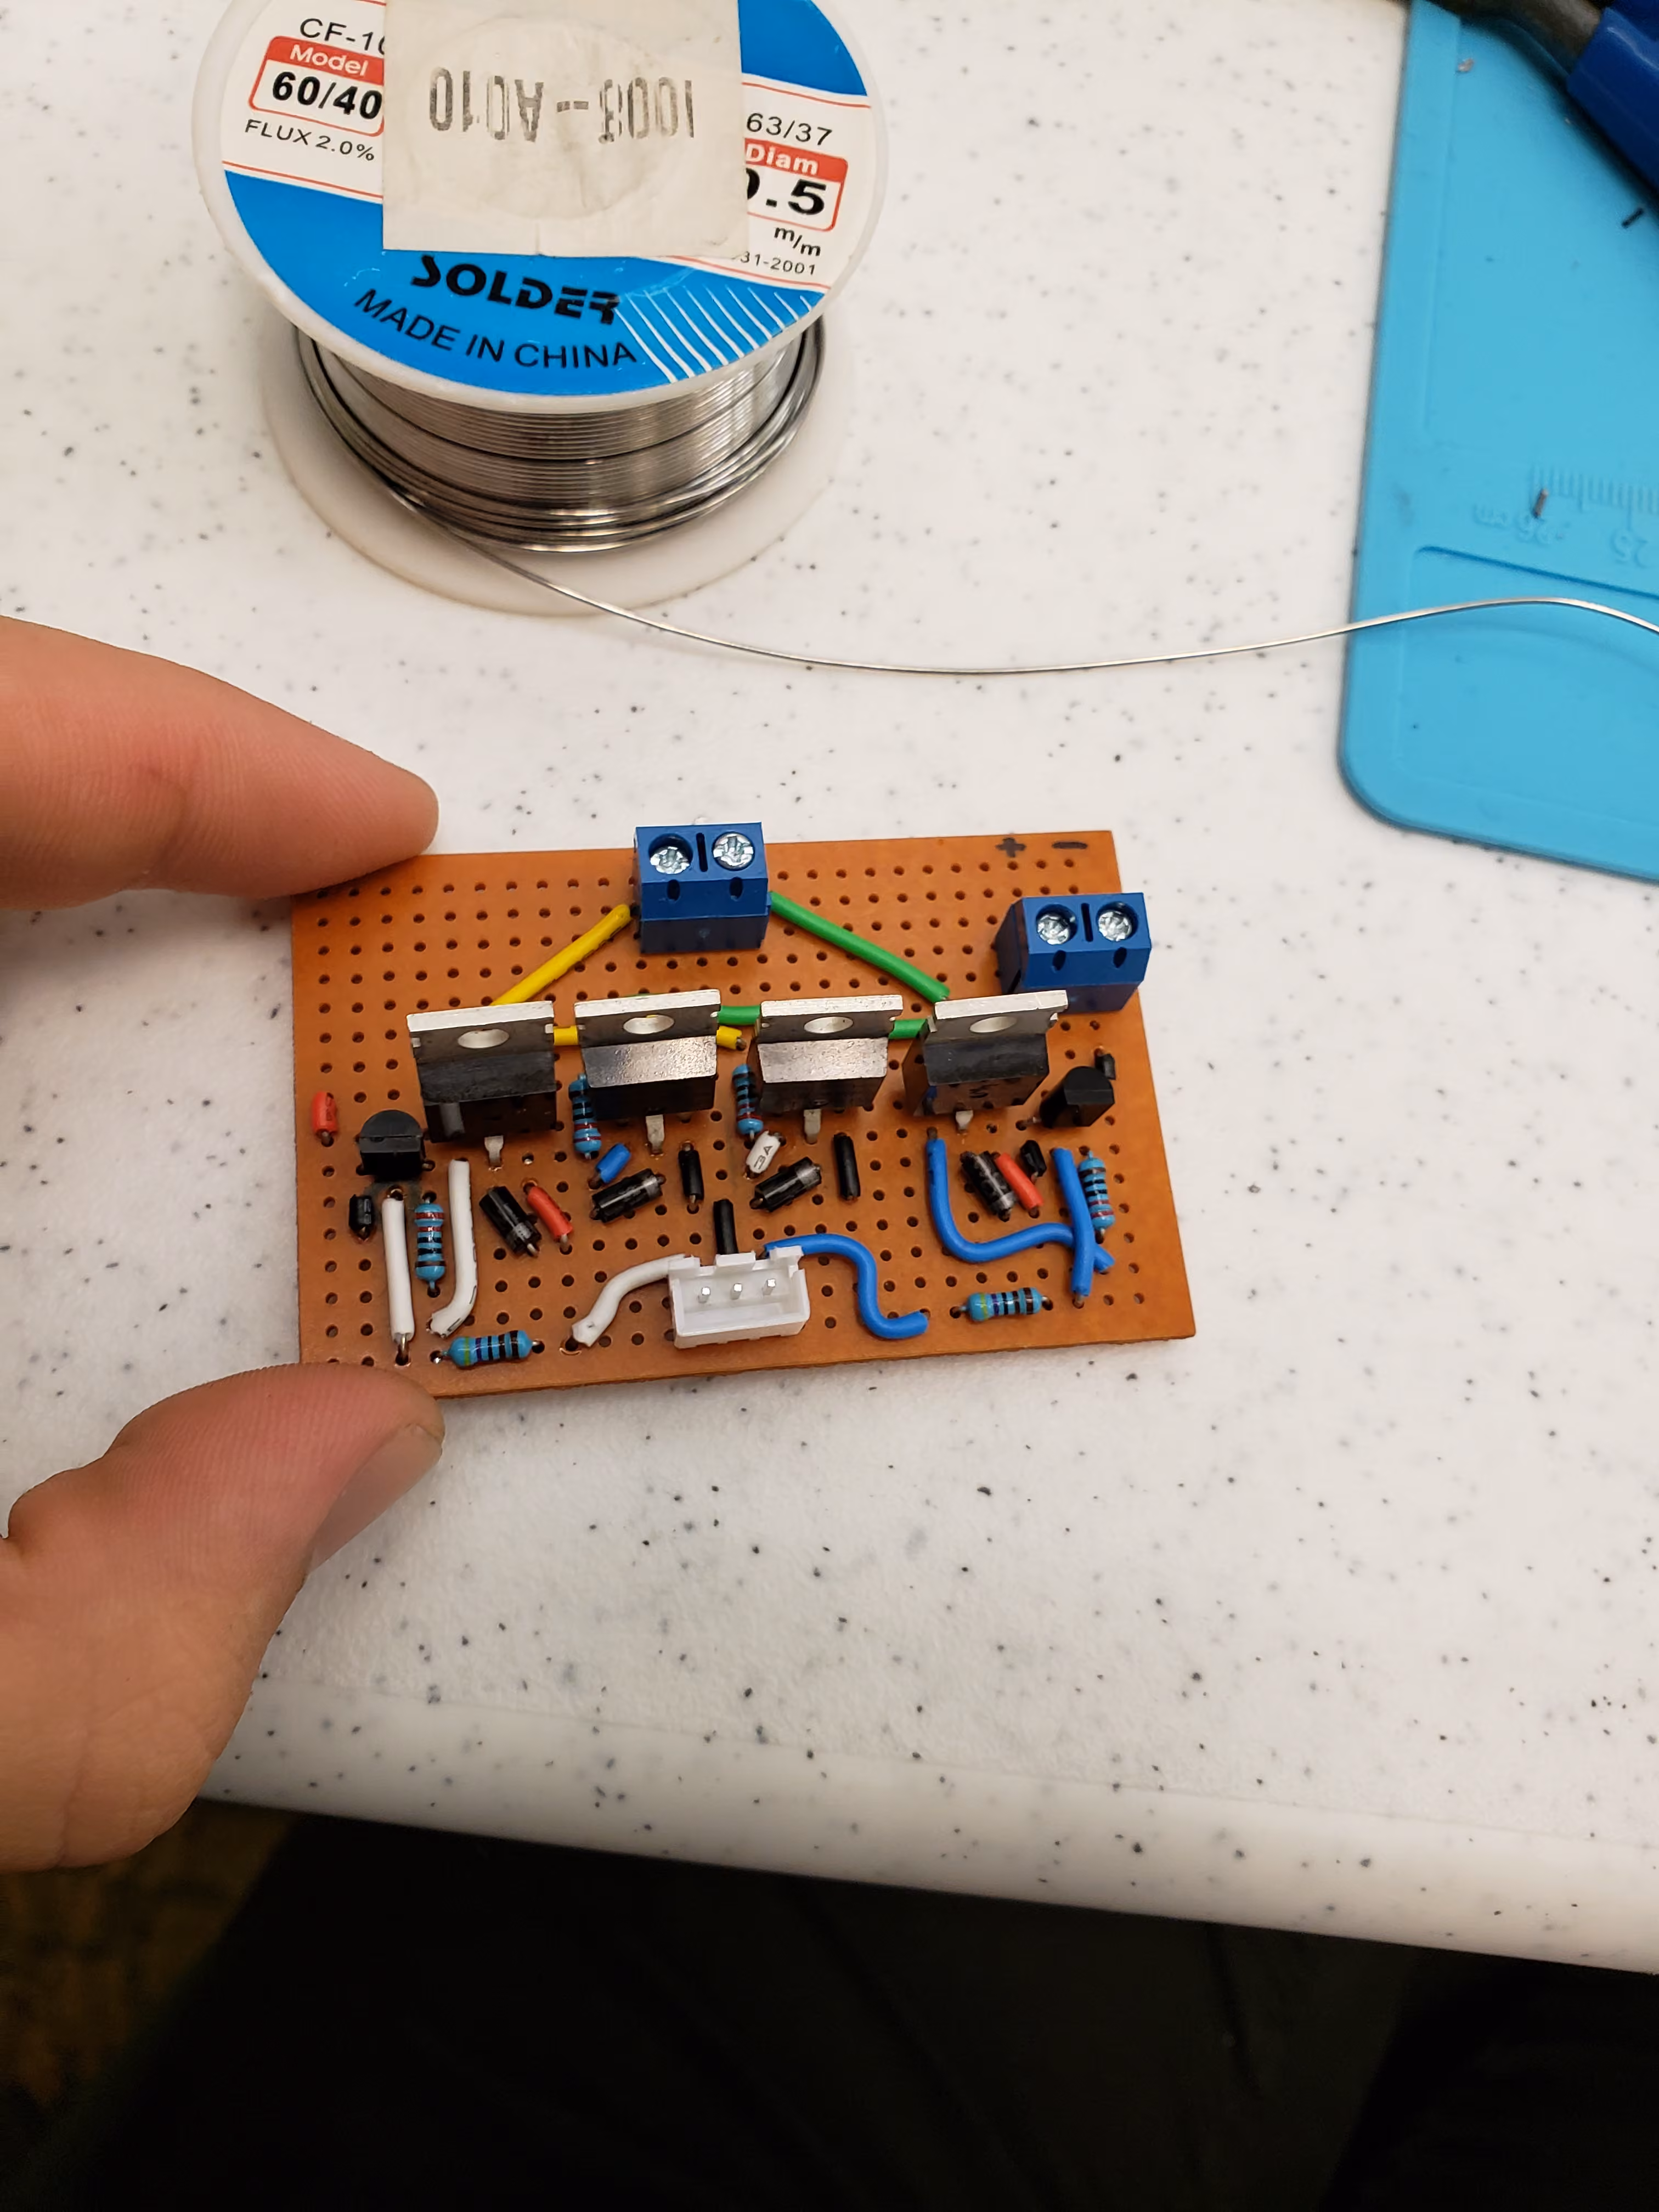
So a decision was made: a cheap cordless drill would be pilfered for a battery, motor and chuck. An H-Bridge would need to be bought for the drill motor (I tried to make one, but the magic smoke was released…), and a latching system needed to be made.
 The next week or so resulted in the beginnings of a working launch mechanism.
With the aid of a rubber band, a latching track was put under the rods and springs, such that the motor would tension the launching carriage, then return to the front of the mechanism to allow the eventual release of the catch using a servo.
Soon after this, the motor was appropriately mounted to the frame, with a carefully fit 3D printed socket.
It was, it seemed, all coming together.
The next week or so resulted in the beginnings of a working launch mechanism.
With the aid of a rubber band, a latching track was put under the rods and springs, such that the motor would tension the launching carriage, then return to the front of the mechanism to allow the eventual release of the catch using a servo.
Soon after this, the motor was appropriately mounted to the frame, with a carefully fit 3D printed socket.
It was, it seemed, all coming together.
Finally, some success came to us. The motor was successfully power tested, along with the release of the launch mechanism. The end was near, or so it seemed.
 Following soon after was the reel being mounted to the device also.
Attempts were made to use a small DC motor, but with no luck.
The lateral pressure of our motor acting through a belt meant friction was too much for our motor.
Without time enough to reposition it, another solution had to be made.
Following soon after was the reel being mounted to the device also.
Attempts were made to use a small DC motor, but with no luck.
The lateral pressure of our motor acting through a belt meant friction was too much for our motor.
Without time enough to reposition it, another solution had to be made.
Remaining at this point was a means of reeling in the line, a means of depressing the button on the rear of the reel, a limit switch at the front of machine, and the connecting electronics that would drive the entire contraption.
 As it turned out, the very same stepper motor that had once tried to turn our leadscrew now instead would be pressed into service reeling in the line.
Overkill, to be sure, and its power most wastefully used, it did indeed reliably turn our reel, albeit slowly.
The use of such a large pulley was a matter of making it fit the belt size that I had available.
The next size down was too small, so the pulley had to be enlarged.
This saved the most time 3D printing as compared to a smaller pulley with other parts changed.
As it turned out, the very same stepper motor that had once tried to turn our leadscrew now instead would be pressed into service reeling in the line.
Overkill, to be sure, and its power most wastefully used, it did indeed reliably turn our reel, albeit slowly.
The use of such a large pulley was a matter of making it fit the belt size that I had available.
The next size down was too small, so the pulley had to be enlarged.
This saved the most time 3D printing as compared to a smaller pulley with other parts changed.
Finally, the mechanics of the project were completed, with each component individually power tested, though not yet in tandem with one another.
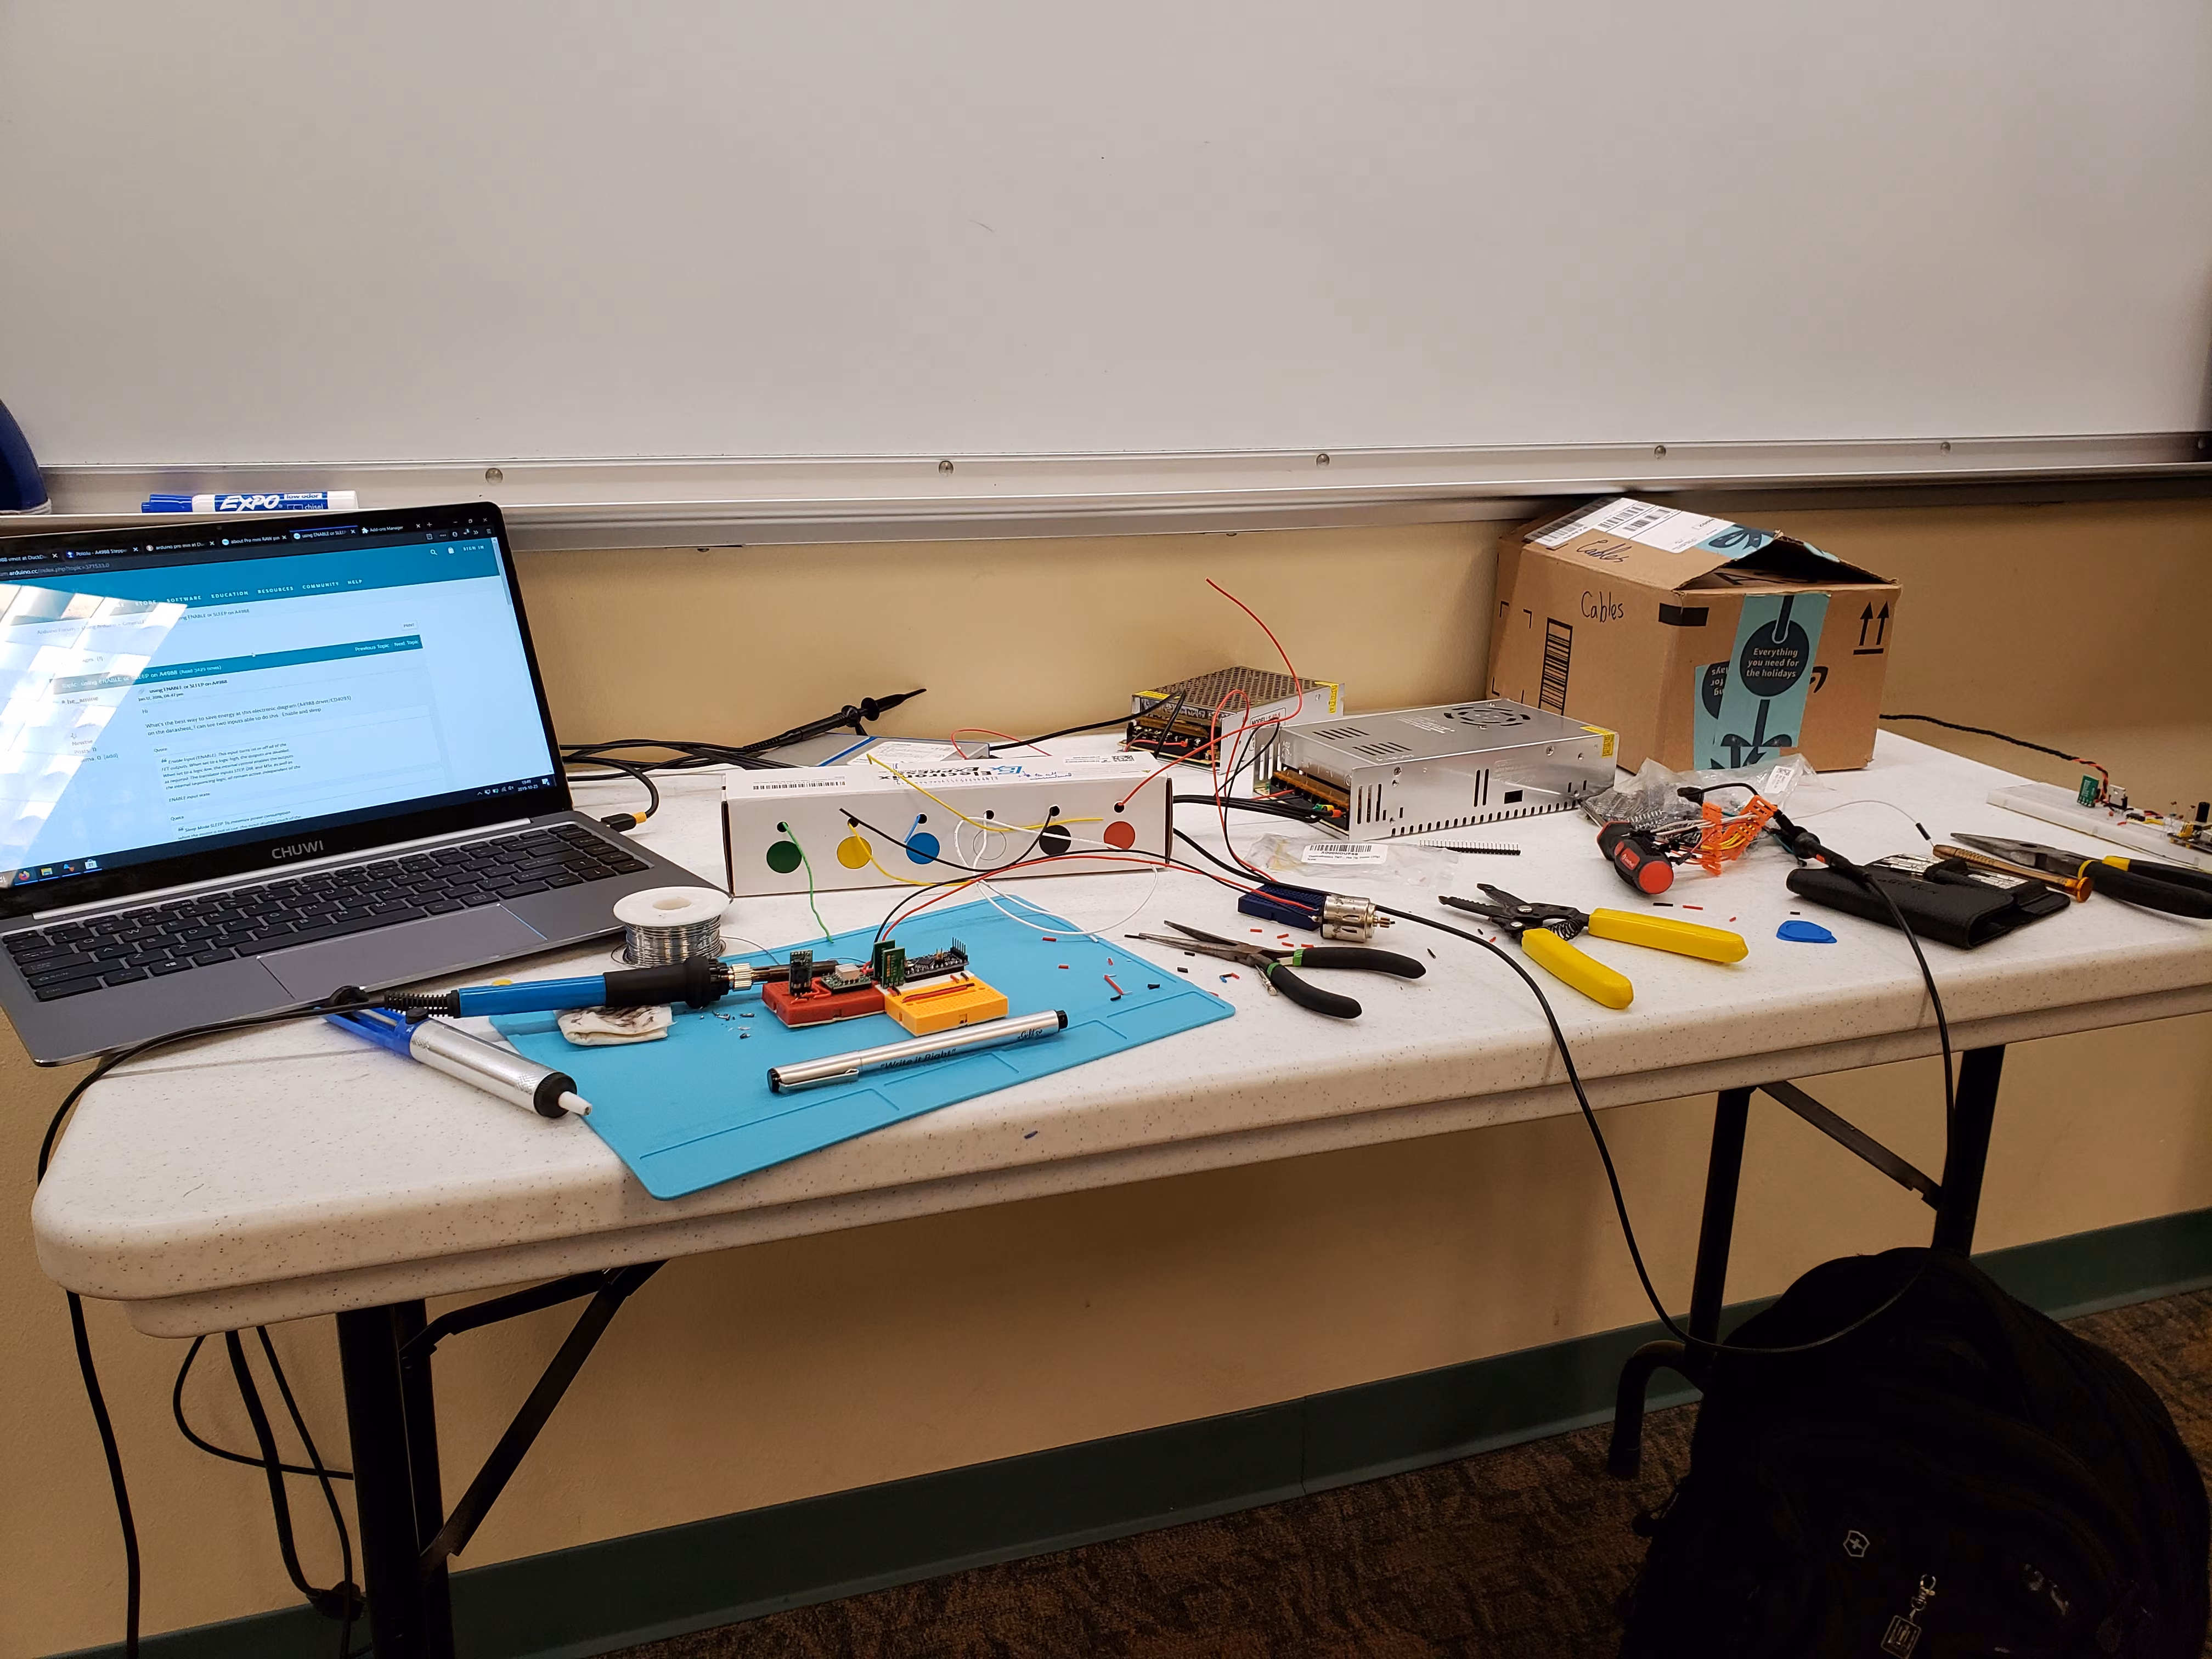
As all of this was coming about, I had also begun getting the electronics in order.
A limit switch was installed to keep the motor from destroying the machine.
When this switch invariably failed to activate, it resulted in the destruction of the front piece of the machine - at that stage more of a nuisance than a disaster.
Spares were kept by, and small changes were made so the switch could be mounted elsewhere in a more reliable fashion.
By way of a multi-button garage door opener, and a 433MHz receiver, wireless control could be granted to an Arduino for little money. A cheap buck-converter was added in order to run the Arduino and wireless setup, as well as the stepper motor driver. Thankfully, the voltage of the battery meant the stepper motor could be powered from the battery directly (18V being safely within the rated 12-24V range)
In the above video, the finished product may be seen.
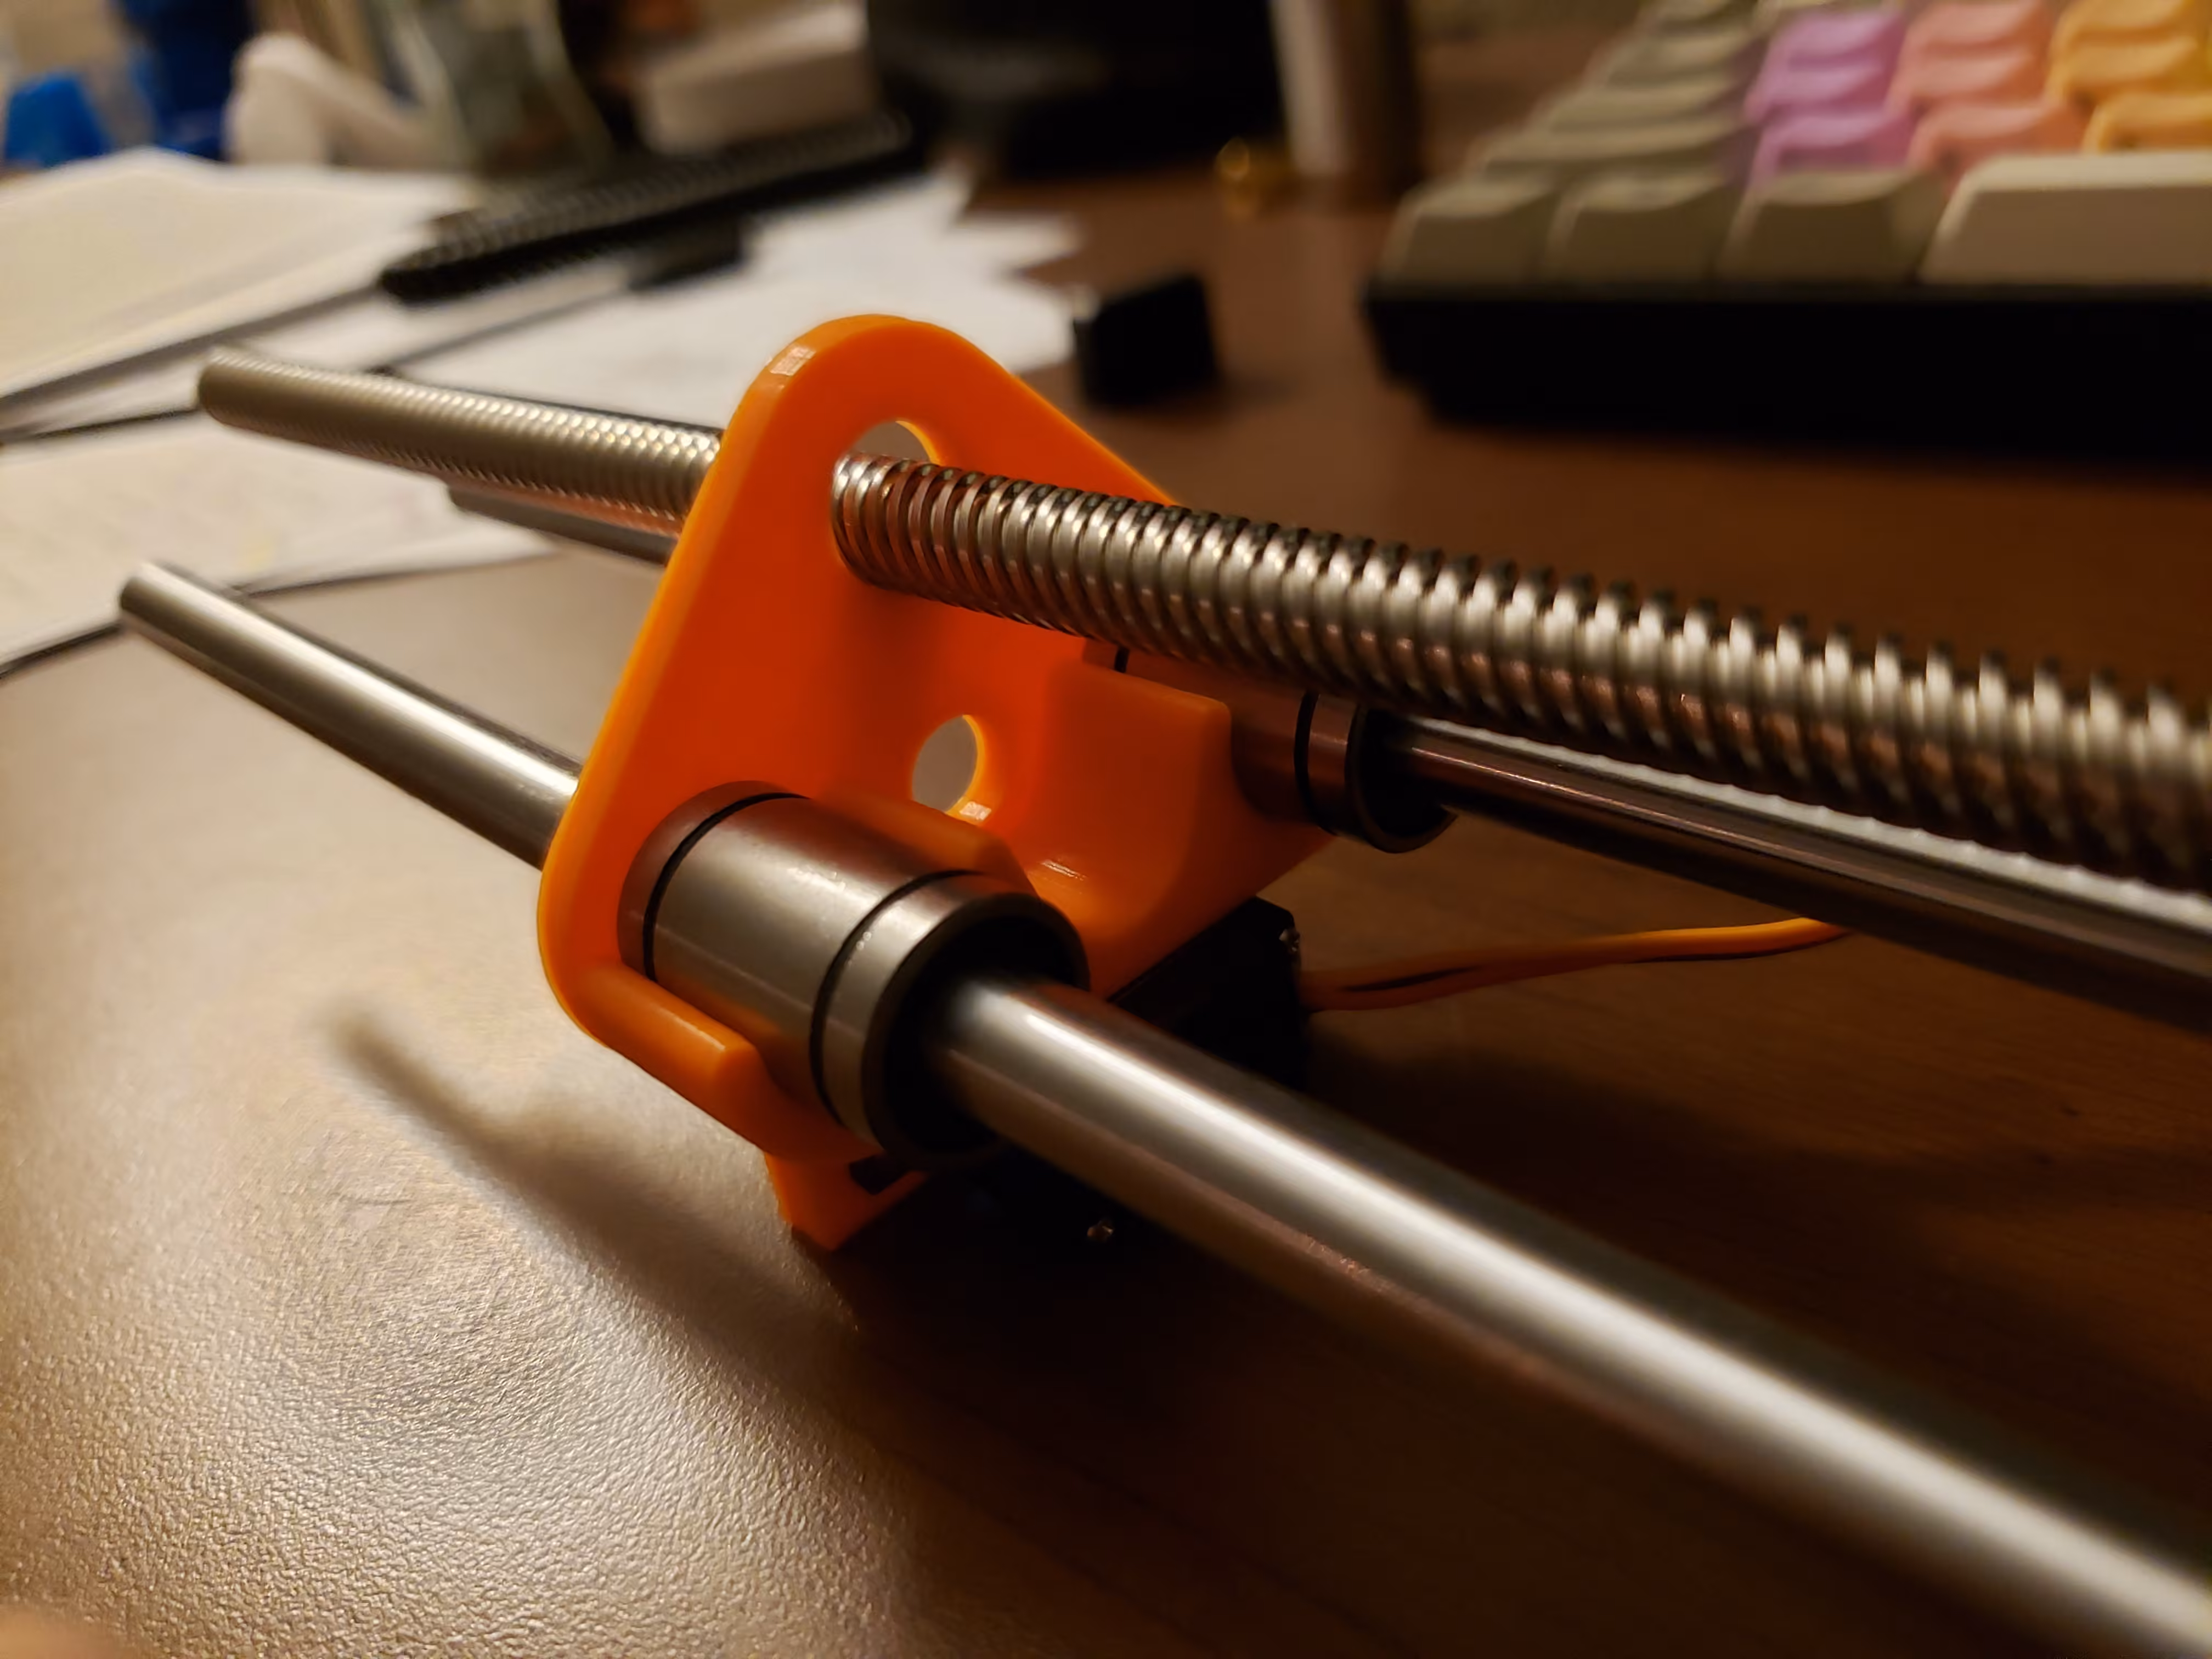
Finally, presentation day came. Not without some small failings, we presented, with acceptable results. The largest remaining issue was the fact that the leadscrew would slip the grasp of the chuck after several cycles of the machine. While we corrected by hand for the presentation (by re-chucking the leadscrew after each launch), we knew we needed to fix the slippage for good. After all, the final time-lapse of the project would not do with such continual, and blatant, hand-holding.
The solution, it turned out, was free: the end of the leadscrew was notched and tapered on a lathe, allowing the drill chuck to get a firm hold on the metal.
With this solved, the final time-lapse was completed, and a collective sigh of relief was given.
Much was learned - how to more properly budget for a project, how to work with a team (something I need to improve on), and how to manage time well. All things considered, I found it to be a success - I did not pull an all-nighter for my own project, finishing with a few days to spare (no small thanks to an extended deadline), nor did I stress myself beyond all reason. Overall then, I enjoyed the experience of finally bringing a project to completion - this is something I do not often do, try as I might. The result, though useless for my own purposes, is something I am proud of, having taught me many things through its completion.